
Dynon Autopilot Install
Any KR requires attention while flying. This isn't a "let go of the stick for
minutes at a time" like my Cessna Cardinal was. Nothing wrong with that but both
the KR2 and Roy's KR2-S I've flown don't tolerate lengthy hands-off flying. I'd
like to do some travelling in Roy's airplane so I decided to install an
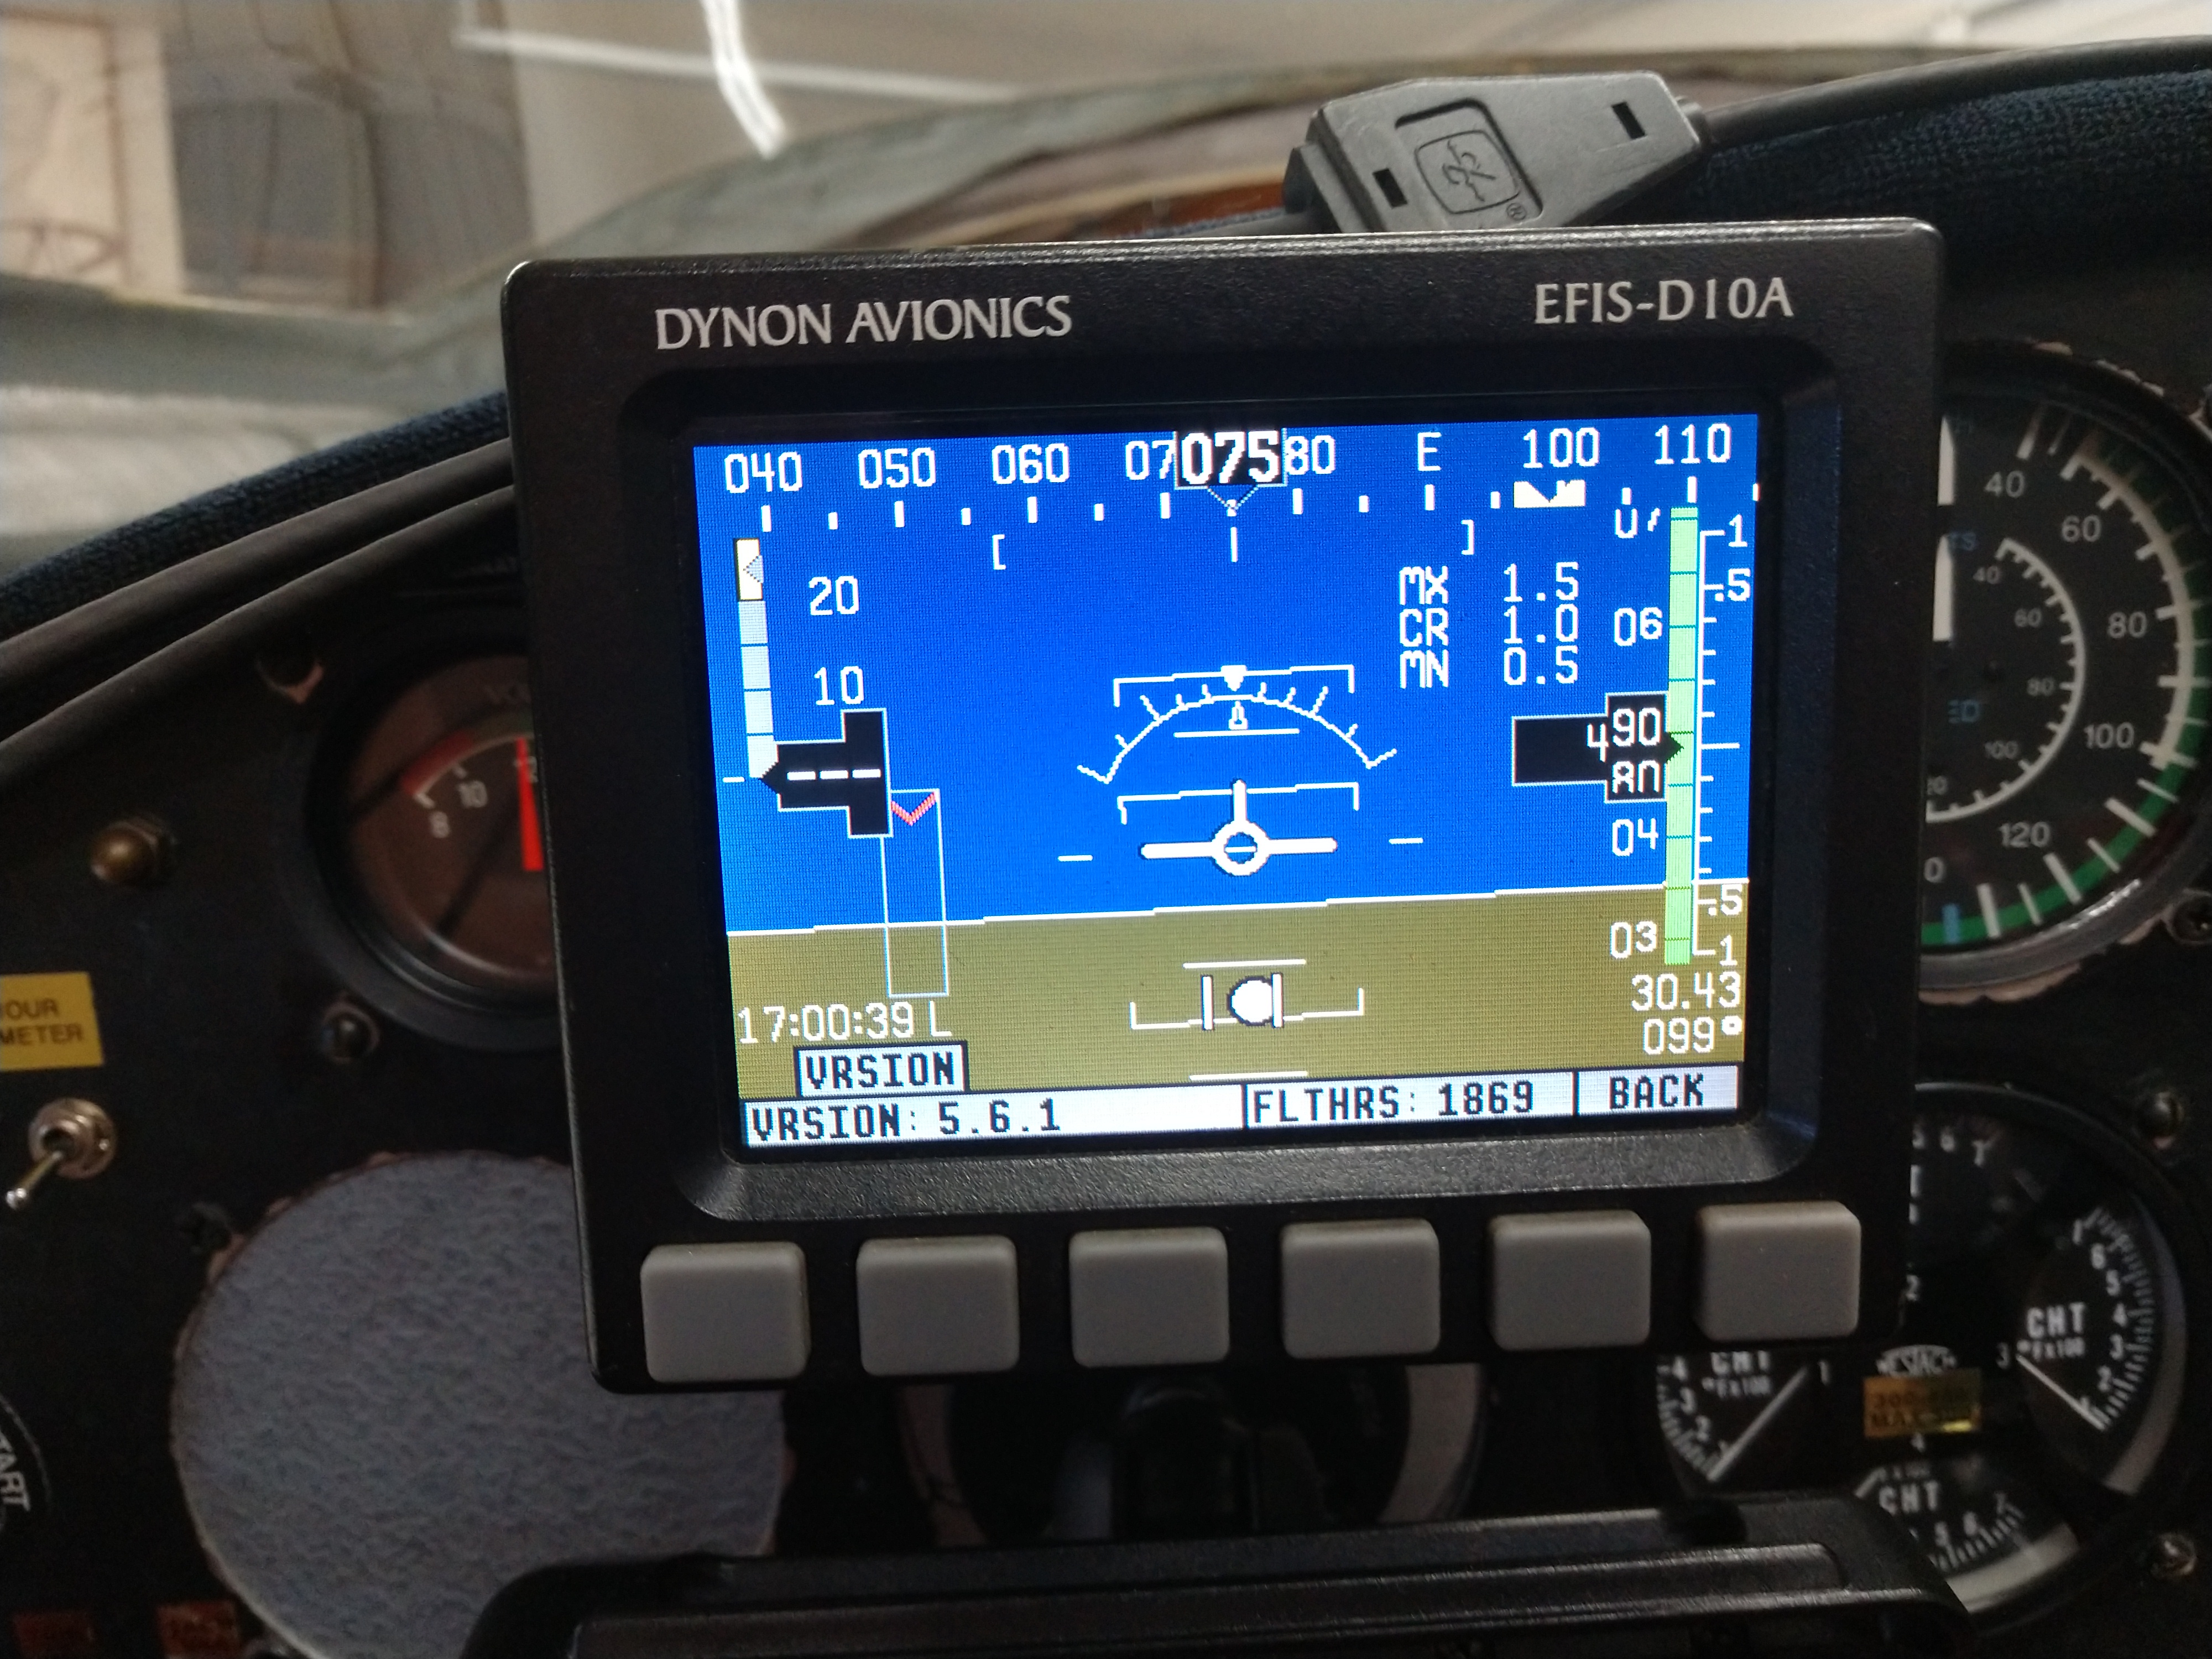
autopilot to use that capability built into the D10A EFIS I installed when I
first got his airplane from New Zealand. And Thank you Bruce Utting!
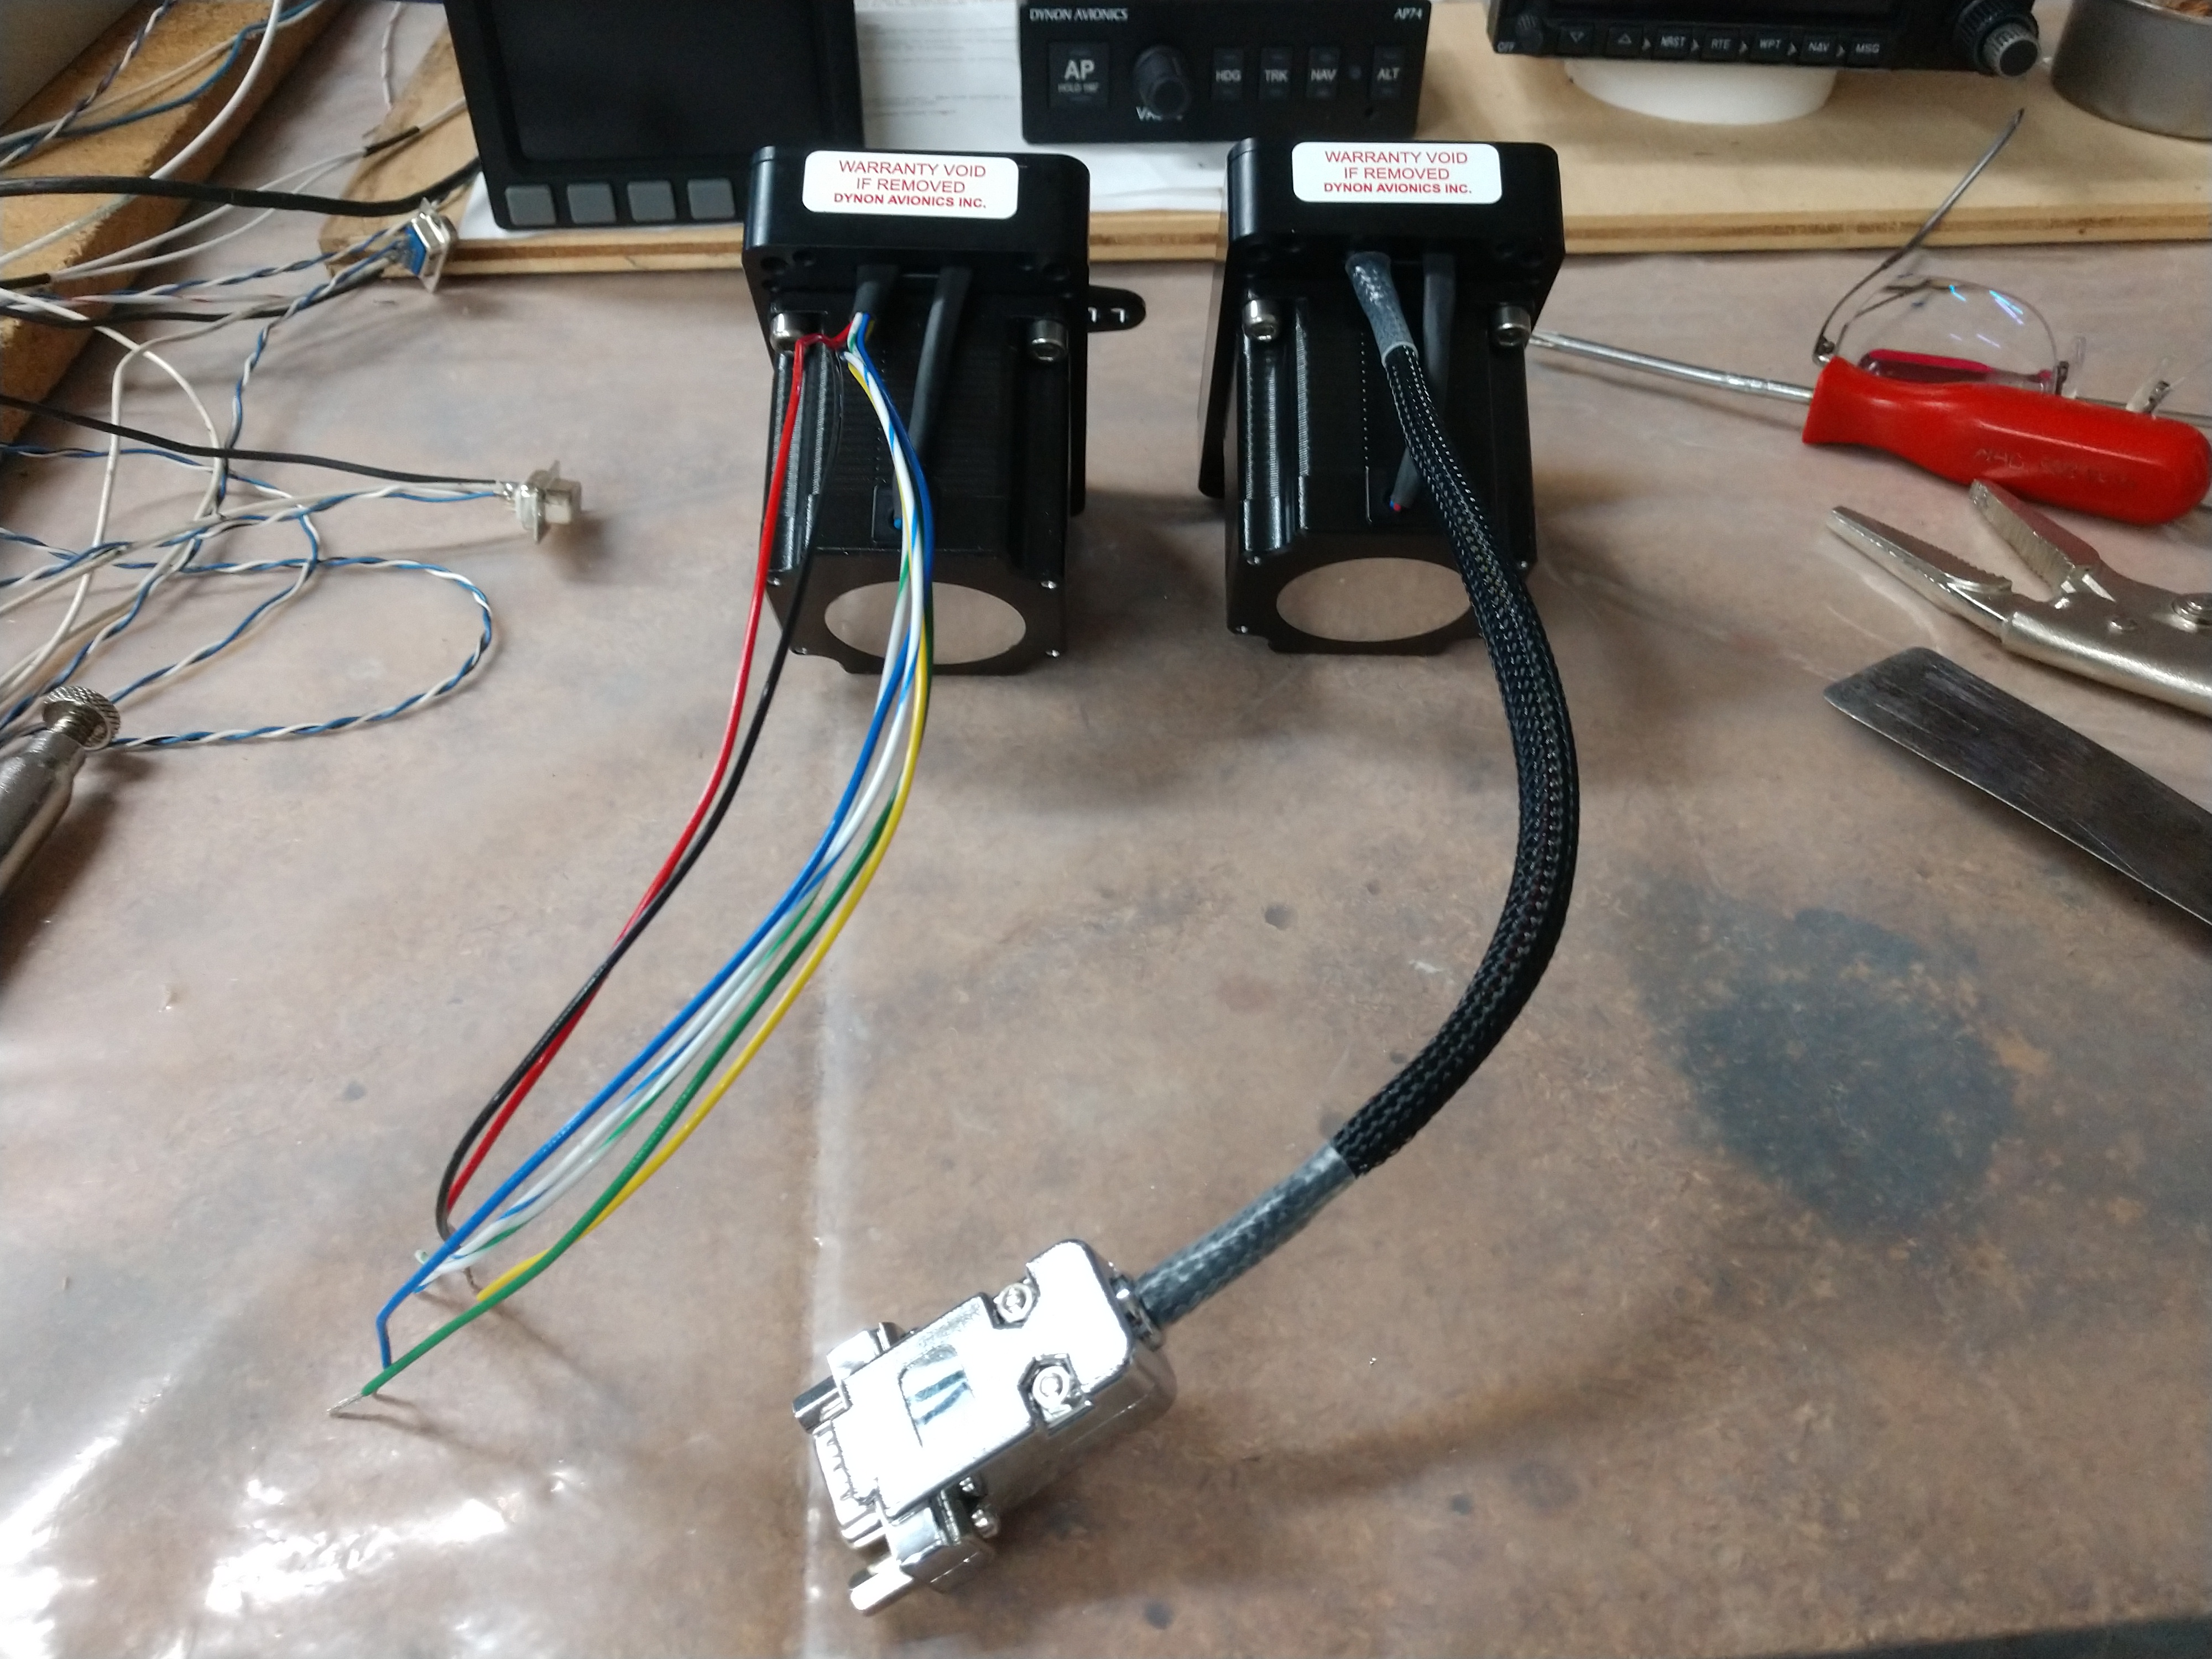
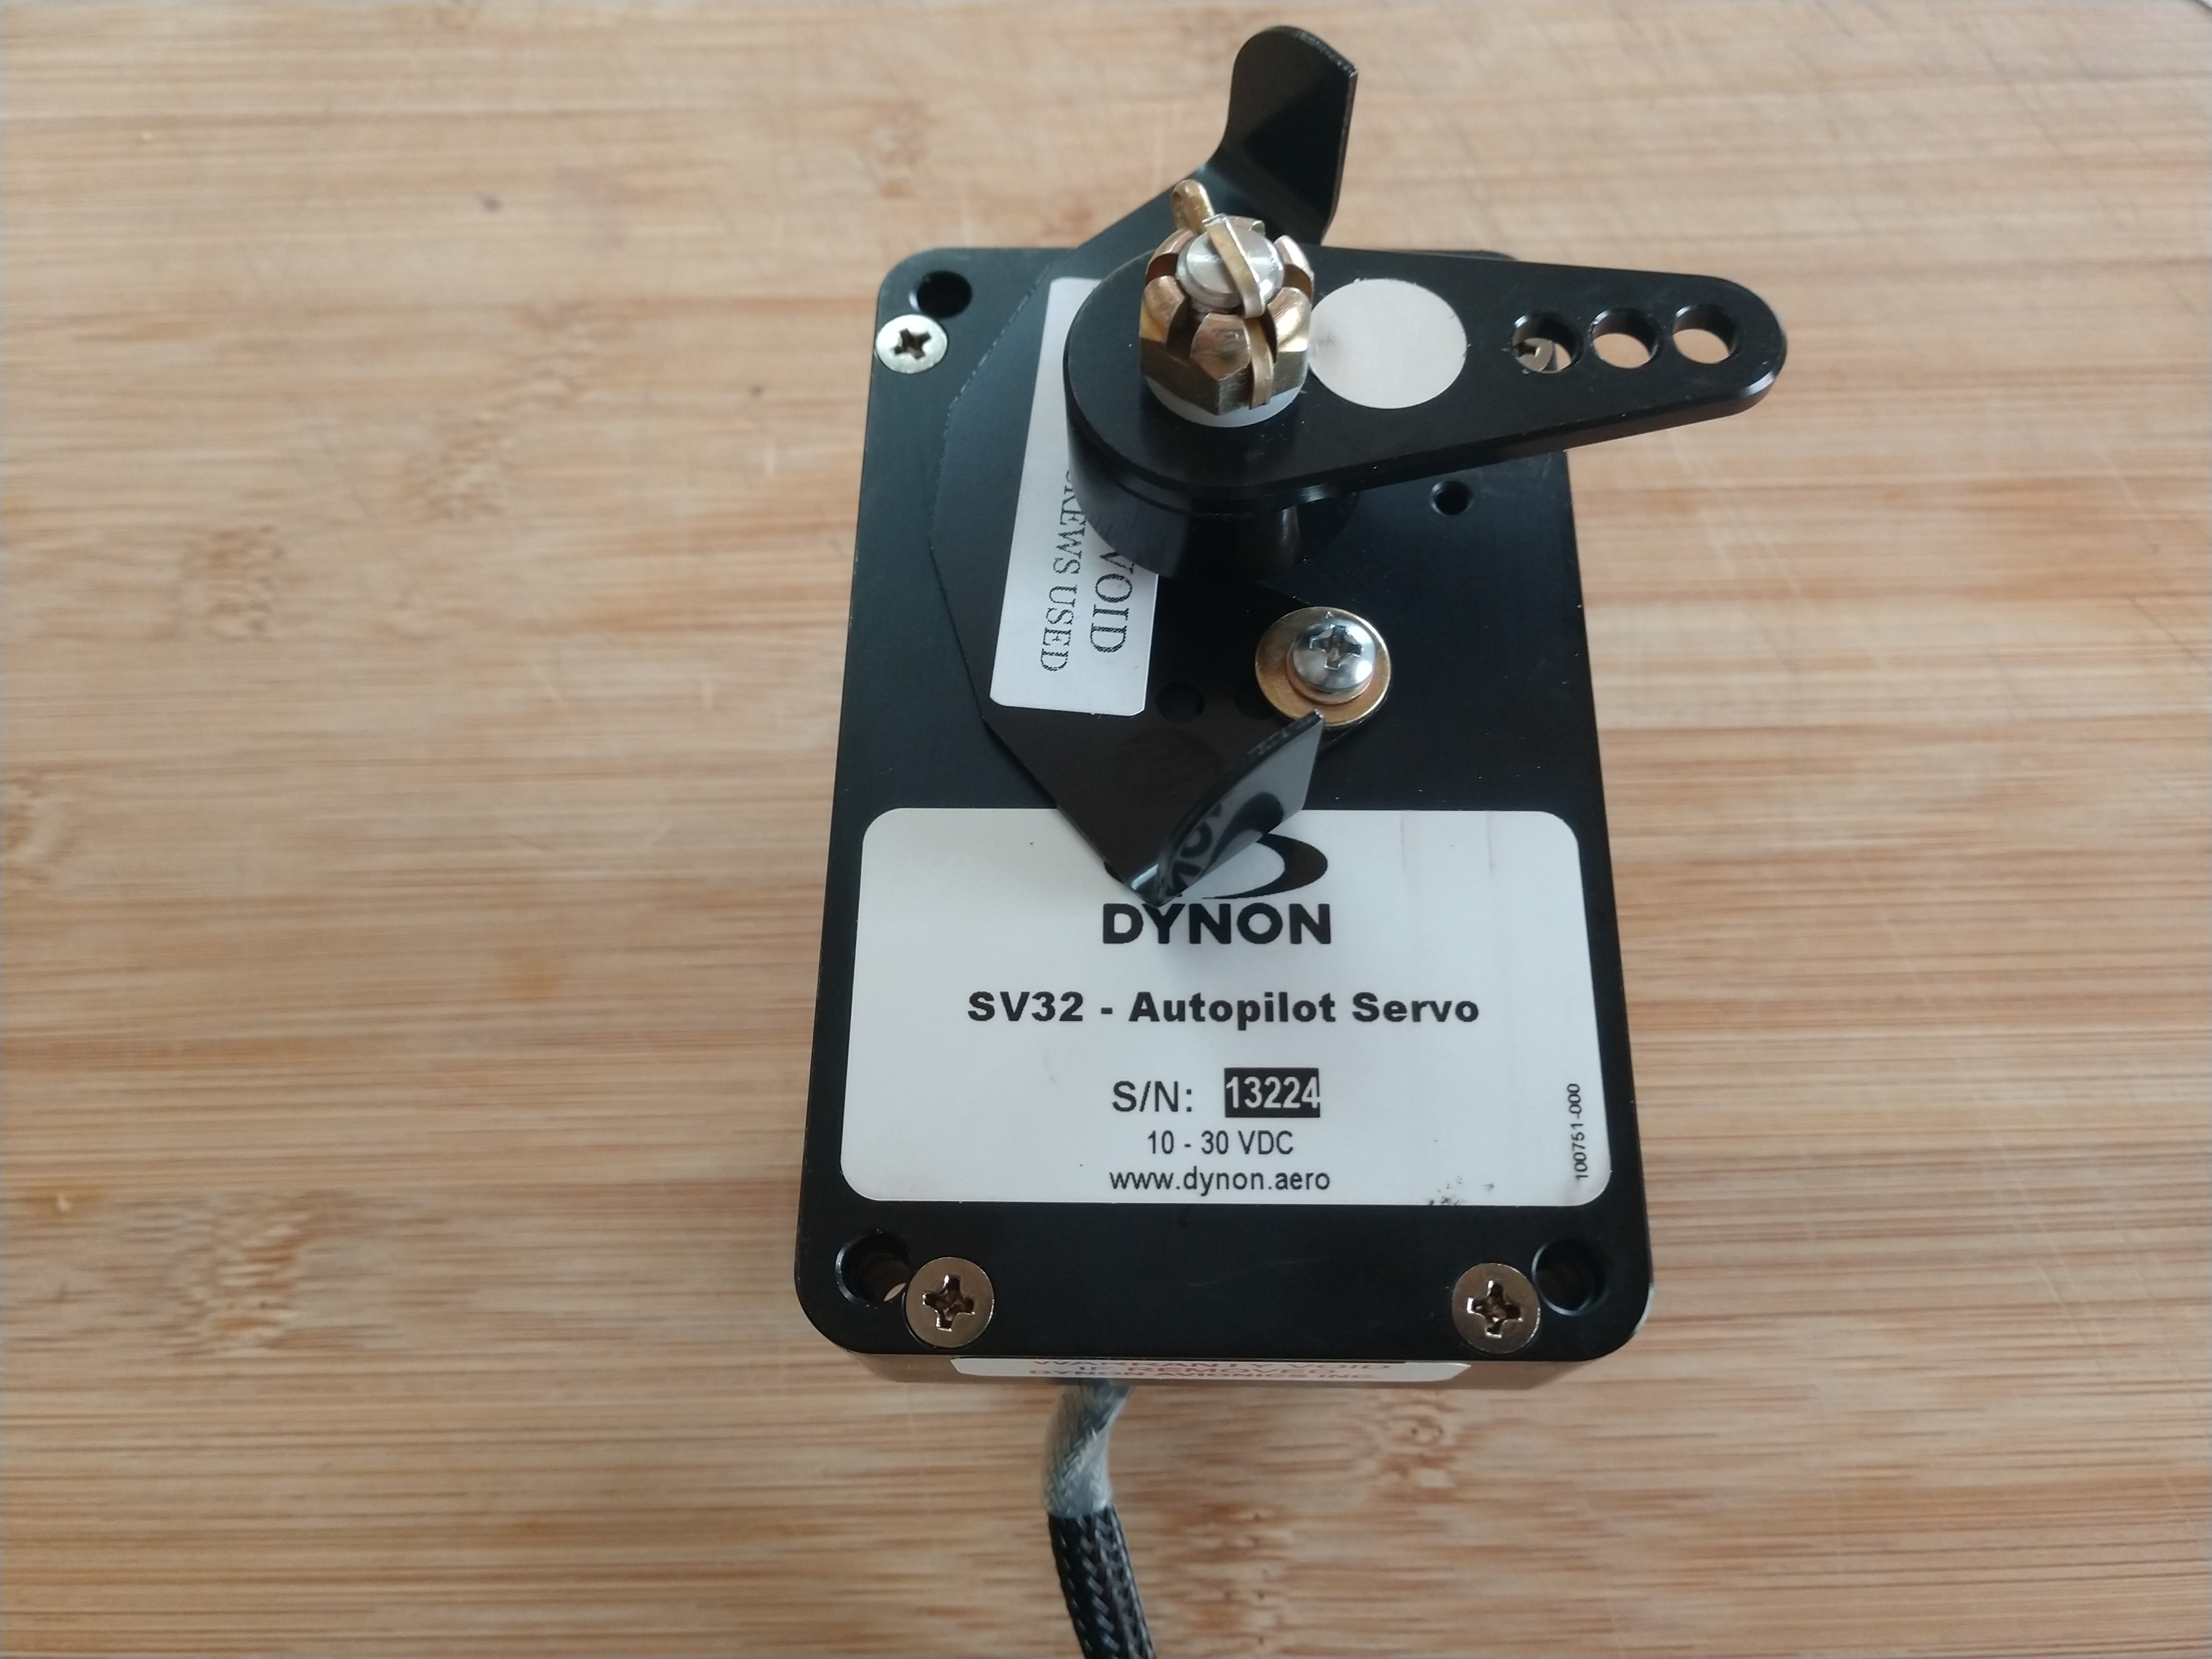
In its most simple configuration, all that is required to add the autopilot
capability are servos connected to
the D10A. I added the AP74 interface control box to move the autopilot controls
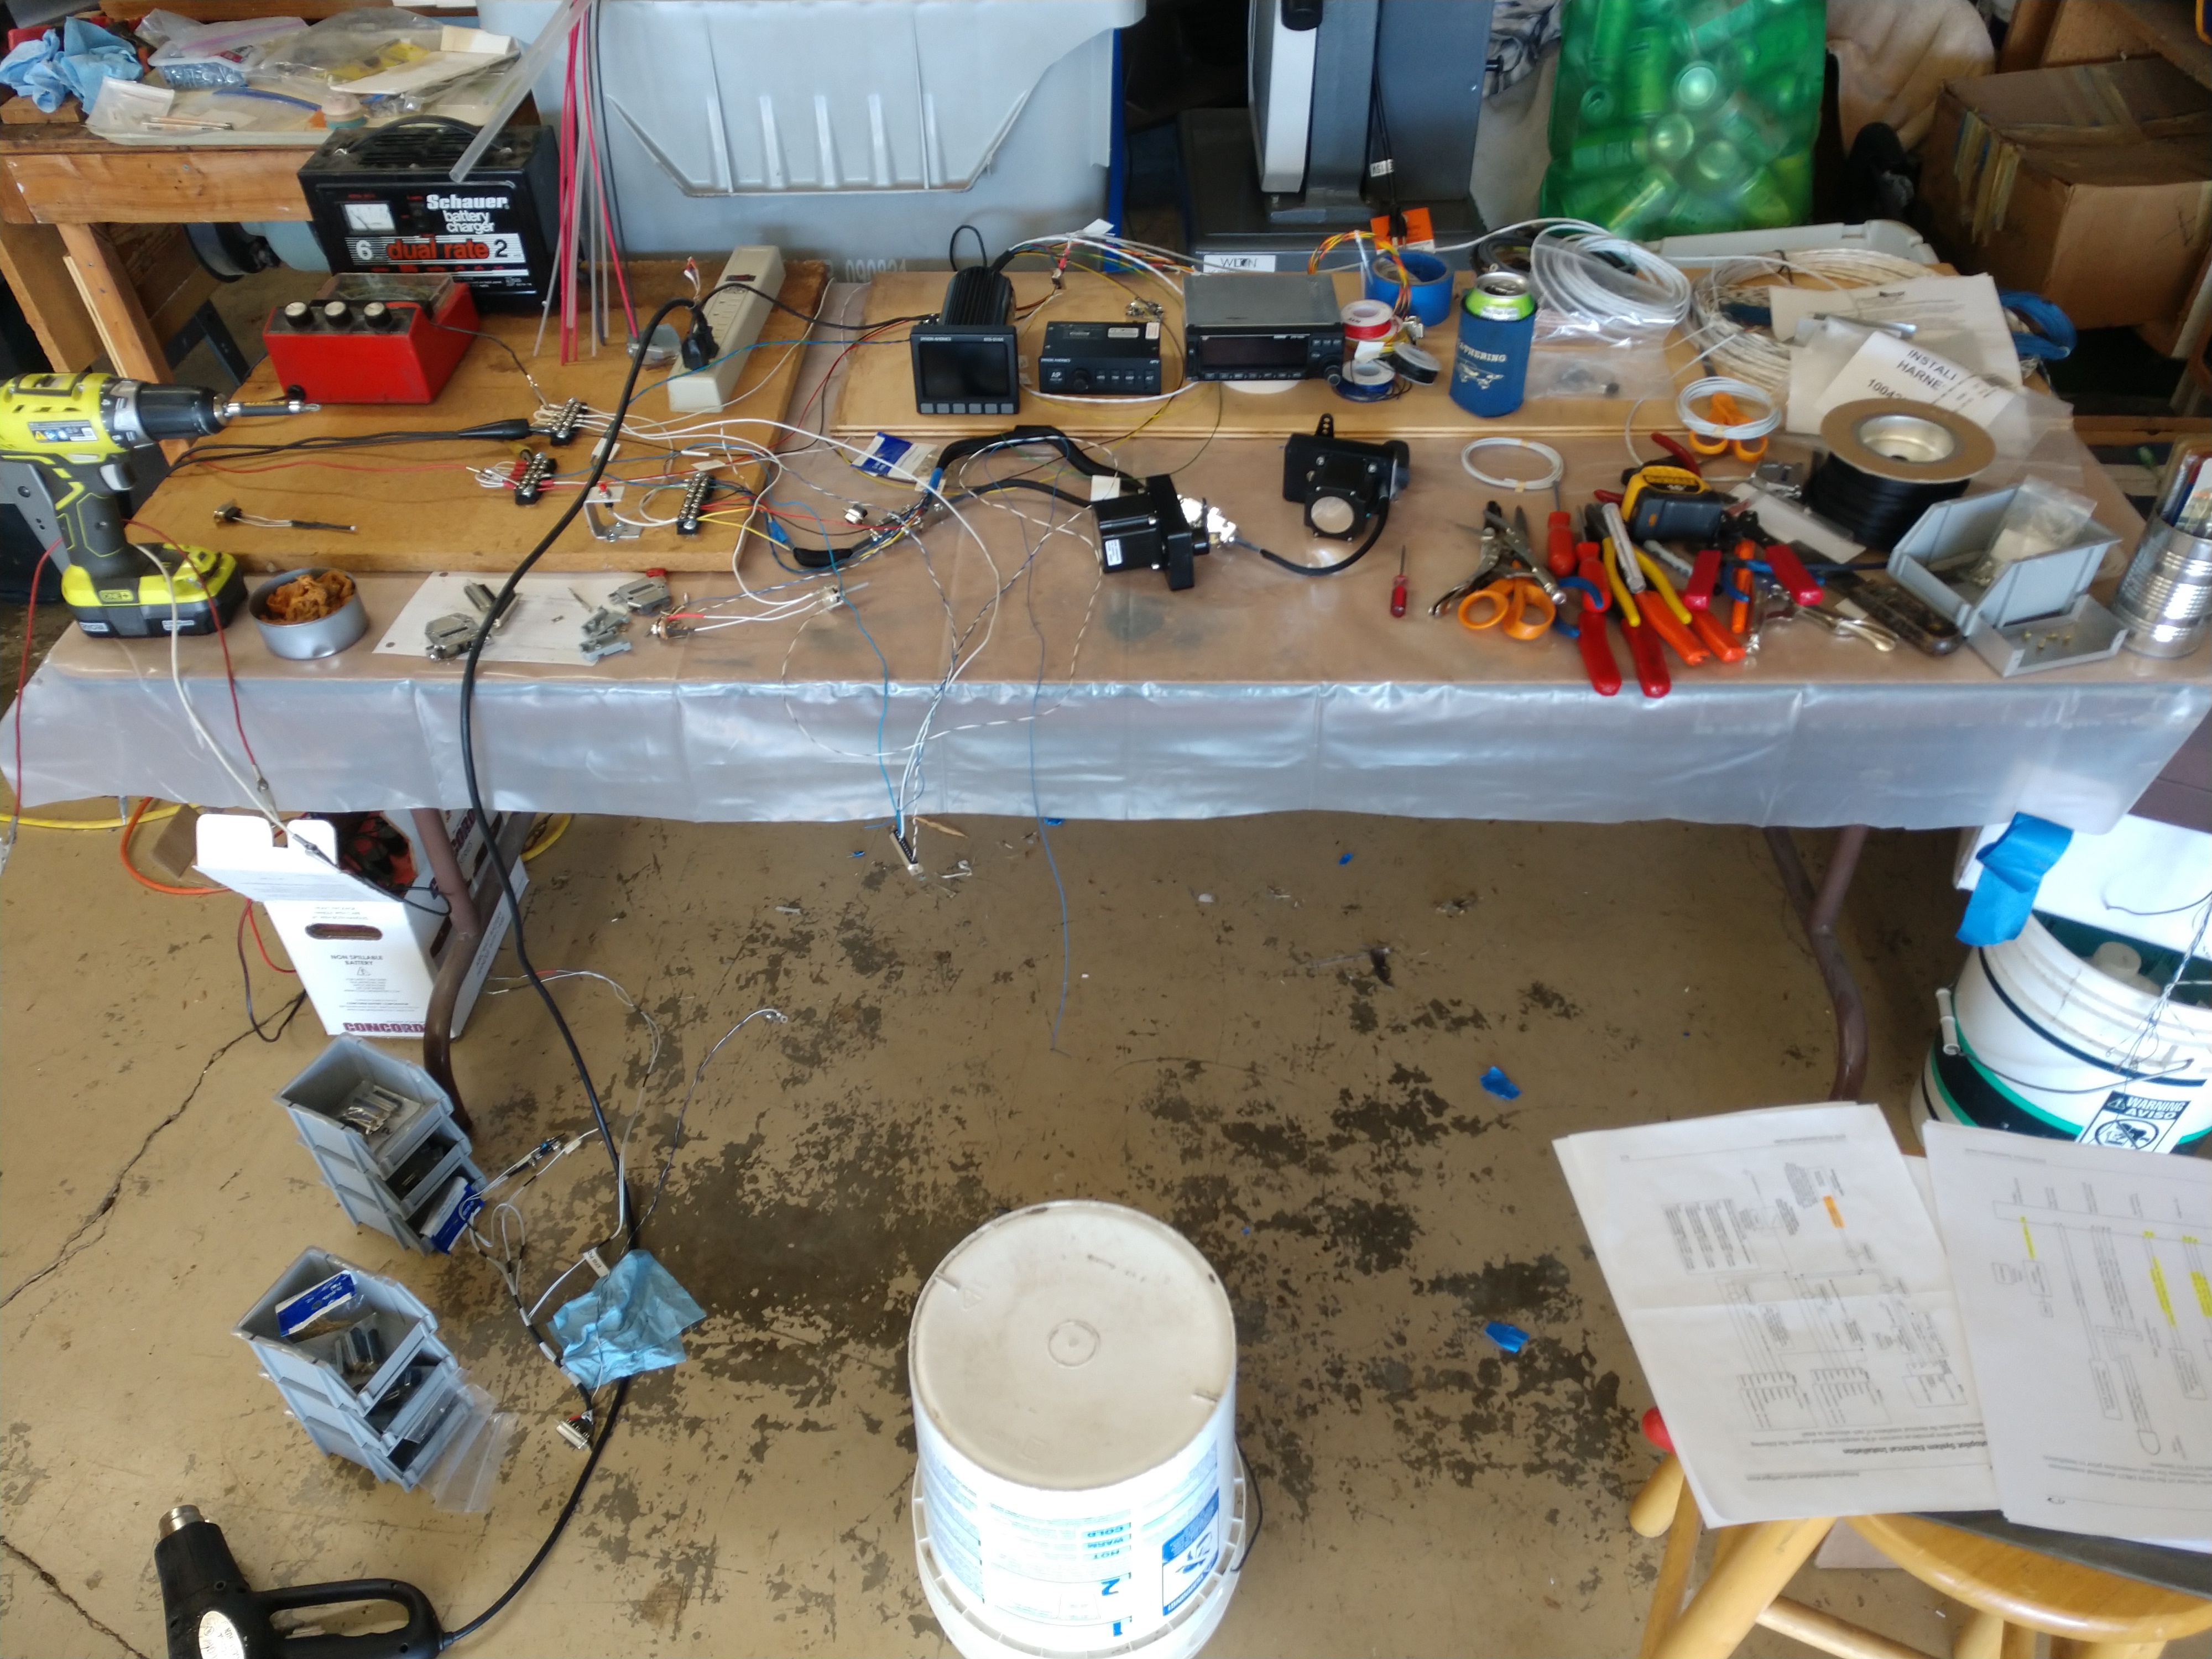
to it as a dedicated panel box. Wiring the whole system up was definitely the
most work intensive aspect of the entire installation. Simply setting up a test
bench to fabricate the cabling forced me to plan where everything was going to
lay in the airplane. That in turn determined cable lengths for all the different
parts of the harness. I used DB9 connectors throughout the installation to make
removing individual components easy.
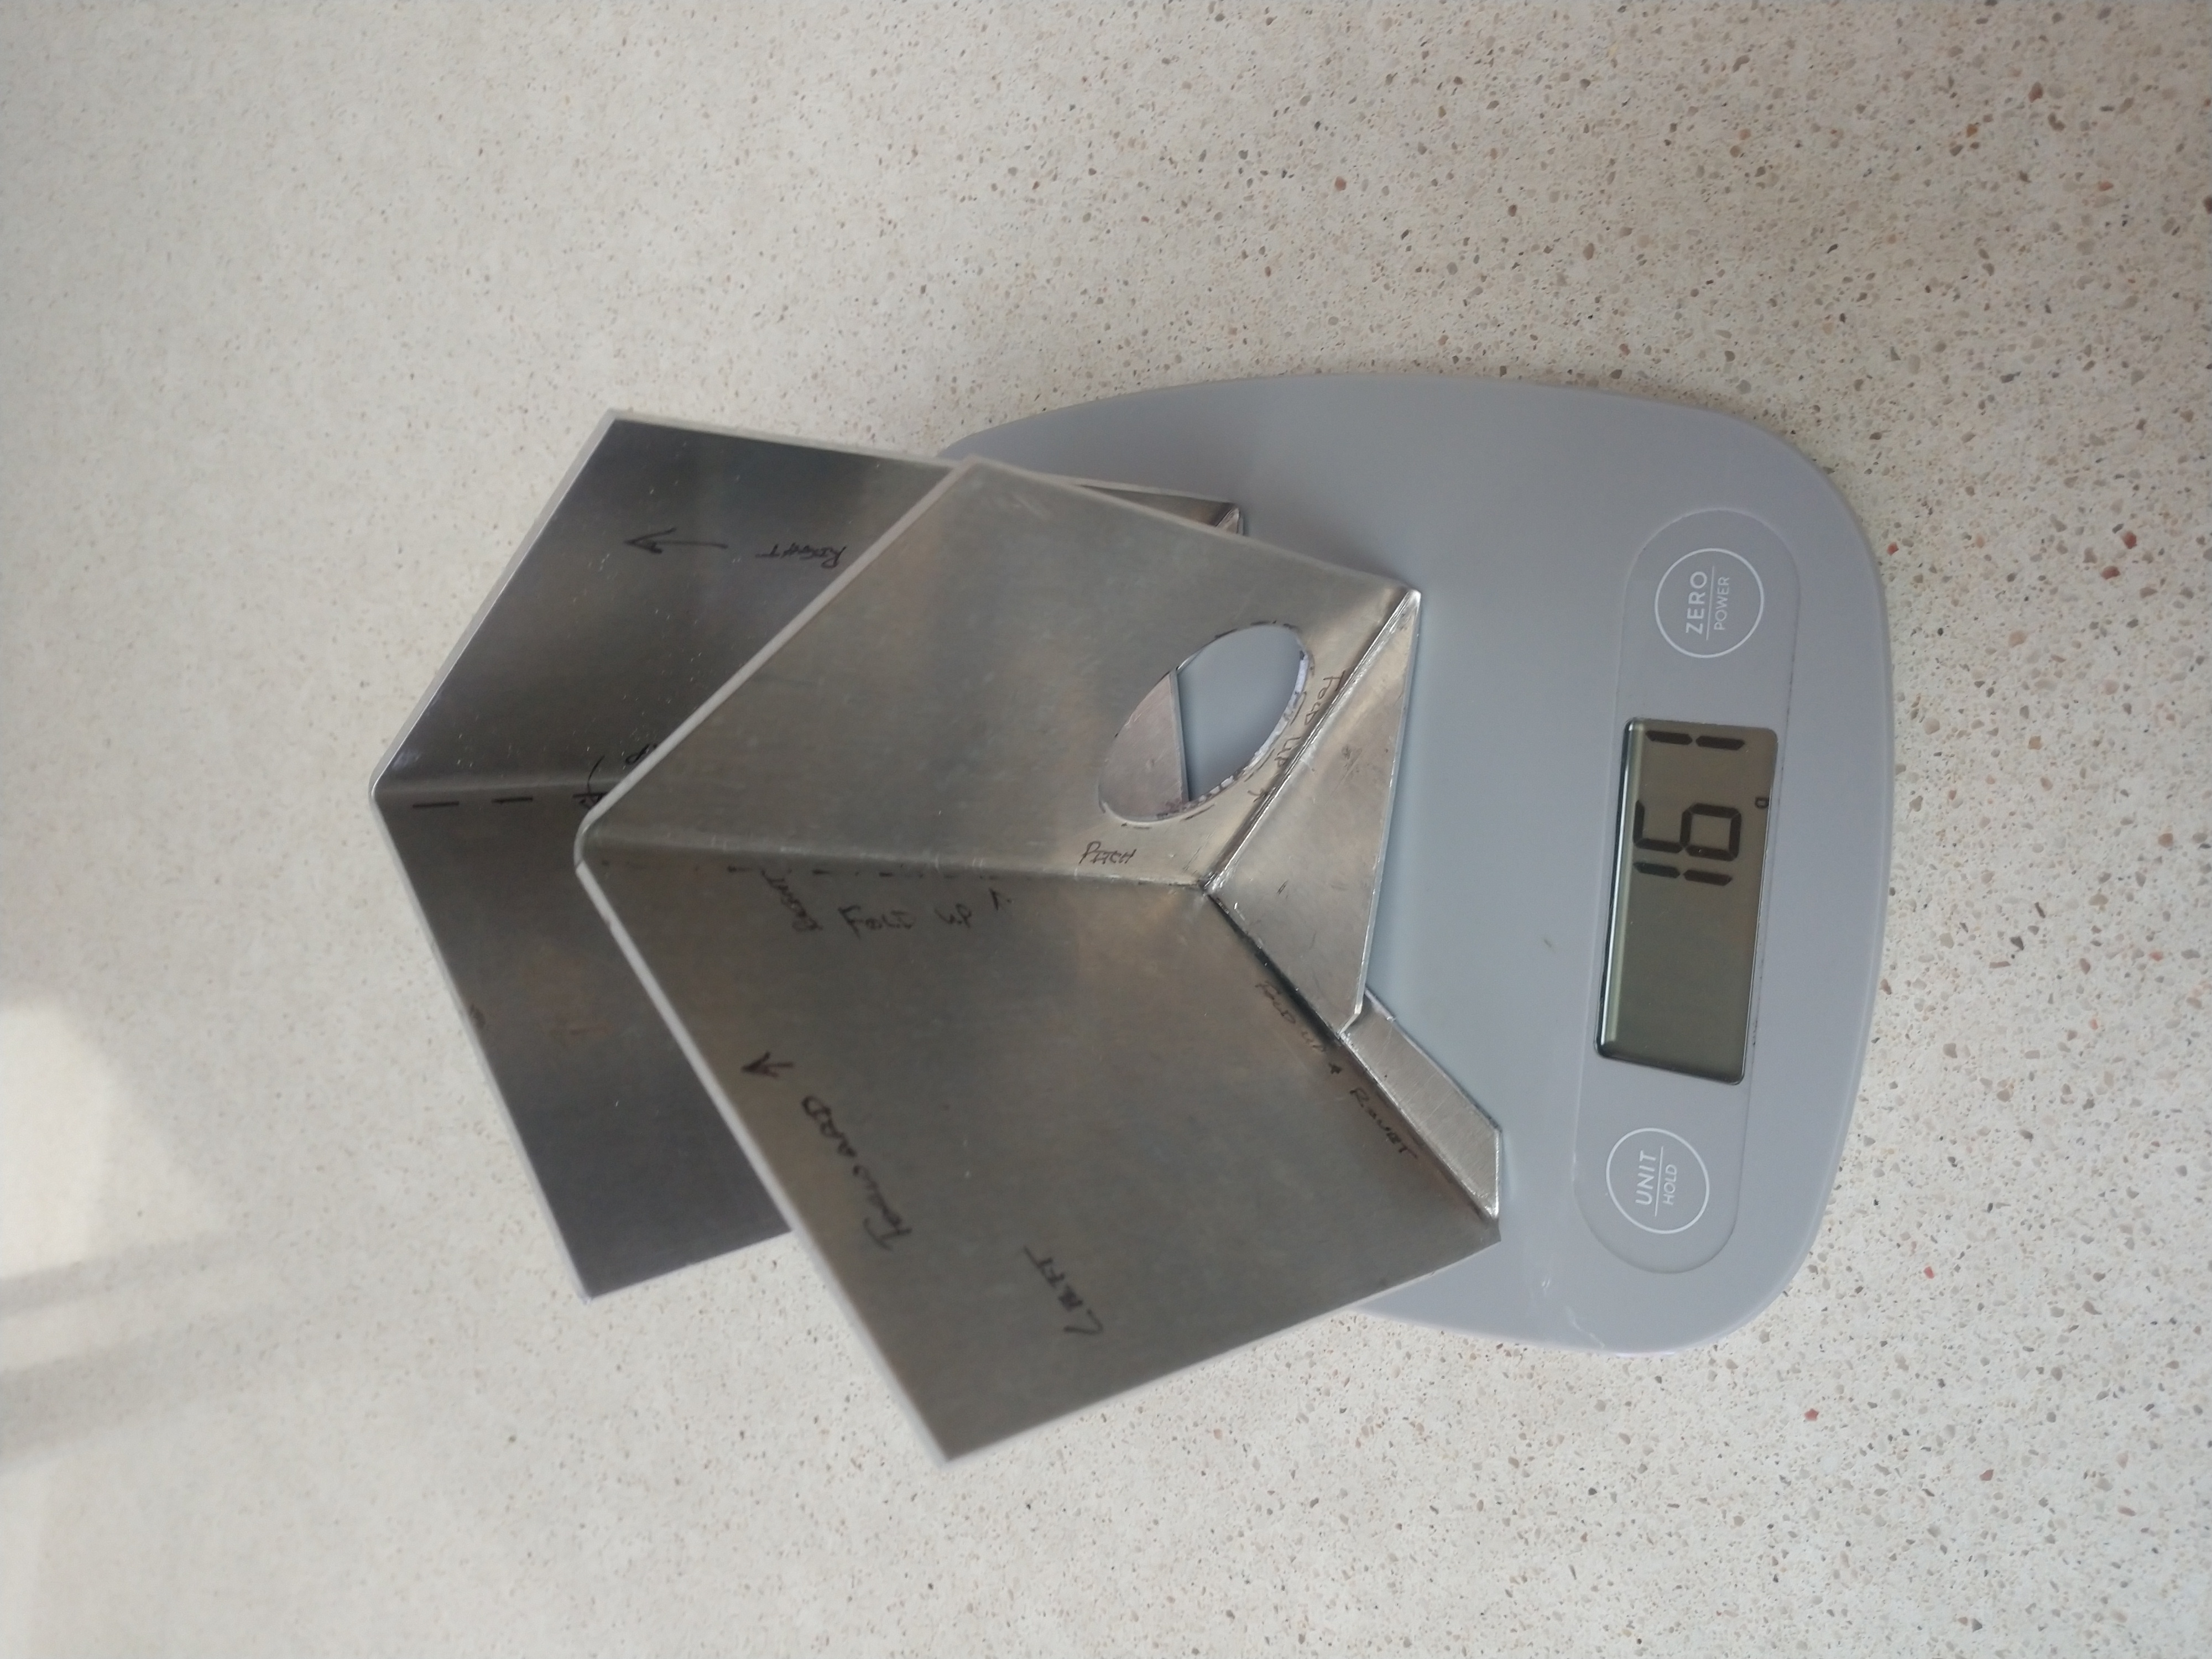
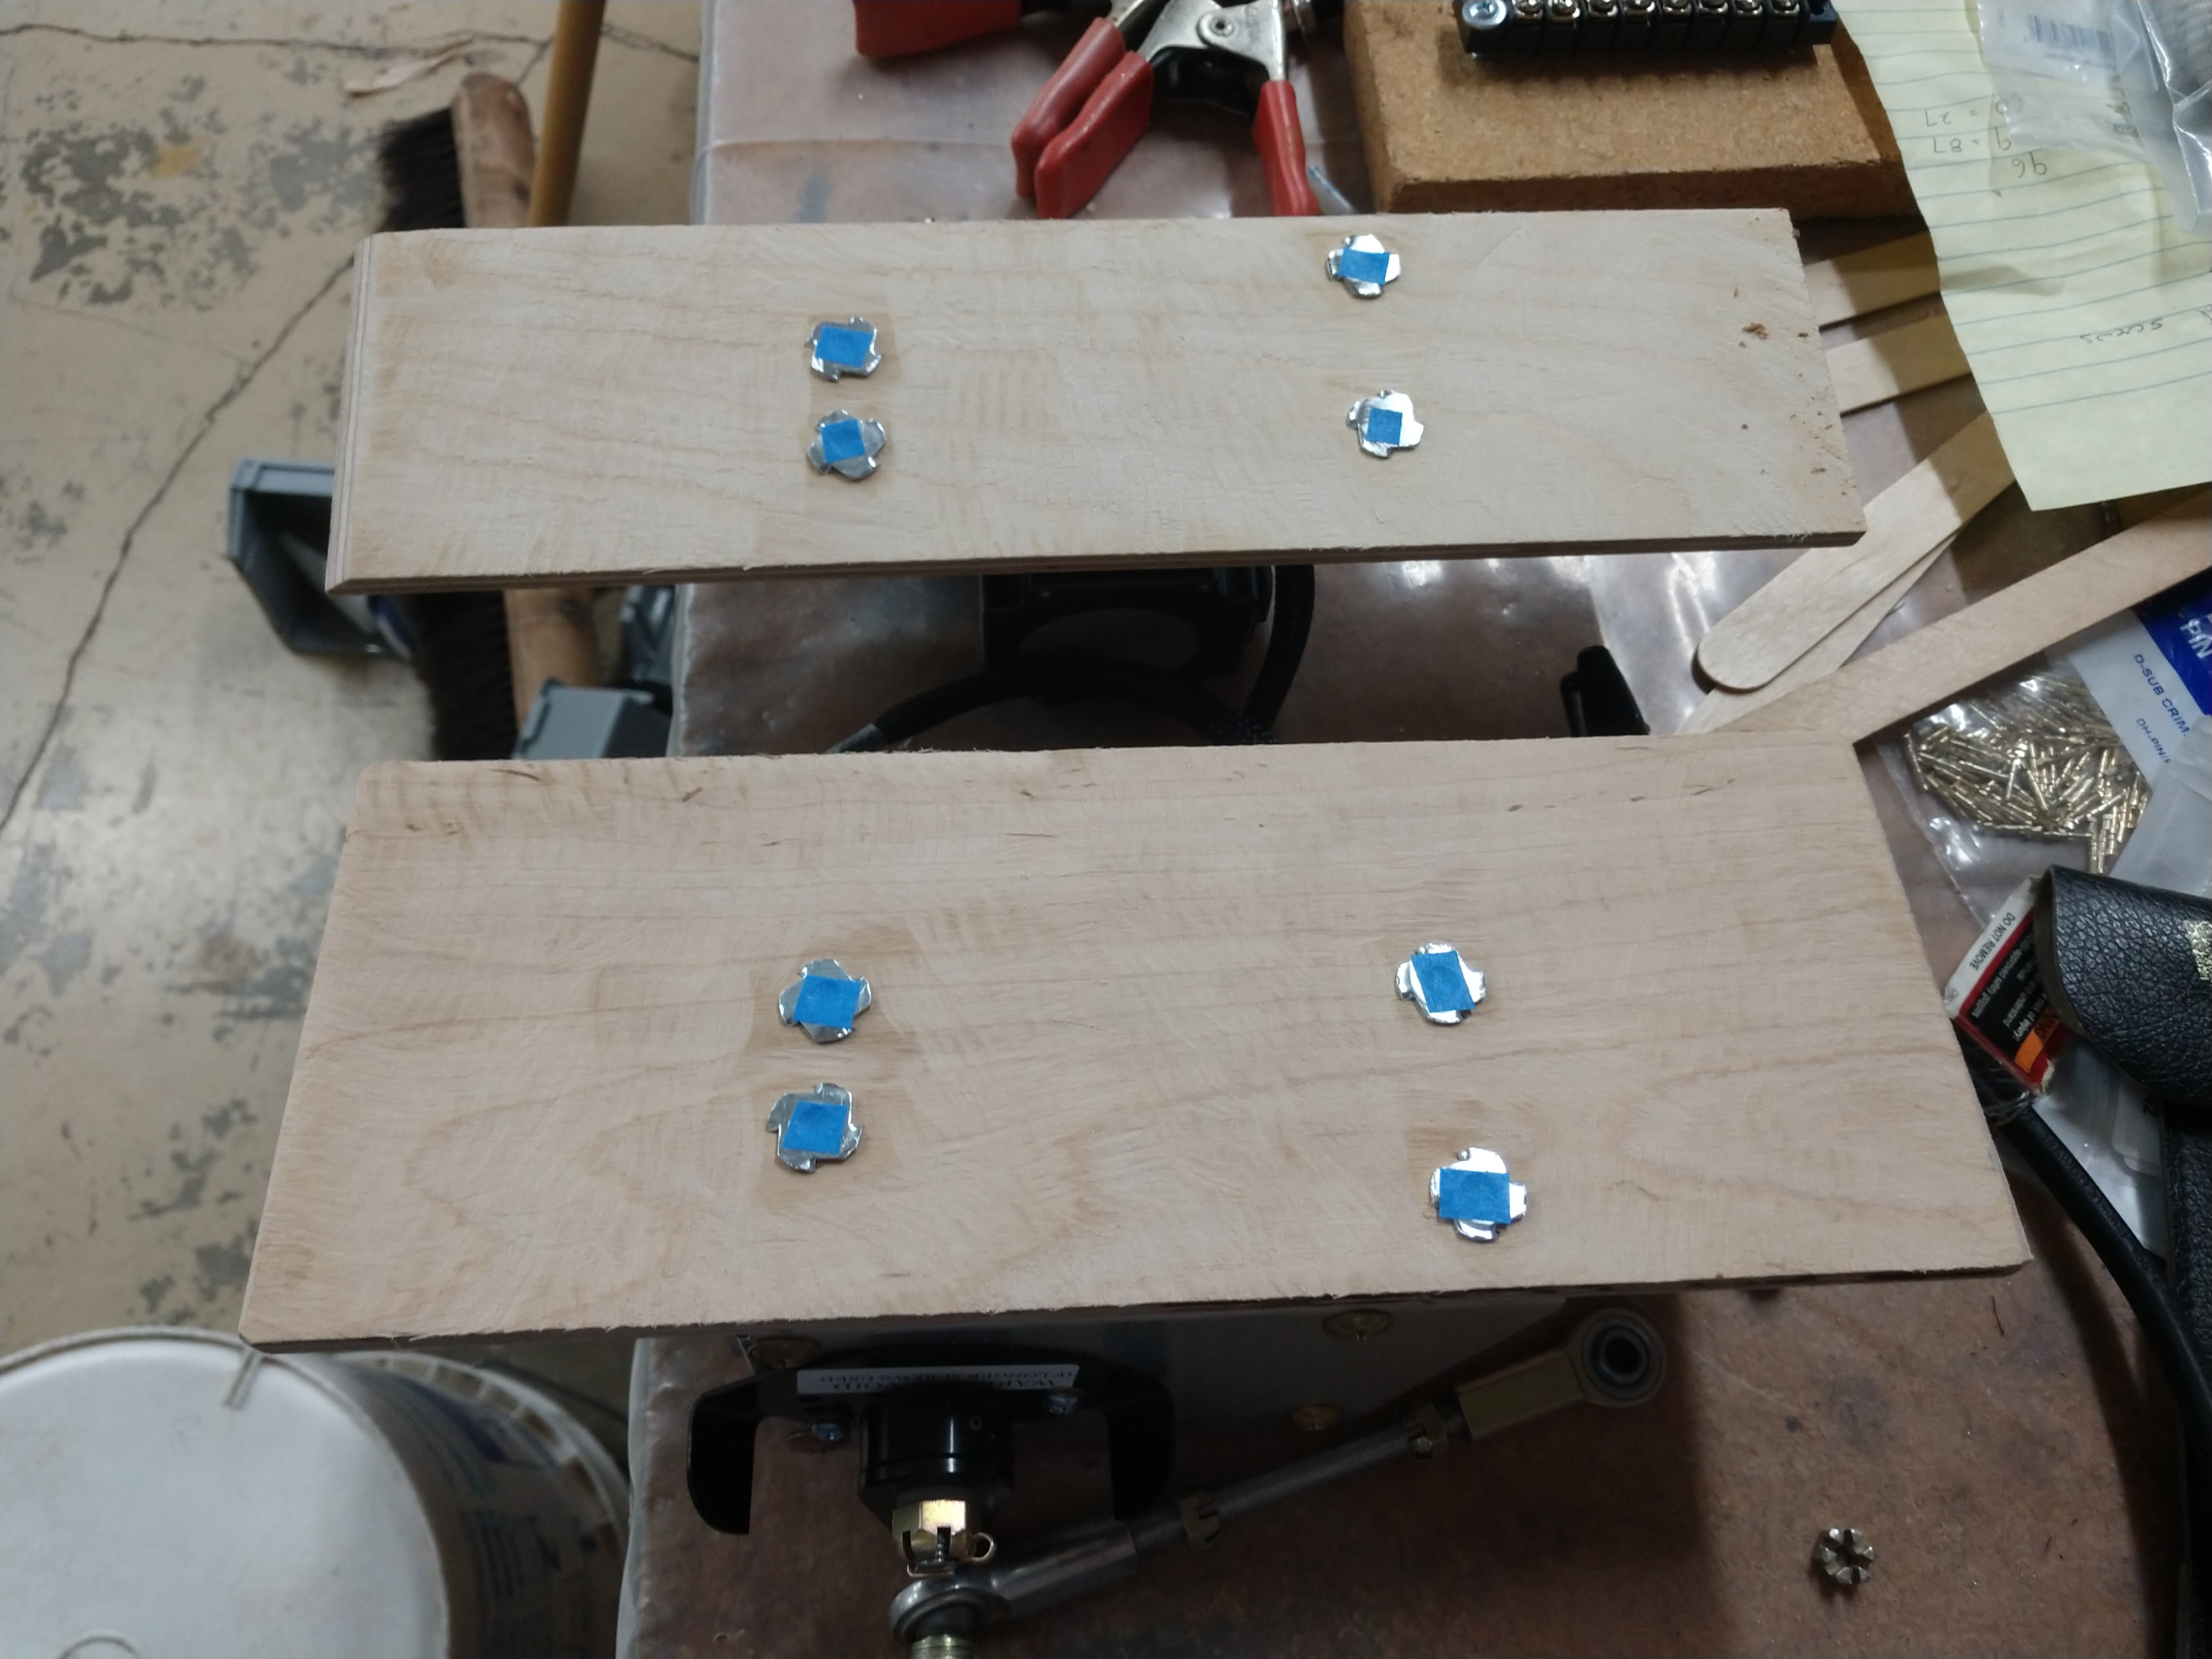
I used Joe Horton's servo mounting photos (the
last 3 photos on this page) as my model for installing the
hardware. A neighbor has a full metal working shop and he lets me have full run
of all his tools. Shearing the 0.050" 6061-T6 material, punching holes and
breaking the bends was quick and precise. Even without lightening holes added
later, both servo mount trays only weighed 160G. Part of the install procedure
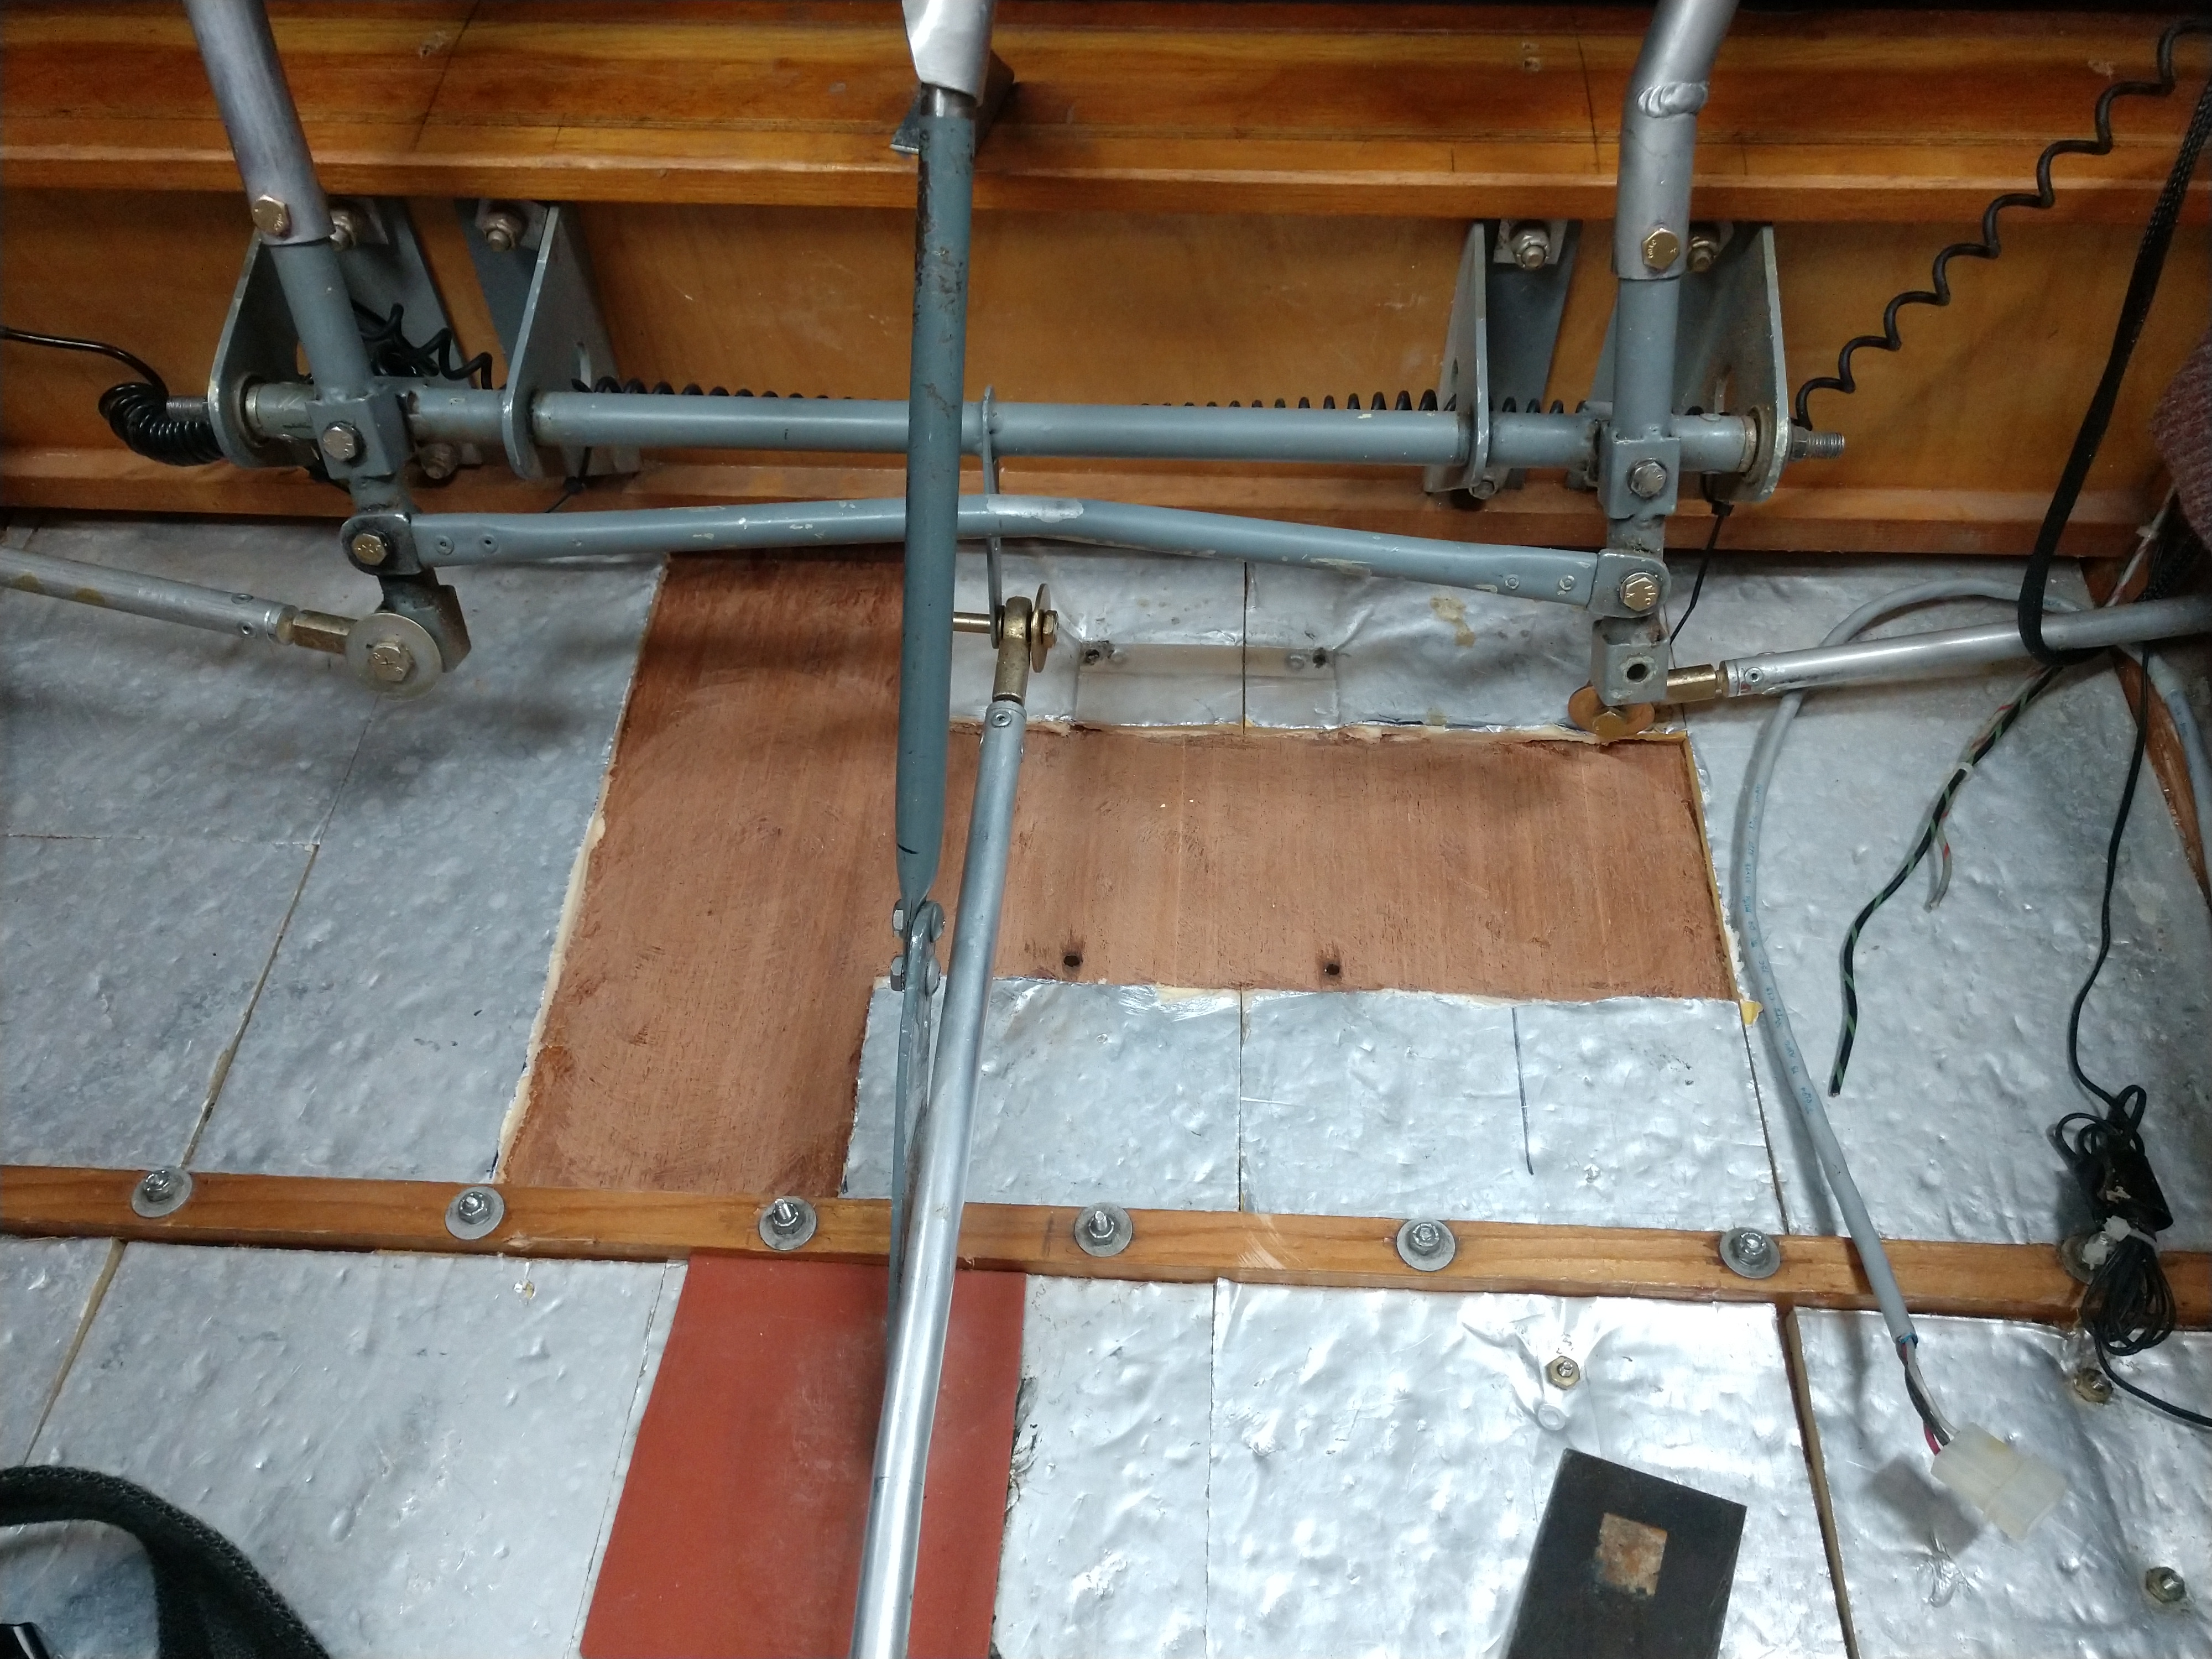
calls out installing range limit brackets so the servo pushrods cannot go
over-center with potentially disastrous results. You can see a range limit
bracket in the second photo.
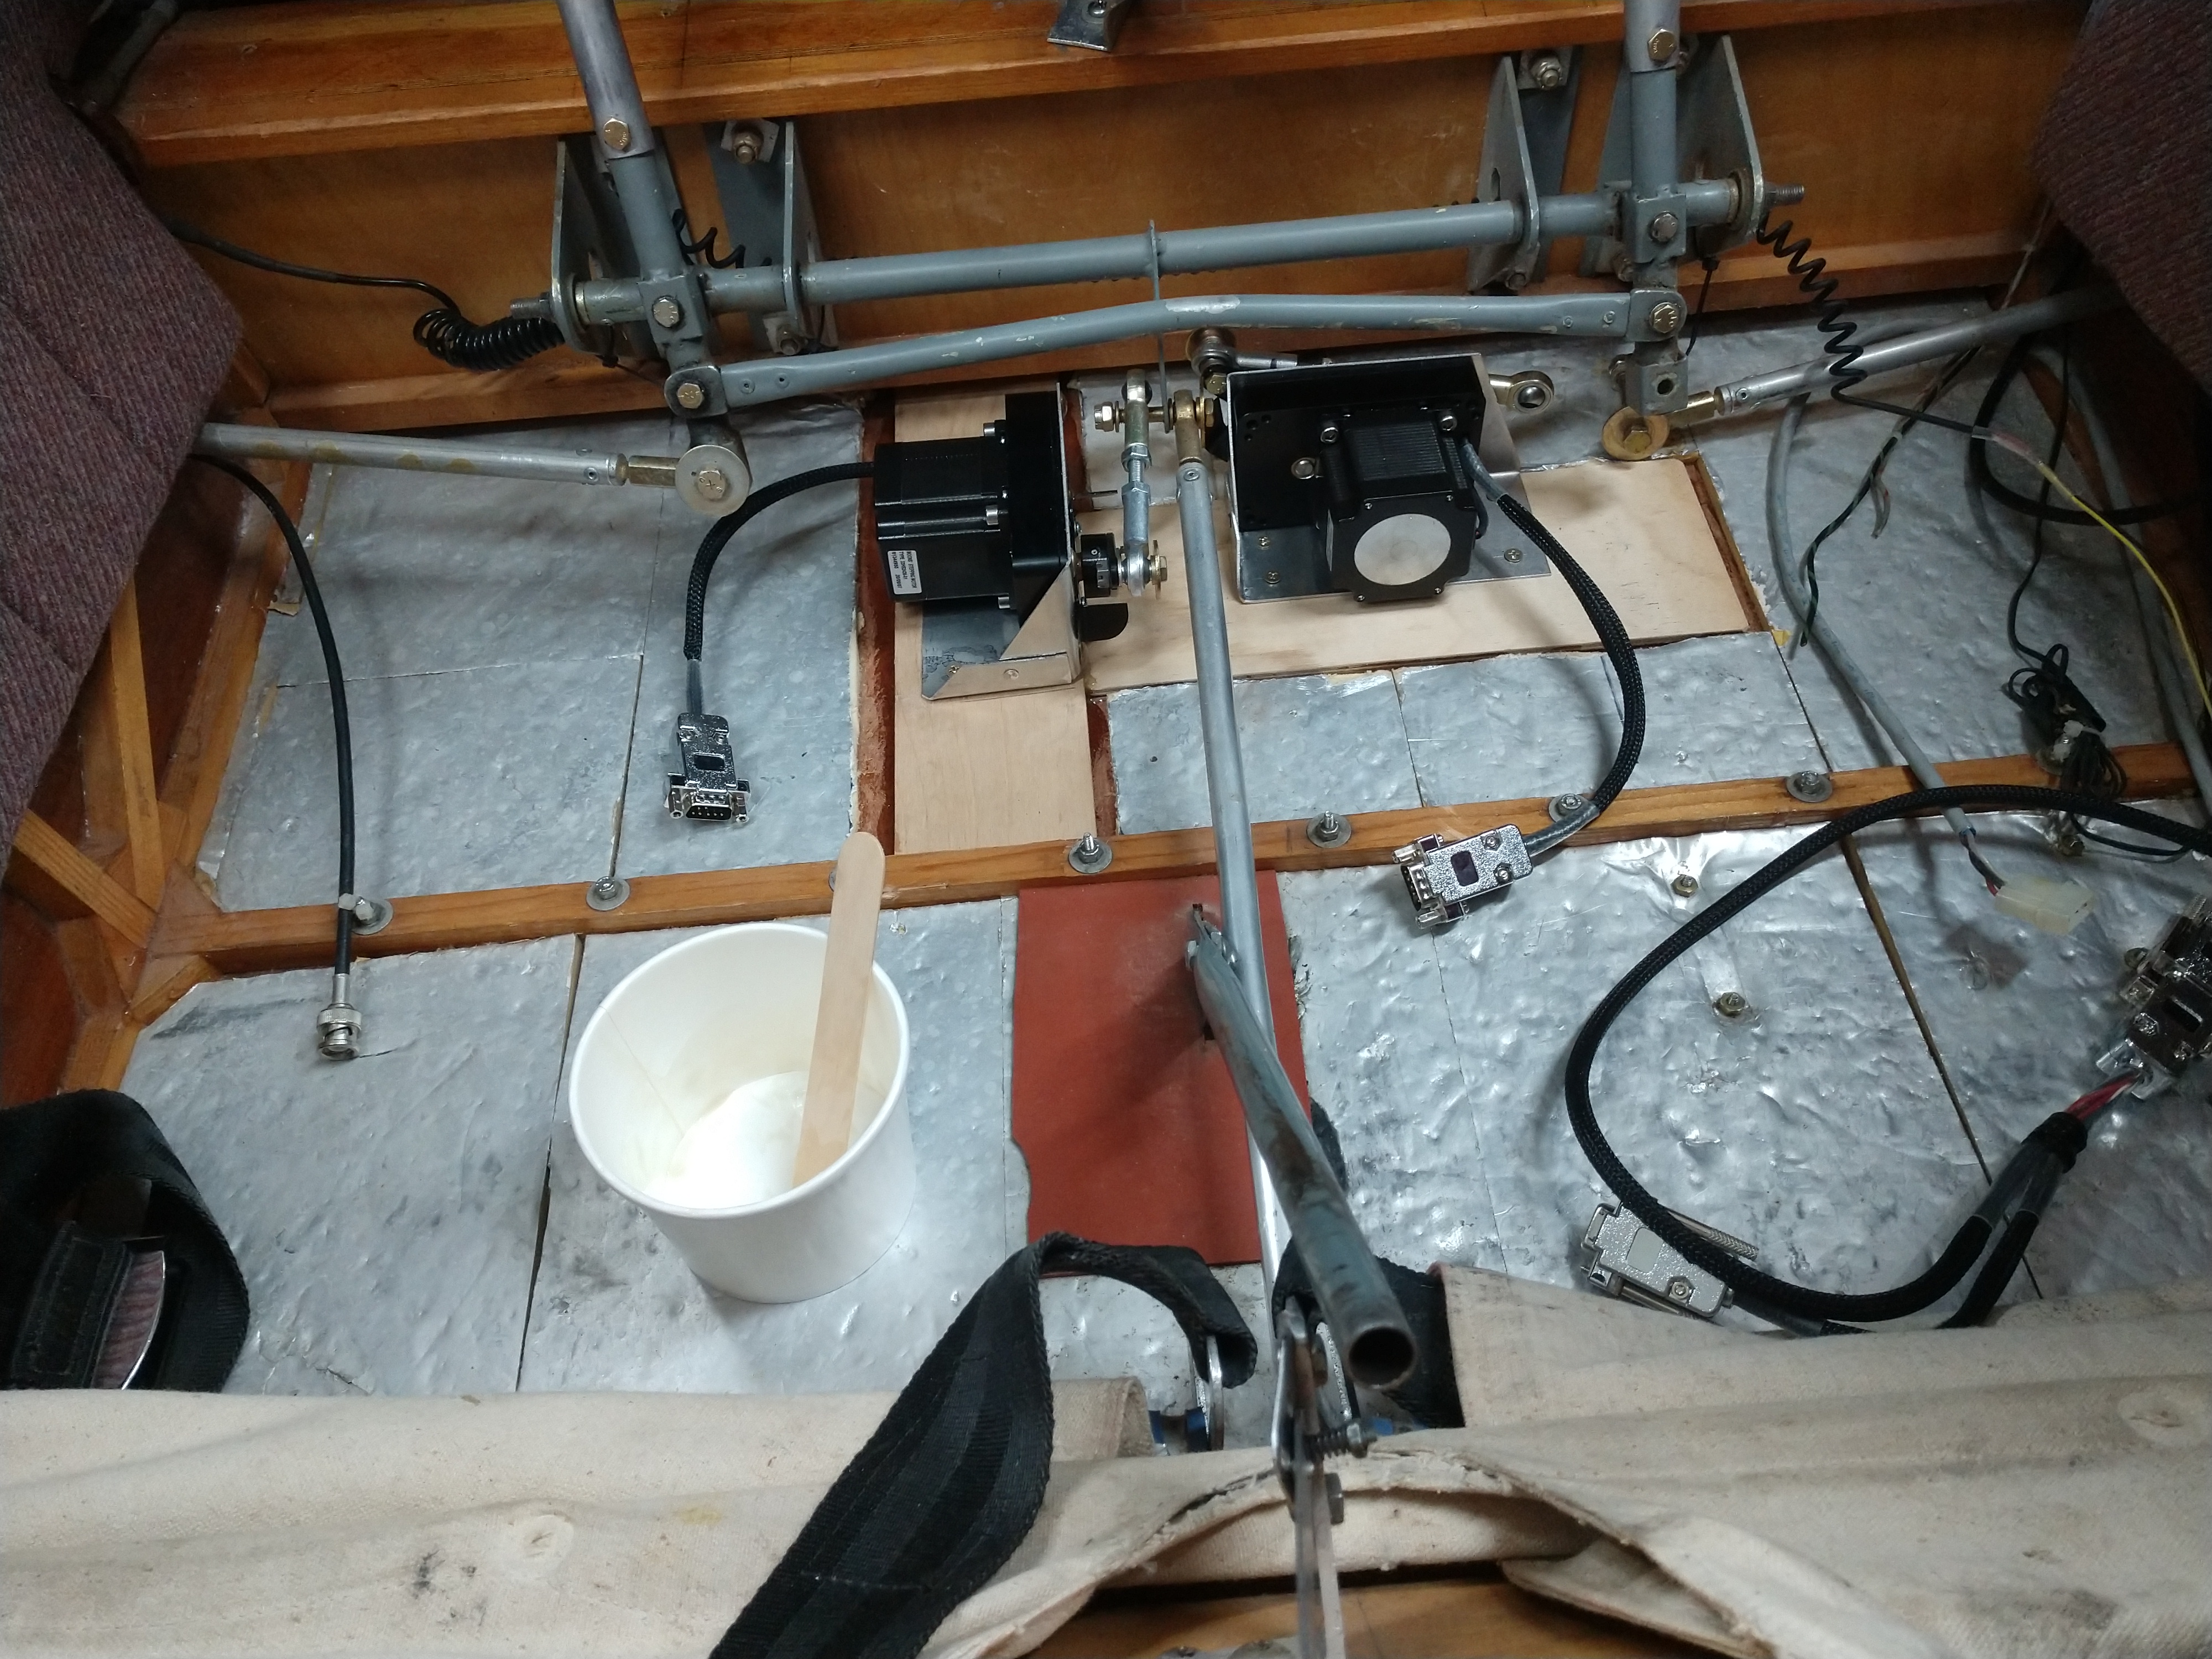
Roy installed insulation throughout his cabin. Installing the servos required
stripping out the insulation where the mounting tray doublers were epoxied to
the floor. I used 6-32 "T-nuts" to accept the tray mounting screws. In the last
photo you can see the pitch servo pushrod is loosely installed and the roll
pushrod is not installed.
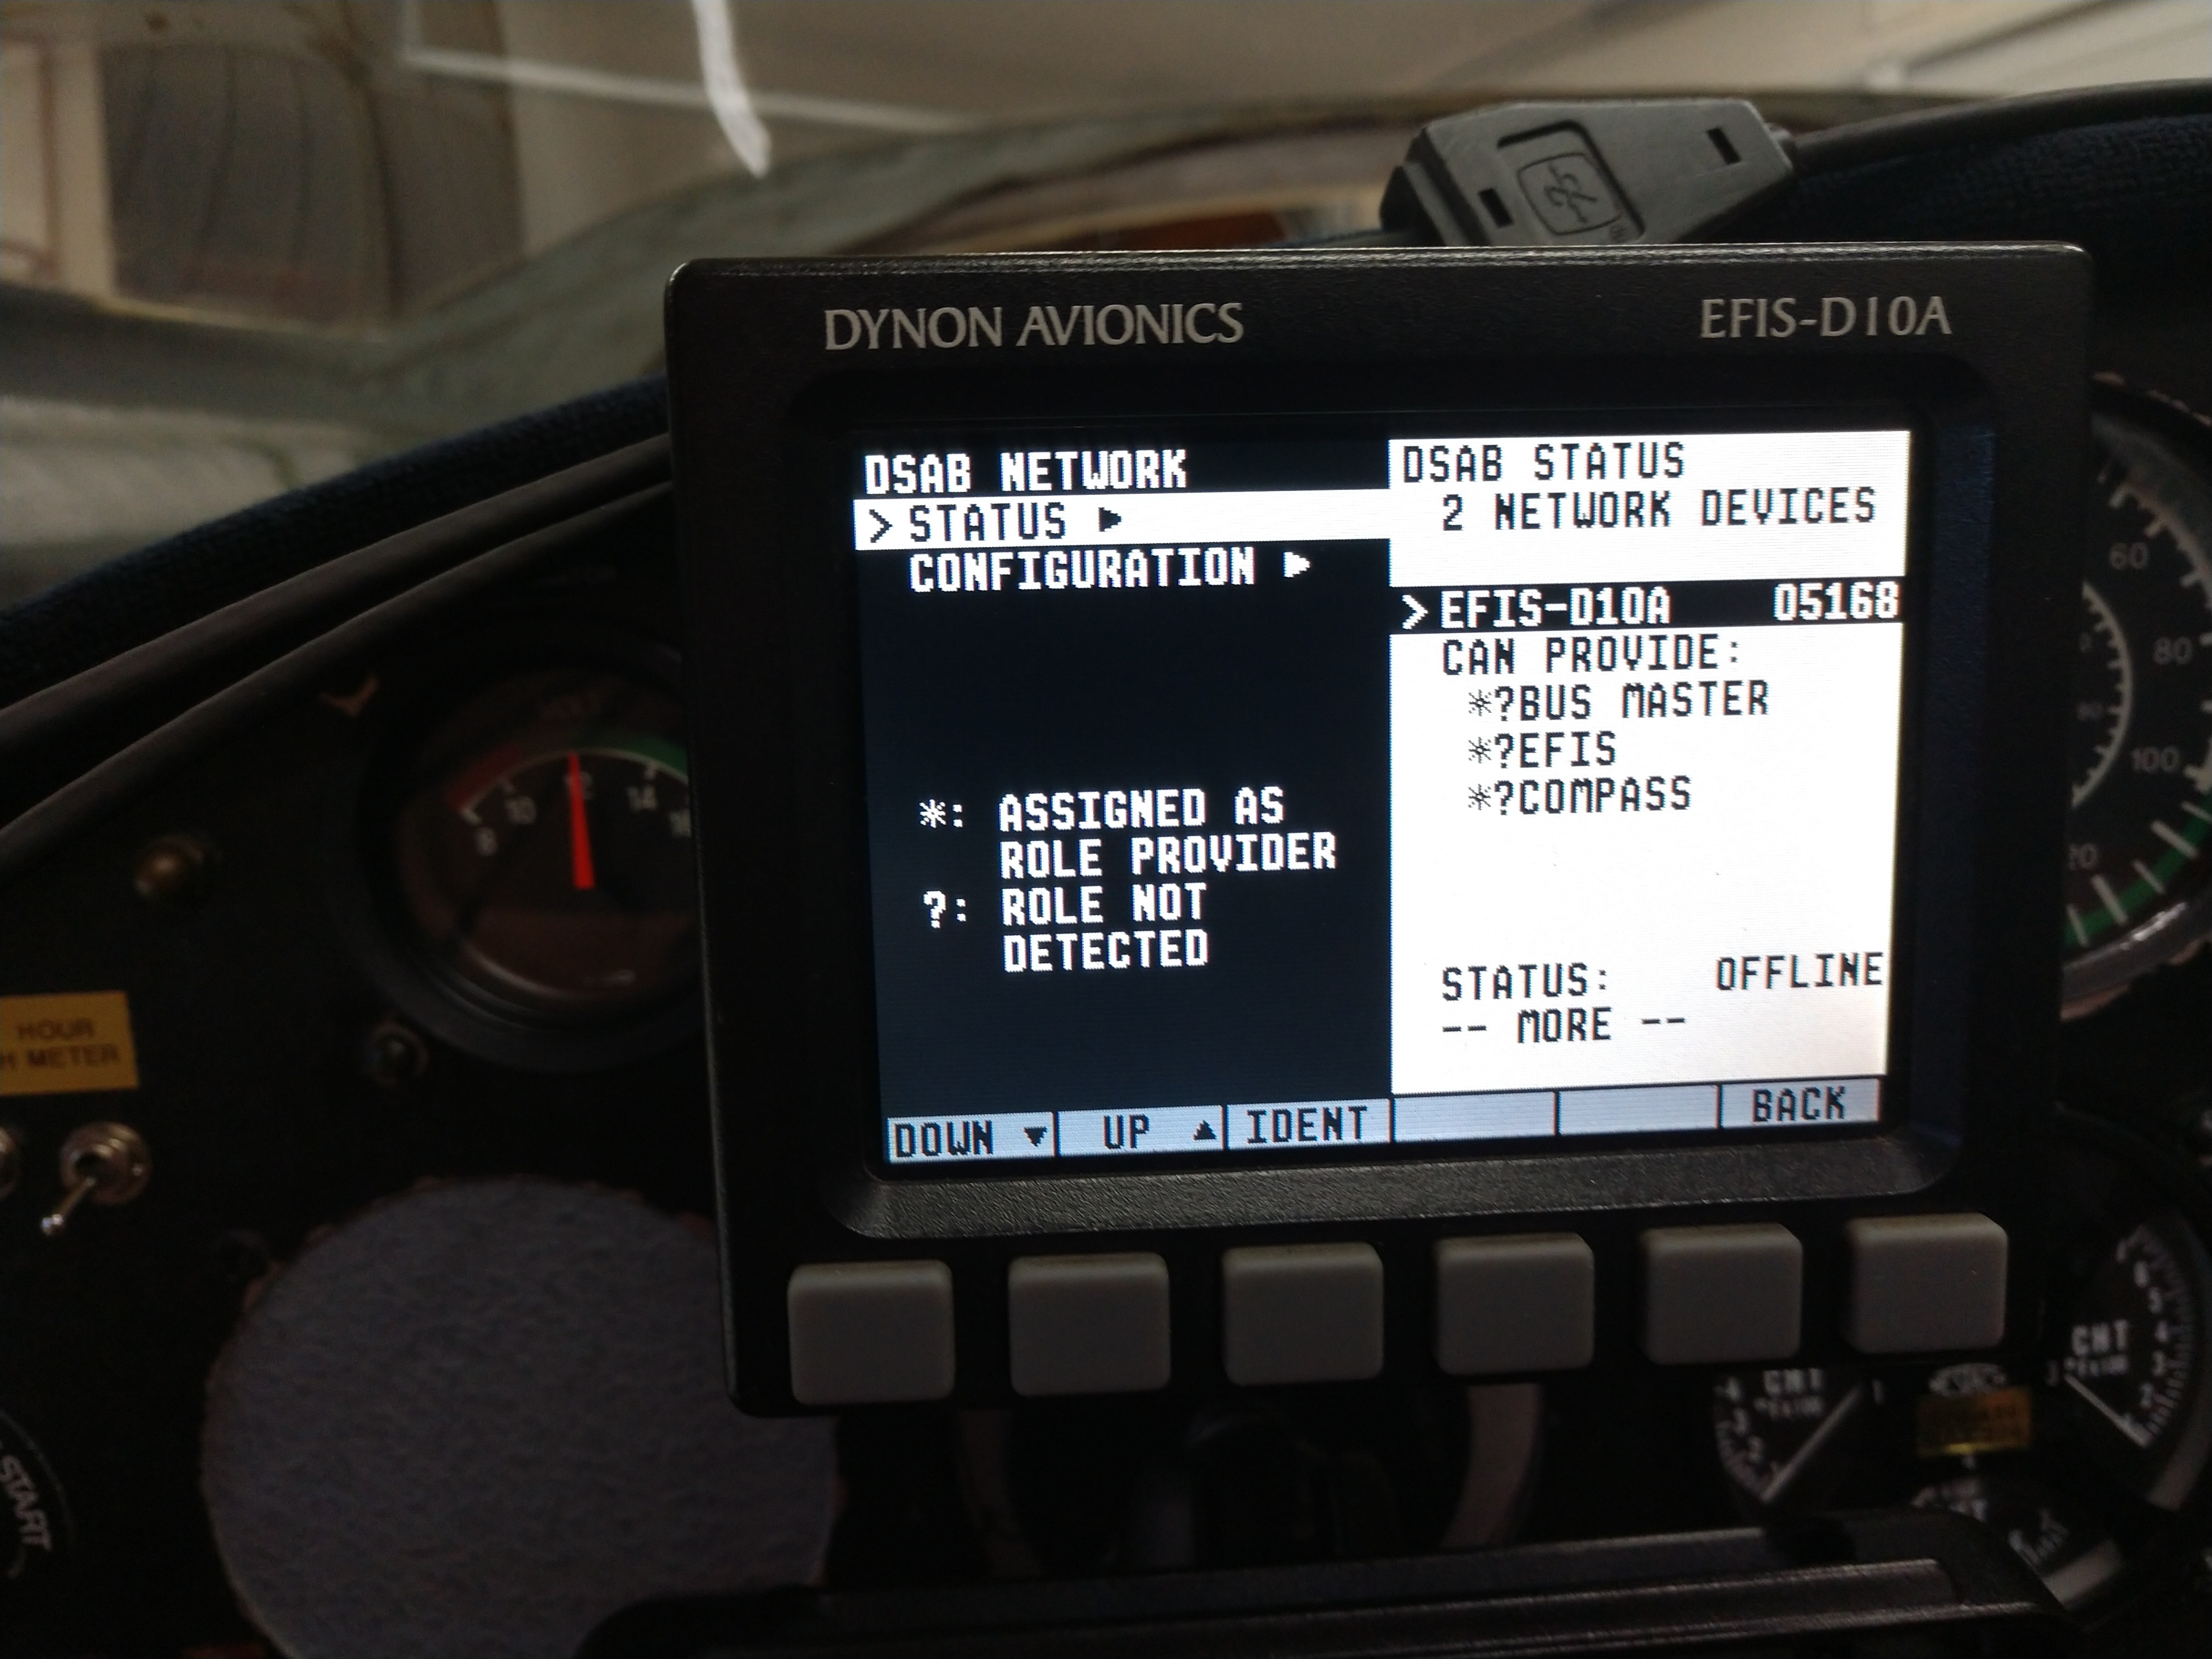
Configuring the new autopilot controls requires entering [Setup] in the Dynon
D10A menu structure and defining how the components will be used. The Setup
screens read the serial numbers from the devices it senses are connected
through the "DSAB" control cables. This is where all that time on the test bench
pays off. By testing each wire as it is built, I had a 100% success getting the
AP74, both servos and the remote compass recognized on the first try. After
that, it was a matter of making all the cable connections permanent through
bundling wires and connectors. The Setup function tests all the components. By
actuating pitch and then roll, the D10A "learns" which servo does which
function. Other menus assign desired minimum and maximum airspeeds and VSI rates
as well as how much force each servo should exert when moving the stick. In the
case of our KRs, that's not much force at all! After you run through the Setup
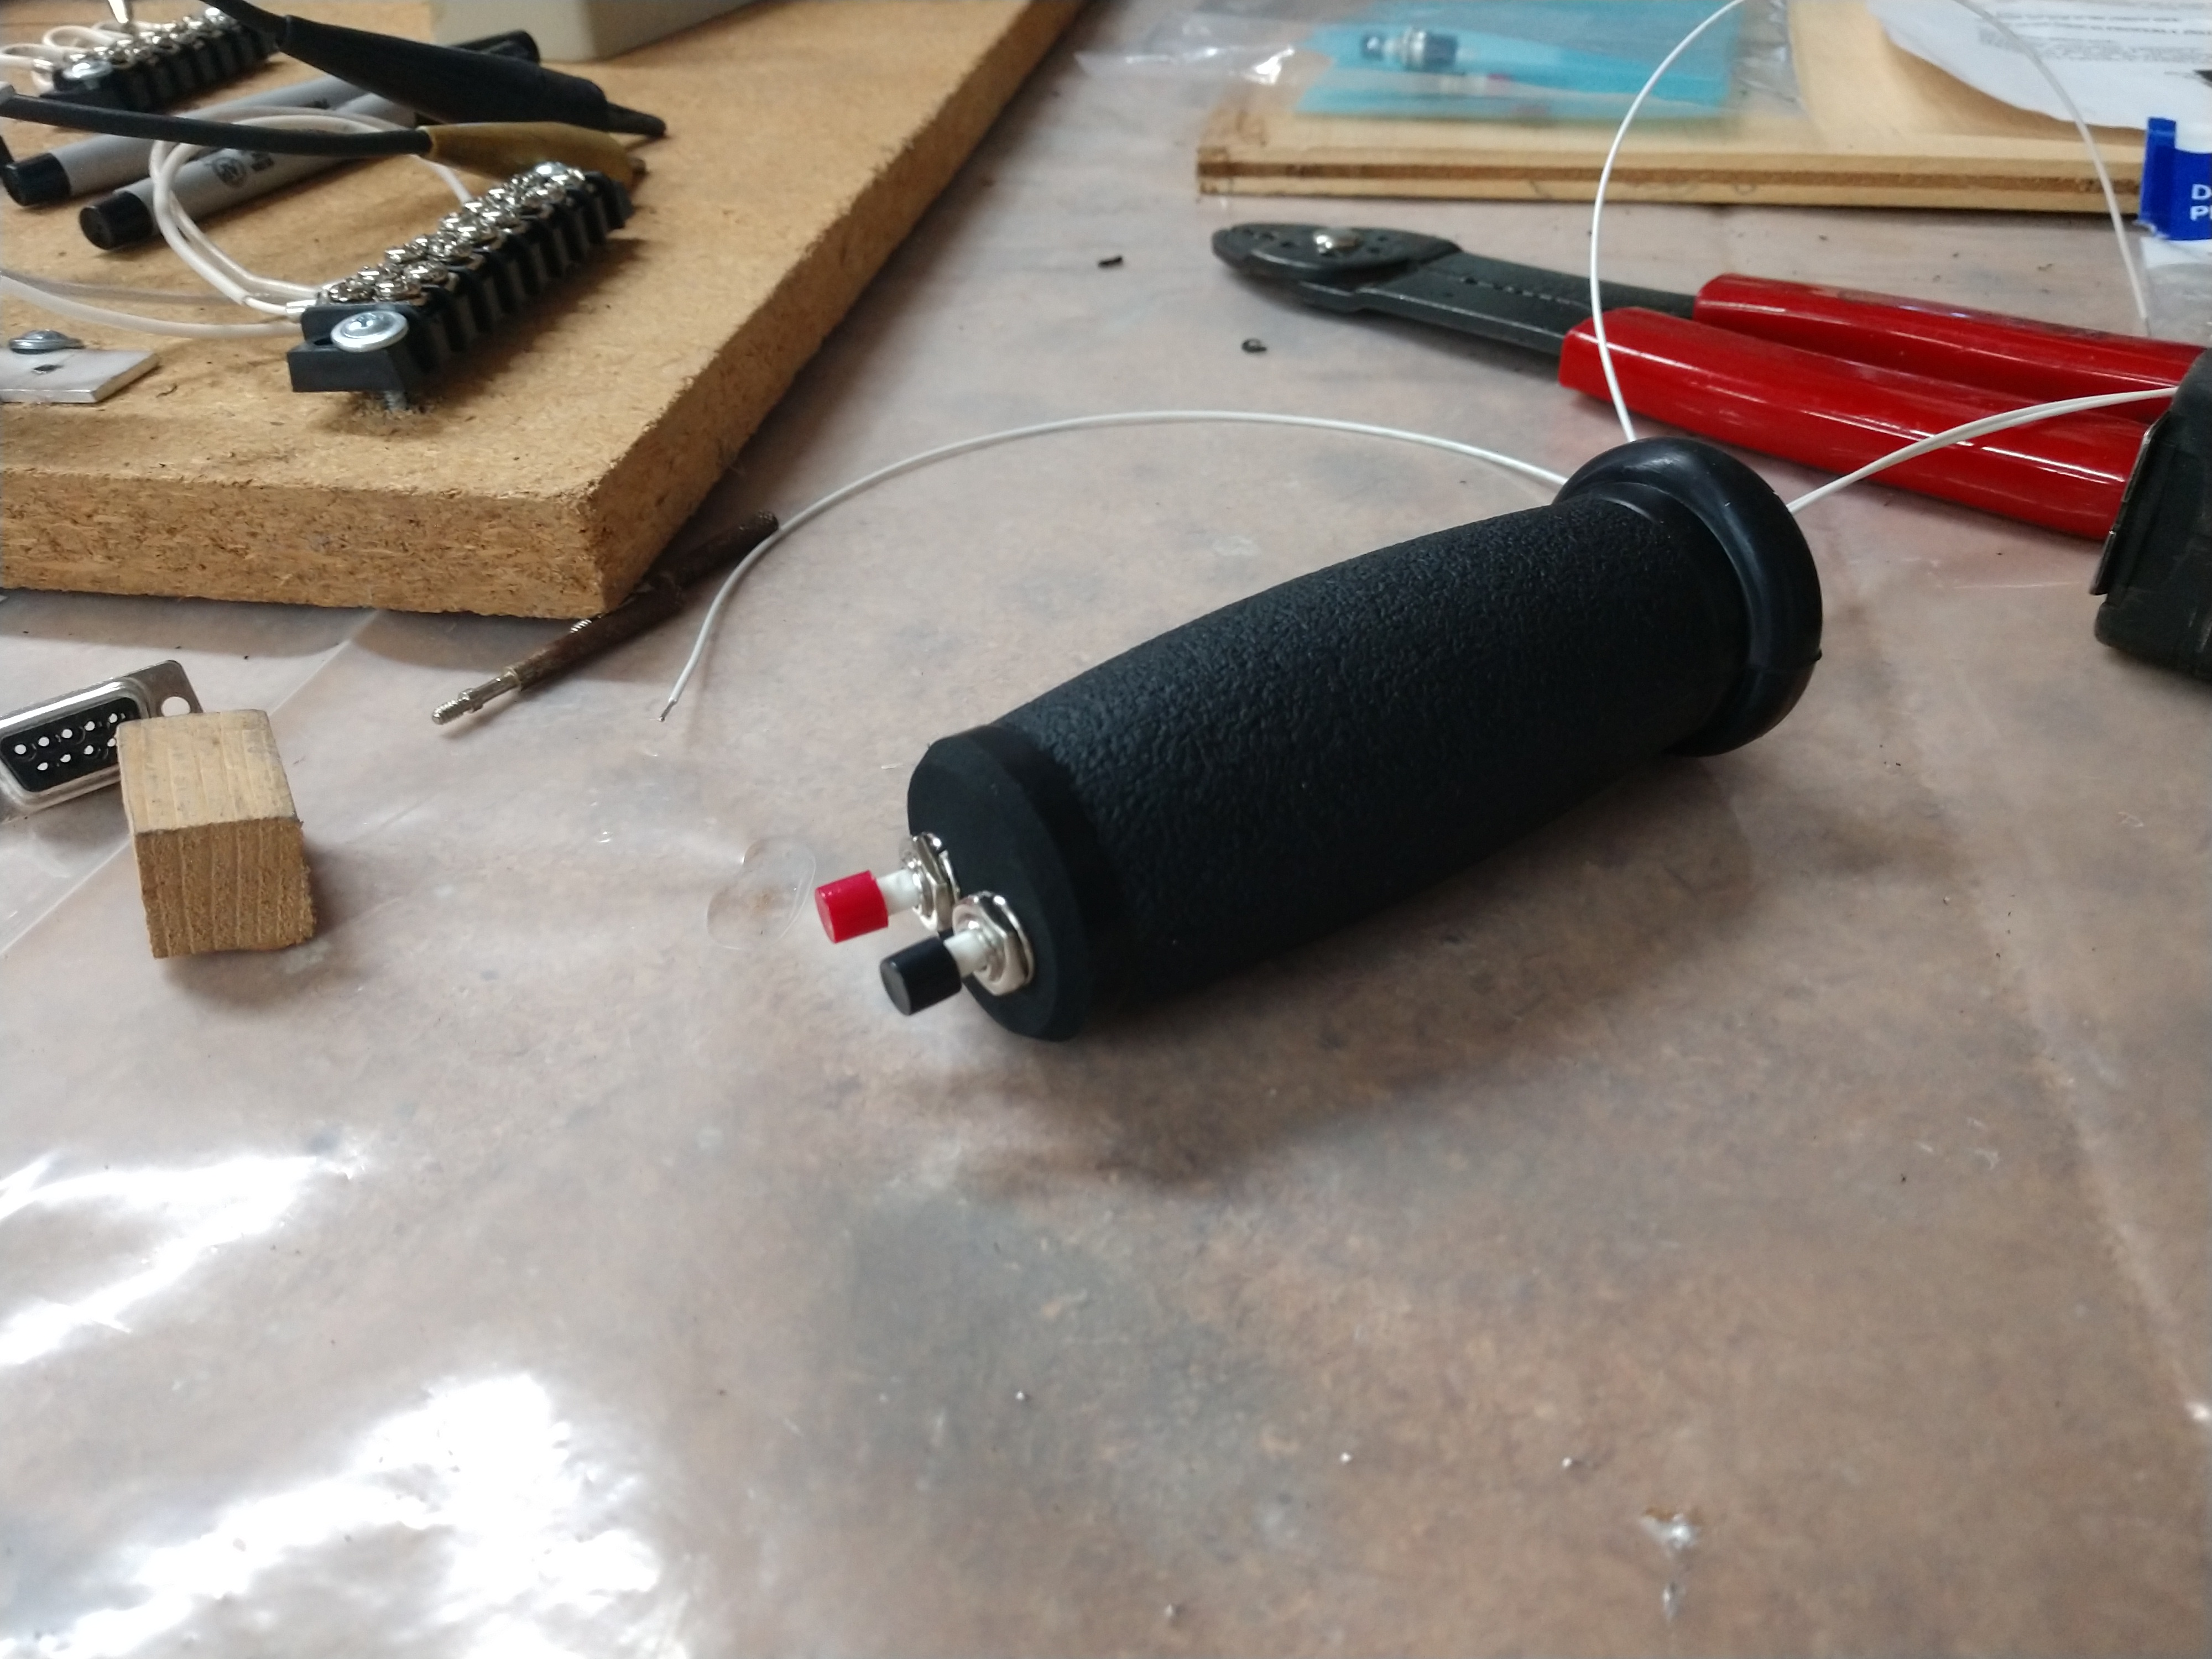
program, the Dynon software forces you to prove you installed an autopilot
disconnect switch, typically mounted on the stick. I bought a simple stick grip,
reduced the end thickness and then mounted a new PTT and the disconnect switch.
That grip slips onto the stick and the wires exit at the bottom through "curly
cables" to eliminate wire fatigue. The AP74 also offers a simple on-off
functionality with a big button. That same button offers an Emergency 180 degree
turn if you hold the on-off button in for 3 seconds while maintaining your
present altitude. For neat!
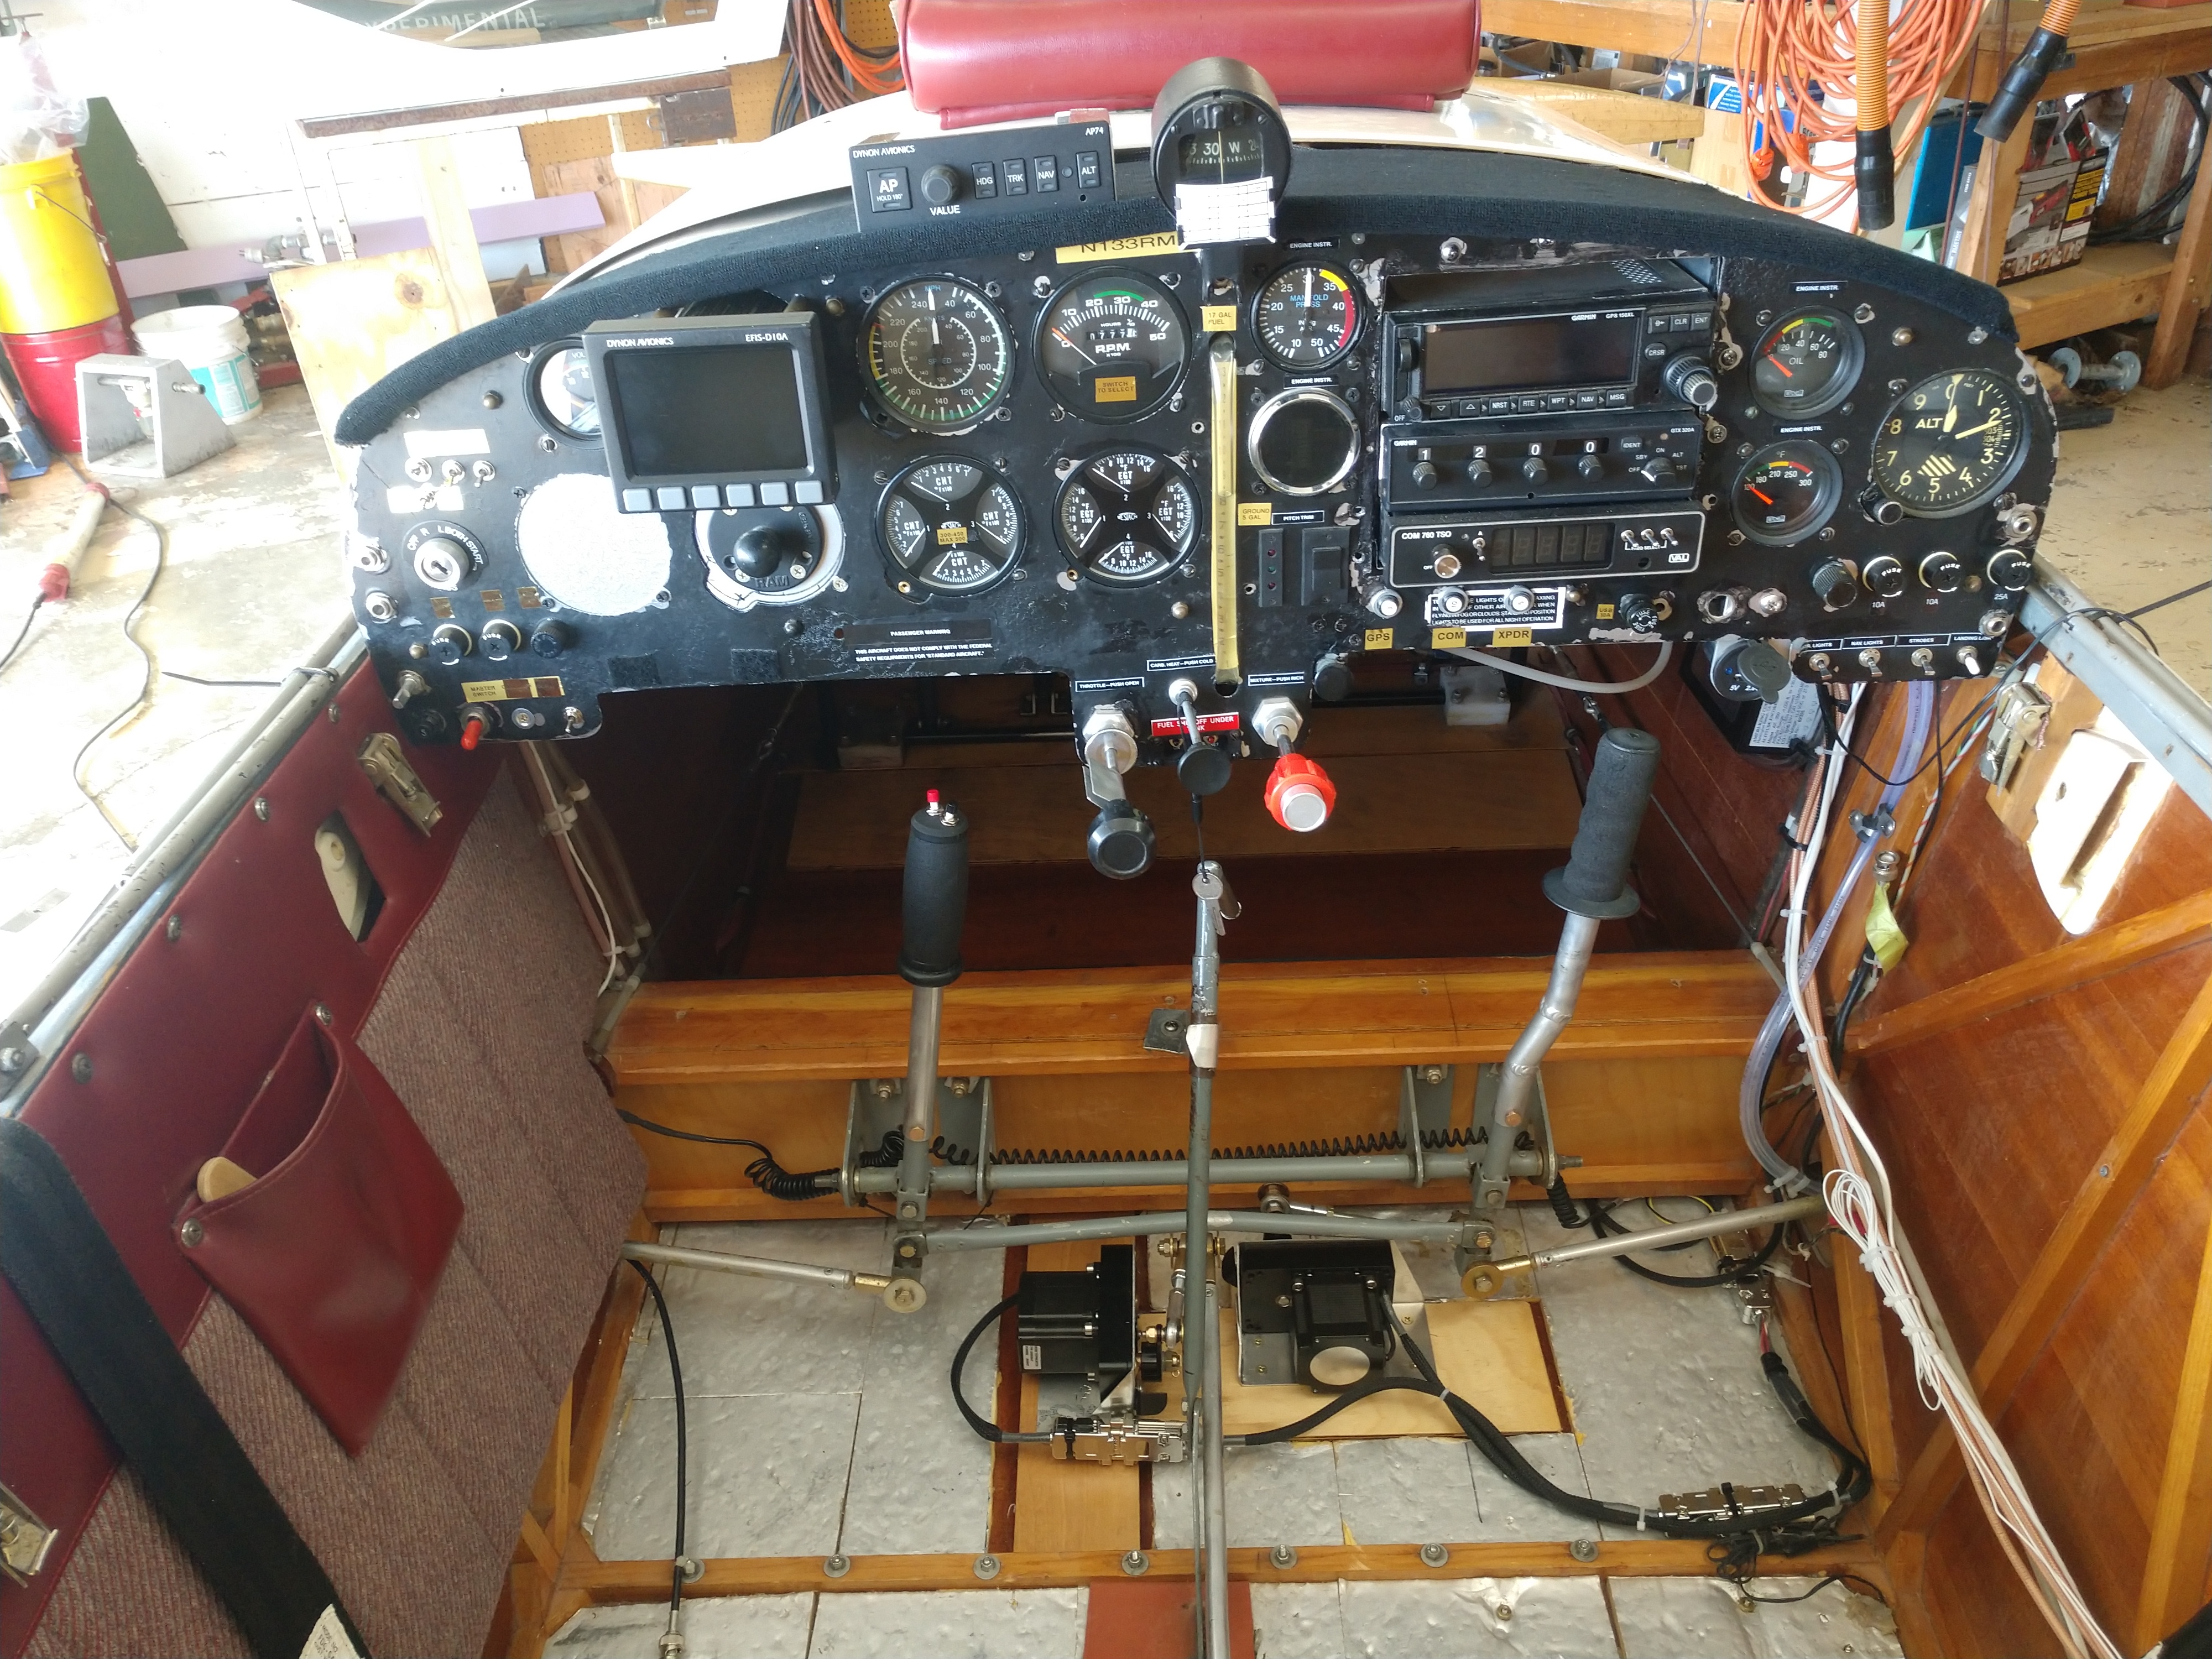
The final installation looks like this after tidying up the wire harness. The
AP74 control box is mounted to the glare shield just to the left of the whiskey
compass. No, it doesn't causes any error in the compass readings.
I almost forgot a few things.
* No pictures but I also installed the EDC10 remote magnetometer recommended
with the autopilot install. I located it just aft the seatback support. It
requires alignment on a compass rose to ensure accurate readings when using the
"heading" or "track" functions built into the autopilot.
* Best practice says you should install a new "pull-to-disconnect" power circuit
to the servos. I wired this so the D10A EFIS remains operational even if you
pull the servo power via the breaker.
* Remember to placard your panel and operating instructions with these changes
and what does what for control like the
the stick buttons.
The end result is N133RM now has a 2 axis autopilot coupled to the previously installed Garmin GPS 150 XL VFR panel mount nav receiver. If you program a route into the GPS, the autopilot can and will follow the instructions from the Garmin. The AP74 makes it easy to dial in barometer settings as well as headings you want to fly. You can also preset cruise altitude. The autopilot will climb [or descend] to a new altitude and then level off. This works very smoothly and the level-off at the assigned altitude is gradual and graceful.
My cost is about 6 pounds of additional weight. I think that is worth
it for the help I can get letting the autopilot control pitch & roll.
My cost in dollars was $1375 for both servos (new) $100 for the AP74 controller
& EDC10 remote magnetometer (used on EBay) and about $100 for wires, connectors,
heat shrink tubing and nylon cable shielding.
Sorry I didn't track my hours but there were a lot of them.
One suggestion: disconnect your autopilot well before
entering the pattern. It takes me a few moments to get the feel again after the
autopilot has done such a good job flying the airplane for me.
Would I do it again? Absolutely! If you have questions, send me an email. kr2s at bouyea dot net