Static Port Installation Sequence
After reading (and before flying!) the "squirrely nature and high speeds required" to land
this airplane on our
2000' grass strip, I wanted to upgrade N133RM to add Angle
Of Attack.
(Note: I later found out on the very first flight N133RM is NOT an immense
handful to fly; rather it is quite nice!)
AOA is part of the
Dynon D10A EFIS along with AutoPilot control
and a bunch of other things. So you have to use the
Dynon Pitot/ AOA probe. That
means adding a static source (if I would eventually remove the original pitot/
static setup originally installed in 1993.)
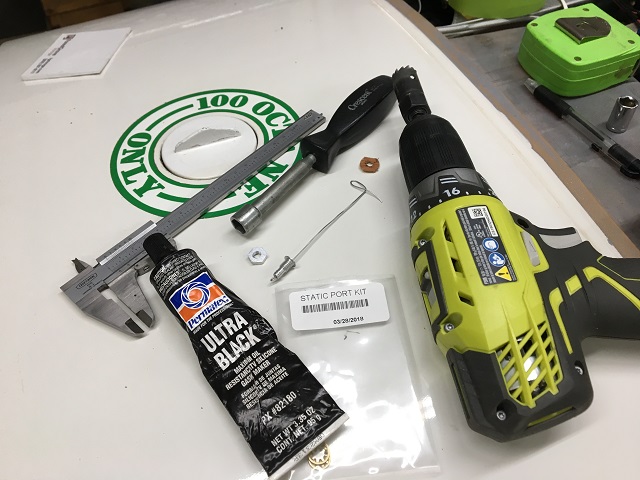
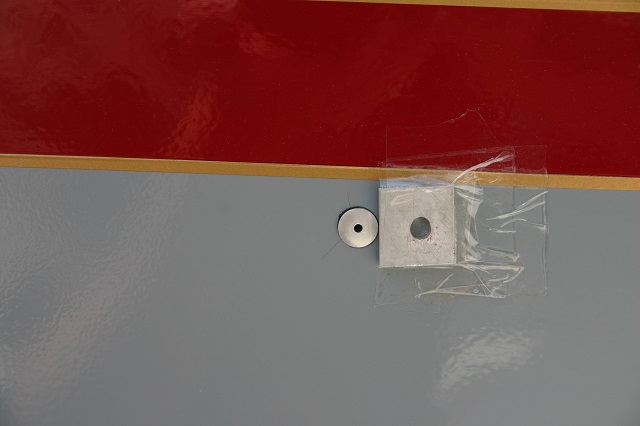
The parts kit came from Vans Aircraft.
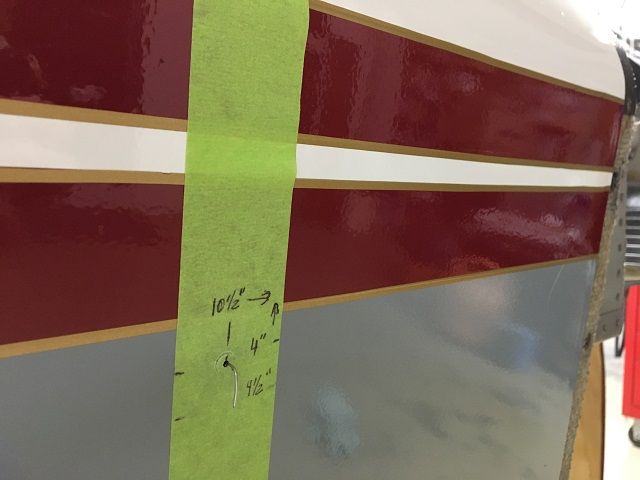
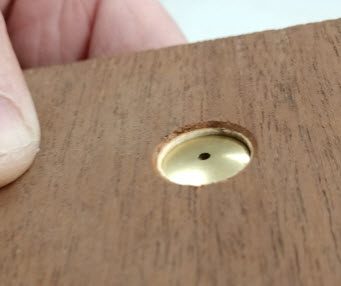
Here is the location; 10 1/2" aft of the firewall & 4" below the top longeron.
Be careful you don't drill through any structural framework!
RTV weather-proofs the installation. Safety wire gives something to insert the
lock nut onto when feeding through the inner fuselage skin. See below on this
little detail.

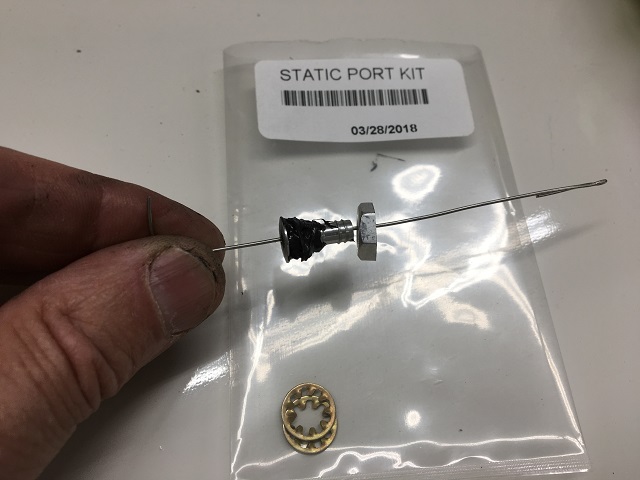
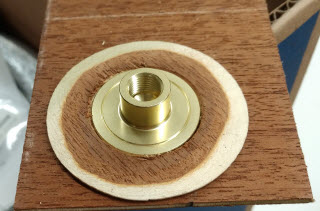
Stacking the nuts provided depth so the thin lock nut didn't recess back into
the nut driver...
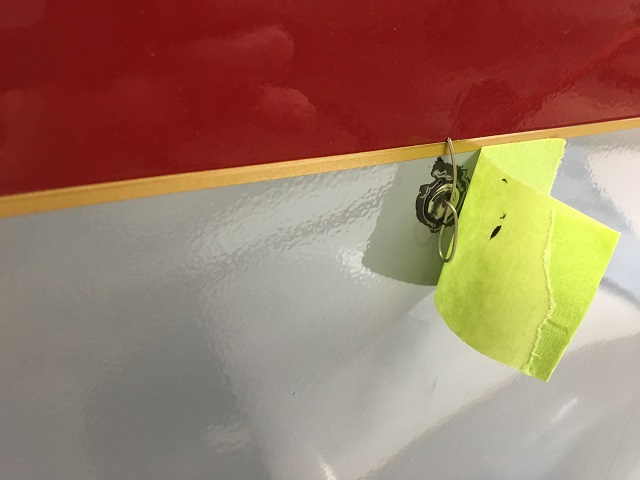
Taping the safety wire in place locked it into position to switch positions and
work from the inside...
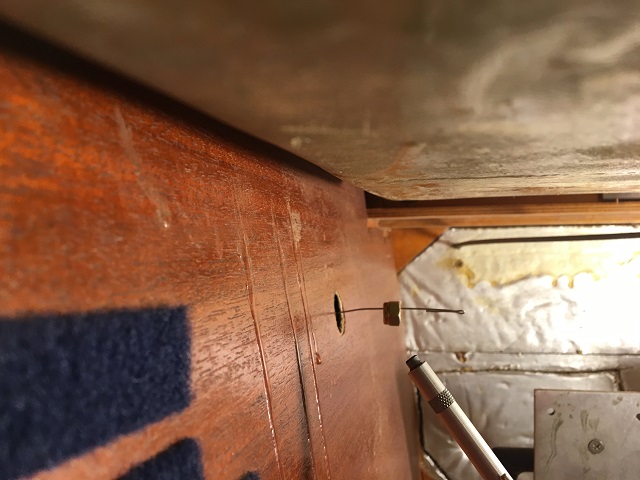
[Note that Roy built this airframe with an inner mahogany skin on top of the
5/8" structural frame. This acts as a inner sheet gusset.]
The safety wire provided a guide to slide the nuts onto the obscured static port
hose end & threads.
Then use the nutdriver to lock the assembly into place. Finally slide the static
hose onto the installed port end. Done. Or so I thought...
It turns out this location gave me too much pressure on the static port. My readings, compared to the legacy steam gauge were way off.
I temporarily placed a blocking plate behind the port to adjust the static
pressure like the RV guys do but it didn't work. 2 plates was better at cruise
but the low end was off by 20 MPH IAS. I tried these diverter plates in many
configurations and locations. Some were better than others and none were close
enough to accept.
As a test, I plumbed the Dynon D10A into the steam gauge legacy static system Roy built and it indicated air speeds matching within 2-3 MPH. That means finding a new location for the static ports. Rats...
At the 2021 KLXT KRGathering, I got photos of Roger Baalman & Robert
Pesak's static
installations. Both those guys installed their static ports toward the rear on the outside of
the skin, like some Cessna and Piper products. Roger said since it works for the
factories, that was good enough for him. Who am I to argue detail points with a
Bronze Lindy award winner? Ok, so much for the new location...
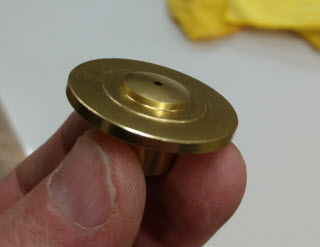
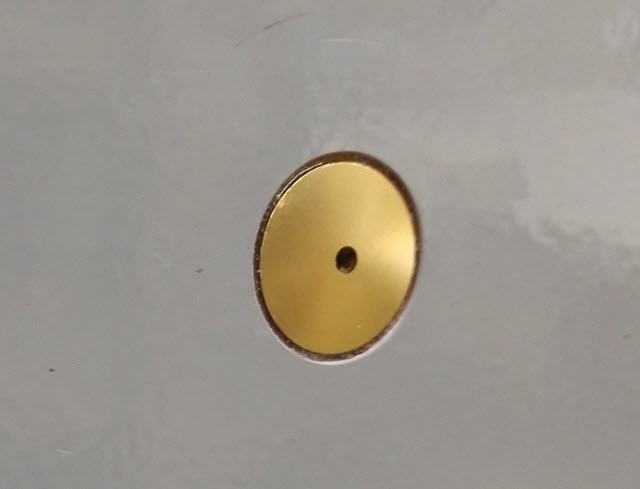
Sorry, I didn't get a photo of the lathe "turned-thinner" flange.
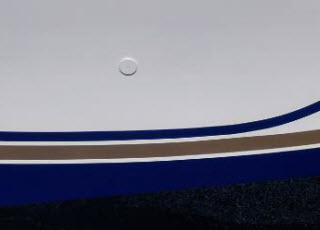
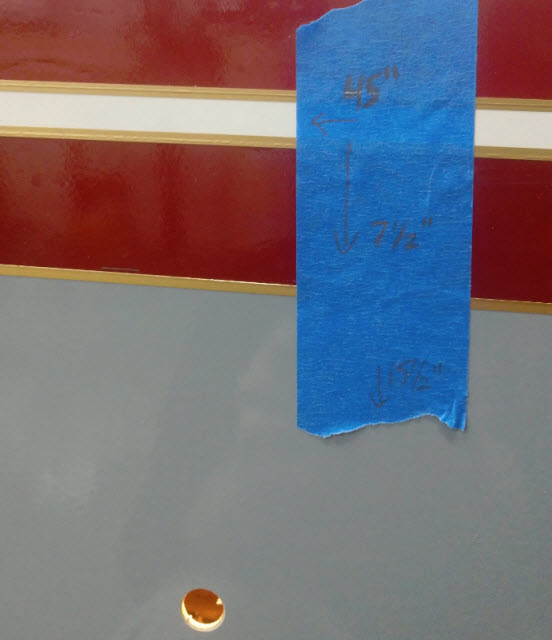
The ports installed on my first try at the top of this page were just aft of
the firewall. The locations Robert and Roger used are behind the cabin. I
measured 45" back from the canopy's rear edge and halfway between the floor and
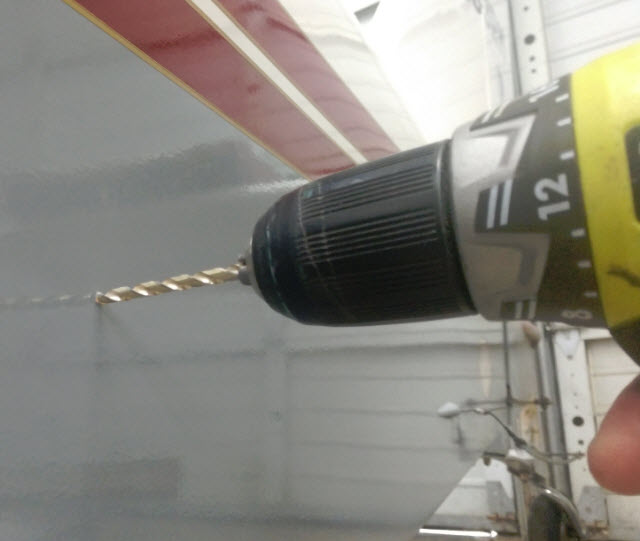
the top longeron. I hated drilling into Roy's pretty paint job and you gotta do
what you gotta do. Finish with a step drill bit.
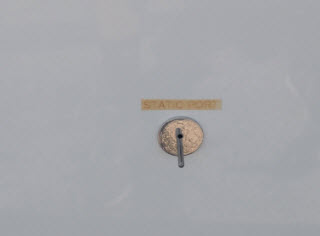
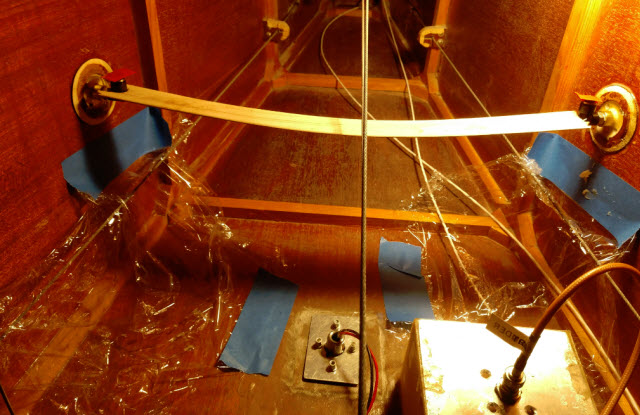
Inside, the two ports are T-88 epoxyed in place, doubler rings installed and
a clamp stick forced the ports into firm contact with the fuselage skins while
the epoxy cured.
I'm really satified with the end result. I ran the flexible tubing and
tested the installation; it held a 6" water column for 12 hours with just a 3/4"
bleed down. As Mark says, "Close enough for a KR."
Now for a test flight to make sure it provides an accurate static pressure source.