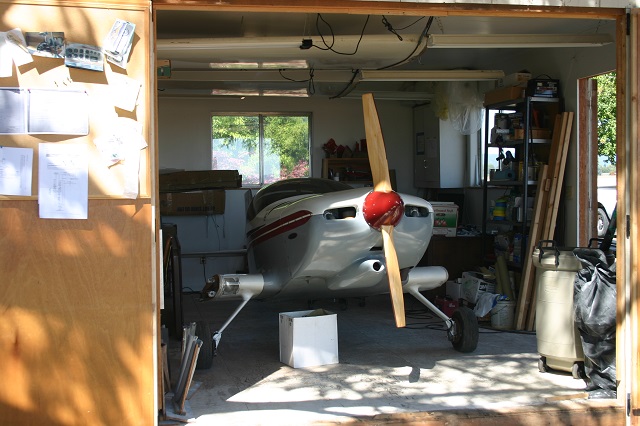
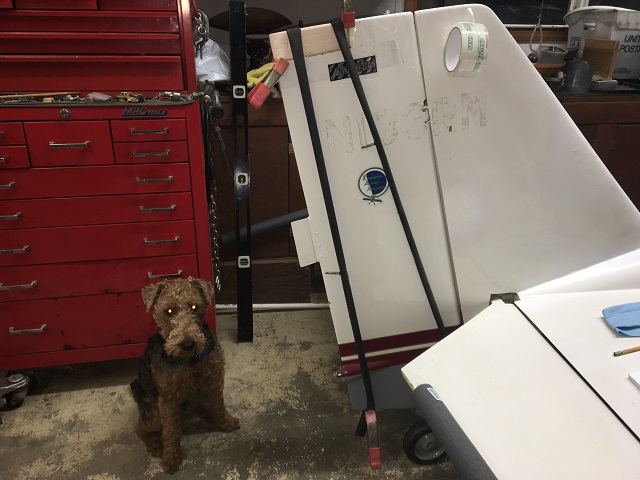
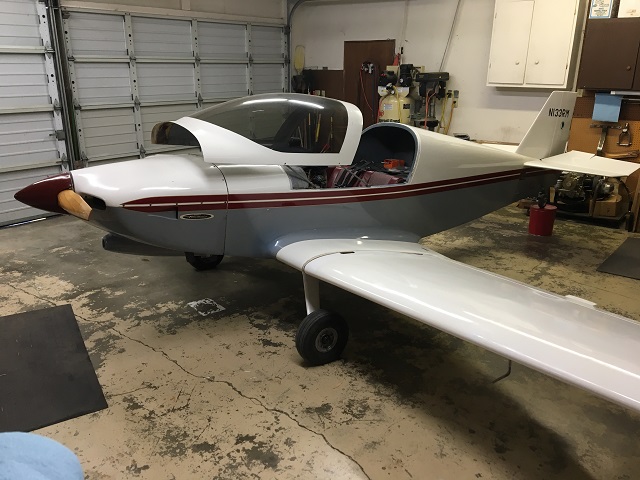
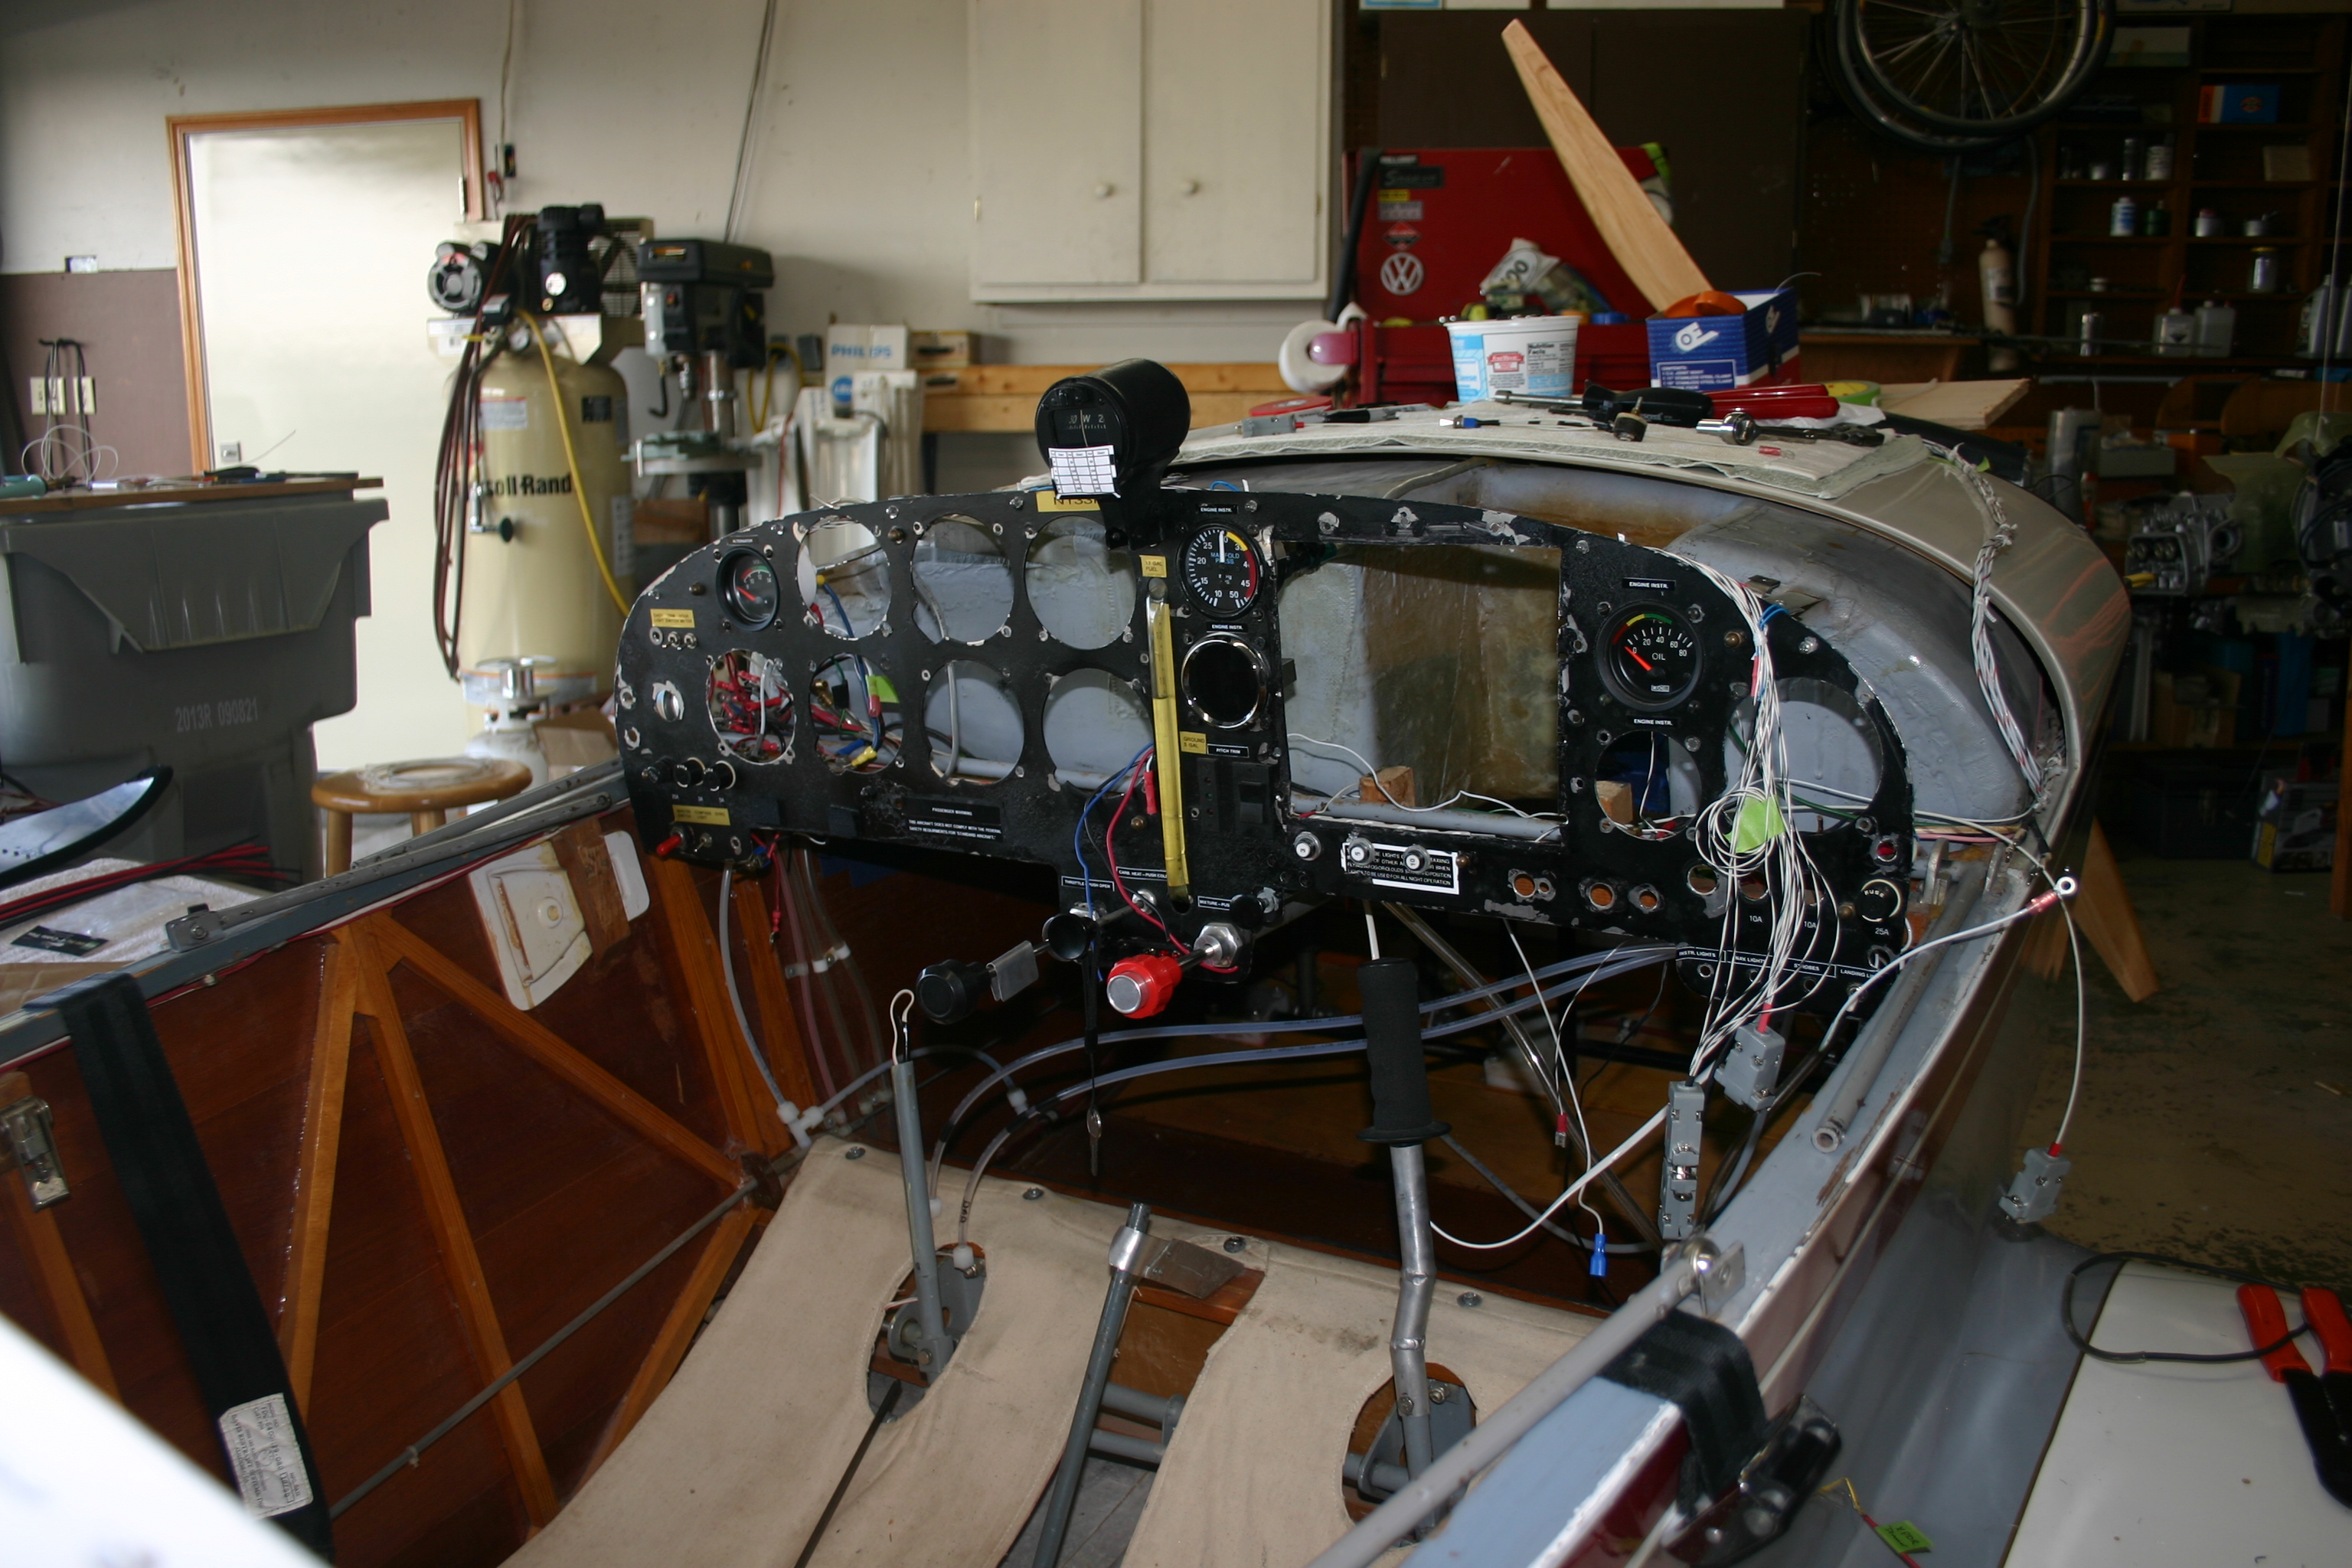
Tucked into the 14' x 20' shed for a serious going over before attempting a new condition inspection.
General History Kit Planes Feature Article Prior Owners History Importing an Airplane Working with the FAA Repairs after Receipt Learning to Fly N133RM N133RM Cockpit Checklist.pdf
Repairs after Receipt
Part of my goal is to restore Roy's airplane to it's former condition as the airplane's keeper and owner. My intent is to make the minimal changes required to restore airworthiness and fly it to where I can show it in the present condition to others. Thereafter I plan to make it as pretty and practical as possible.
Tucked into the 14' x 20' shed for a serious going over before attempting a new condition
inspection.
Repair minor hangar rash in several areas;
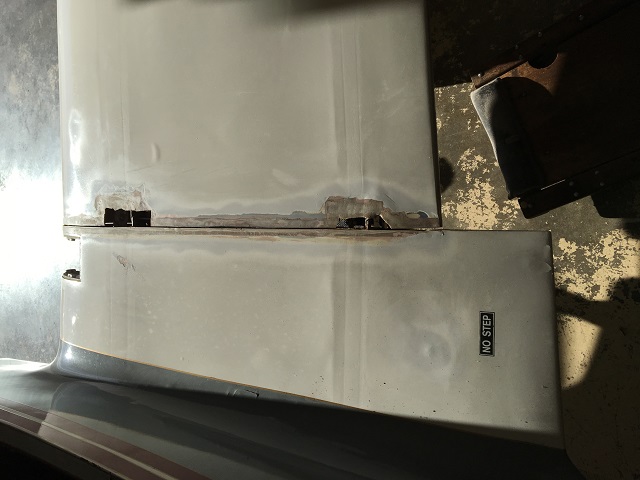
The elevator trailing edges were undamaged but the skins were separated edges somehow.
I used packing tape on 3/4" spar stock as a mold release
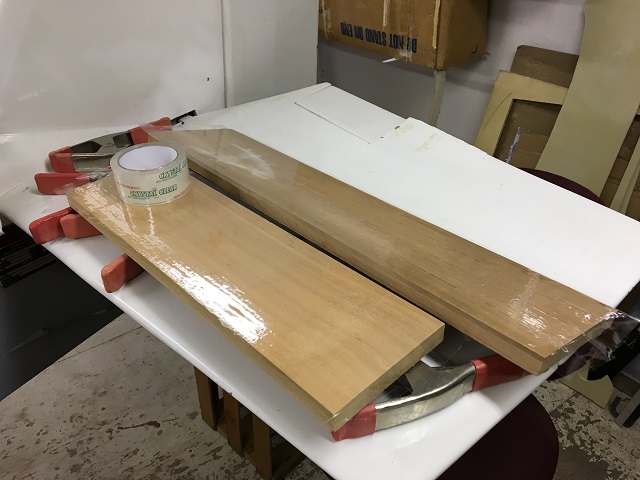
Thoroughly coat all surfaces with a epoxy/ milled glass slurry
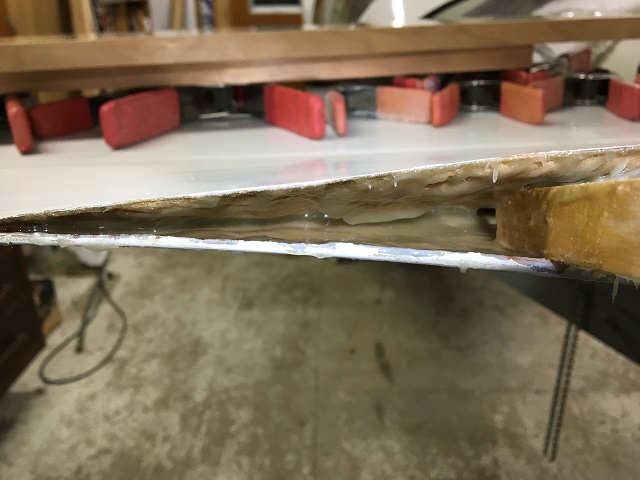
Clamp the bejeepers out of it
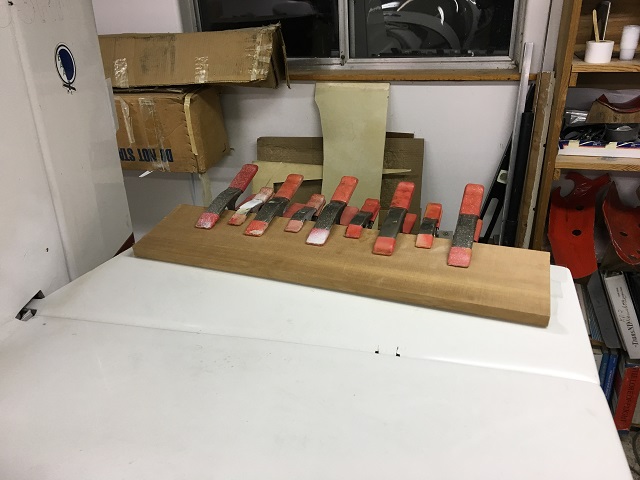
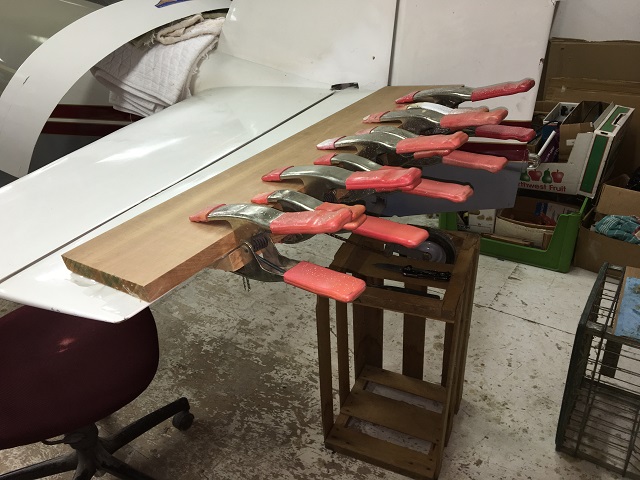
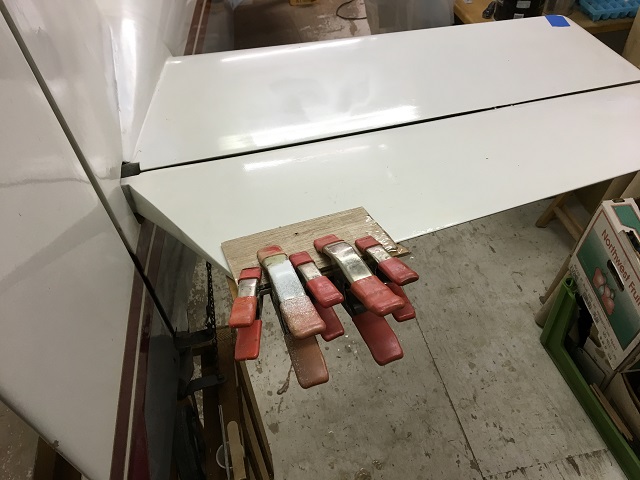
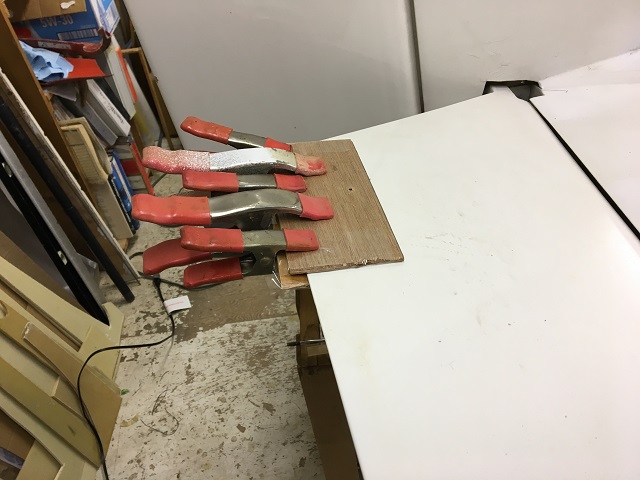
After much cleanup for all the excess epoxy squeeze-out... Success!
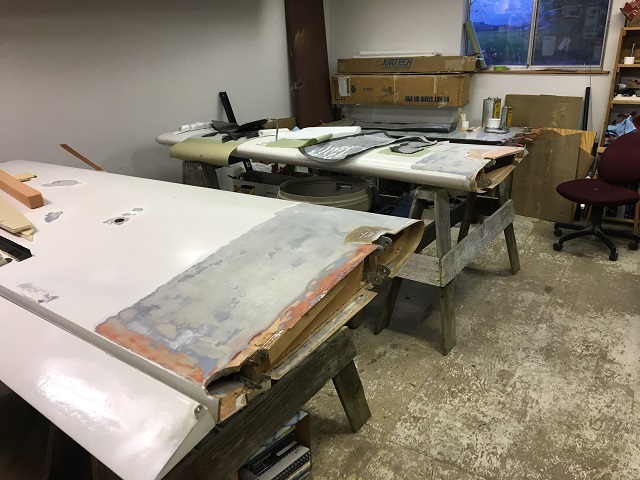
The wings need repairs;
Green tape shows where repairs are required on the bottom surfaces.
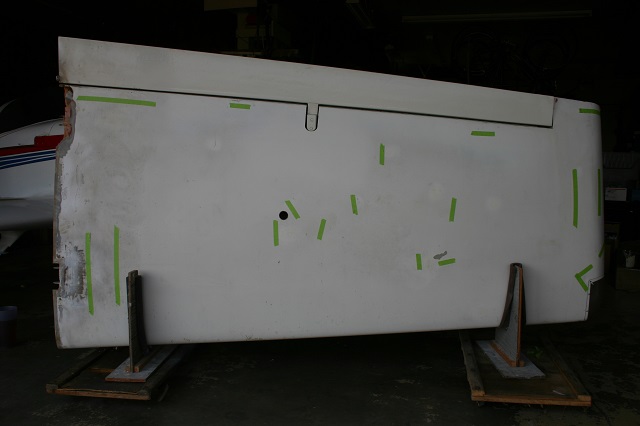
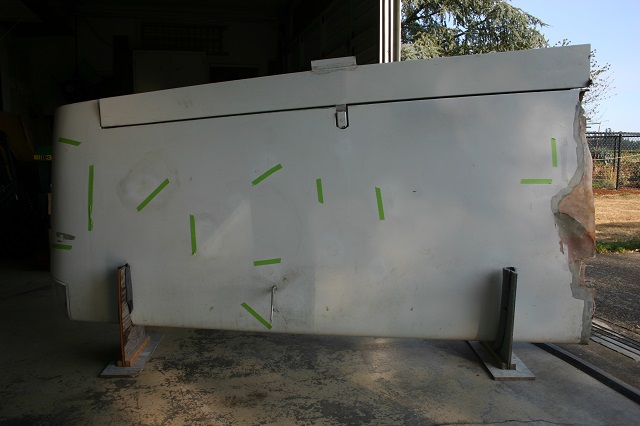
I'm guessing you can find the worst of the skin delamination...
The spray job didn't stick well. It's going to require a complete paint job
on the wings when I get done.
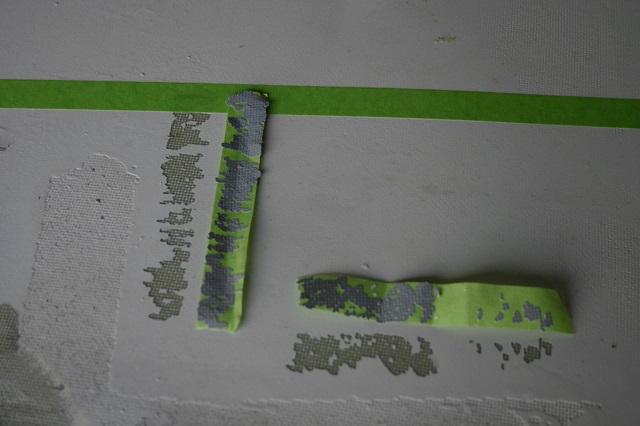
Under all those tape markers I found some problem or another. Nothing major
or difficult just time consuming...
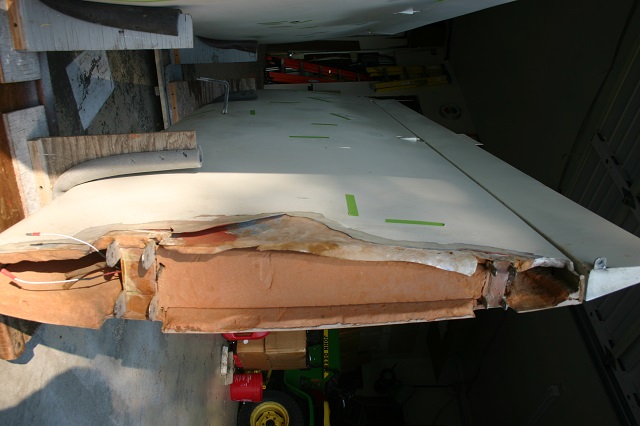
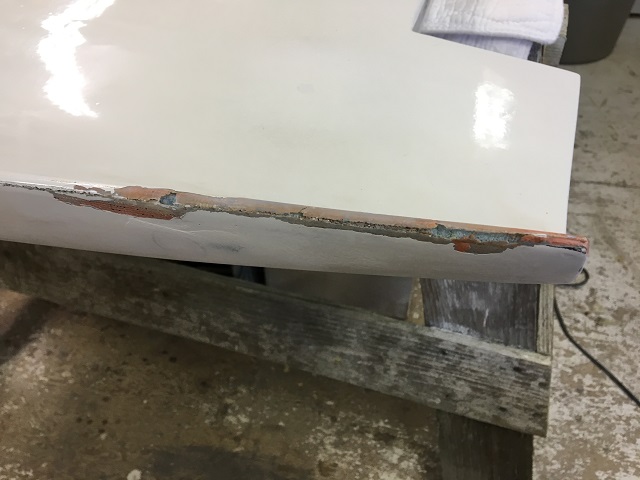
On to the airworthiness issue; delamination of the bottom on the outboard panel roots;
I laid up carbon fibre flanges to support replacing the missing skin as removed in the photos above
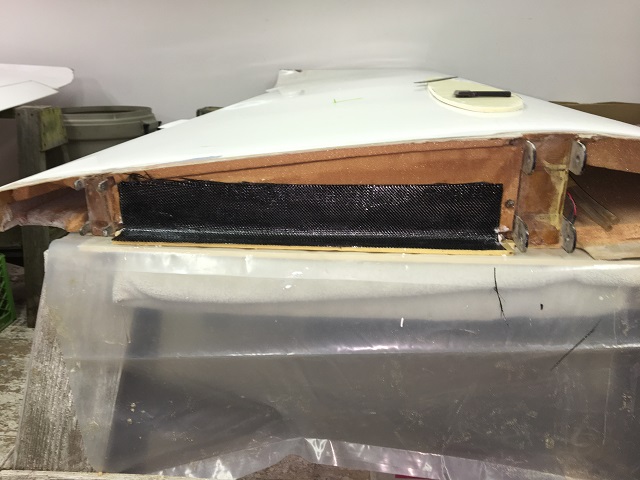
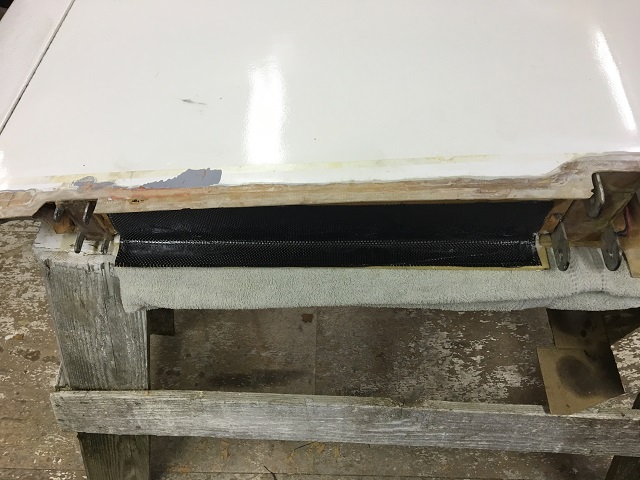
Then I laid out the bottom skin surface for a carbon overlay
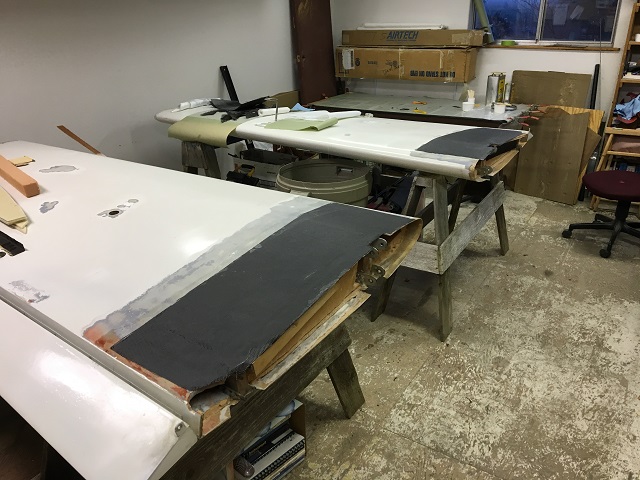
About 80g of carbon and 120g of PH3032 resin each side for a total of about 1
pound total weight gain. The best I could do...
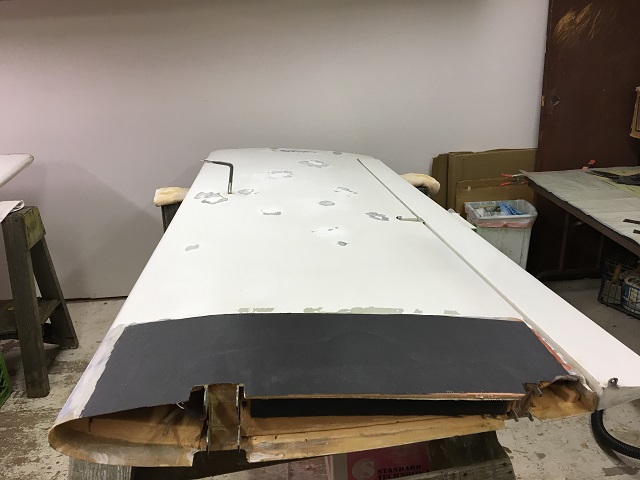
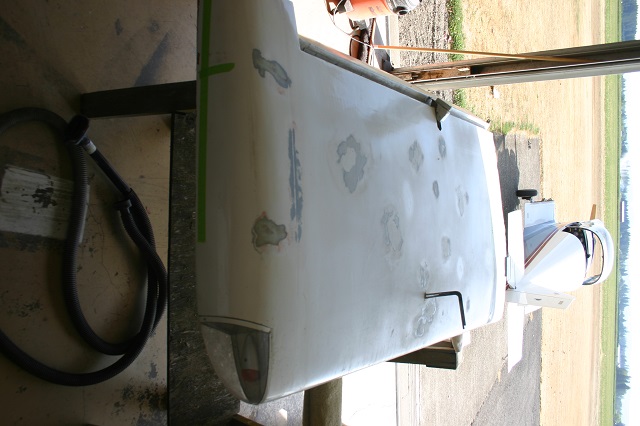
Then to get on to the task of filling and sanding the bottom wing skin repairs and prepping for paint.
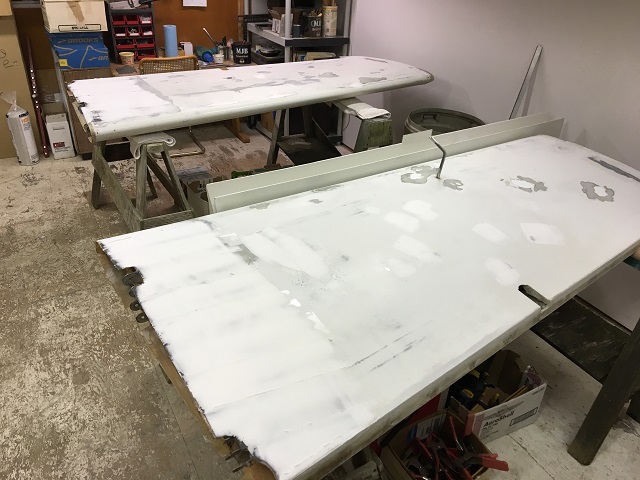
After 3 thin layers of stiff dry micro fill and basic leveling/ sanding I temporarily installed the wing panels to trim, confirm fit and alignment. It came out pretty well.
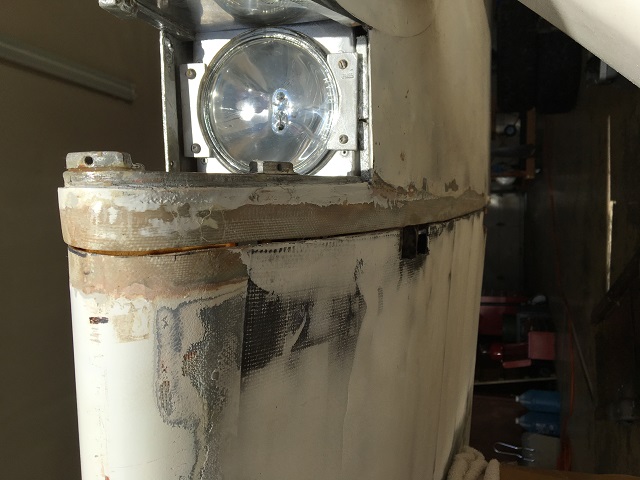
Repairing more hangar rash;
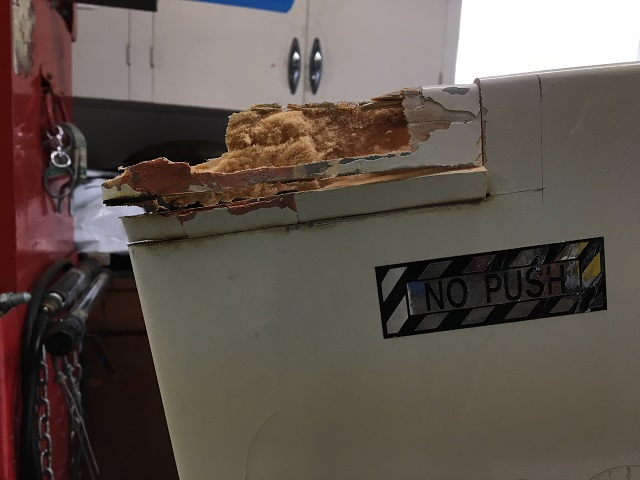
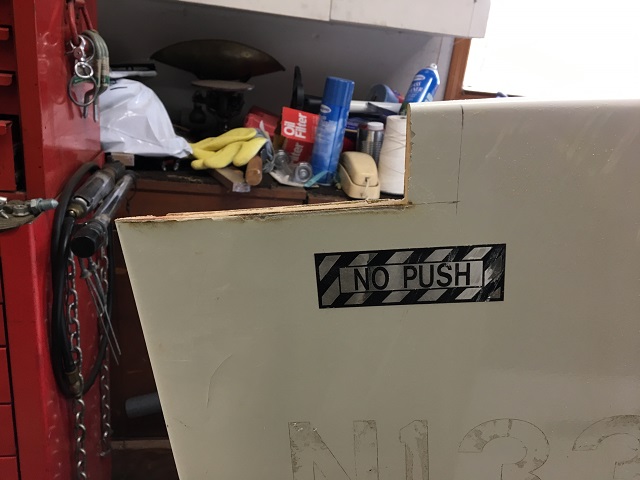
Cut and fit a balsa plug

Paint the prepared surfaces with pure epoxy, mix in flox to make a stiff
putty, smear the plug and fit it into place.

Bicycle tubes make an effective and adjustable clamp while
the resin cures.
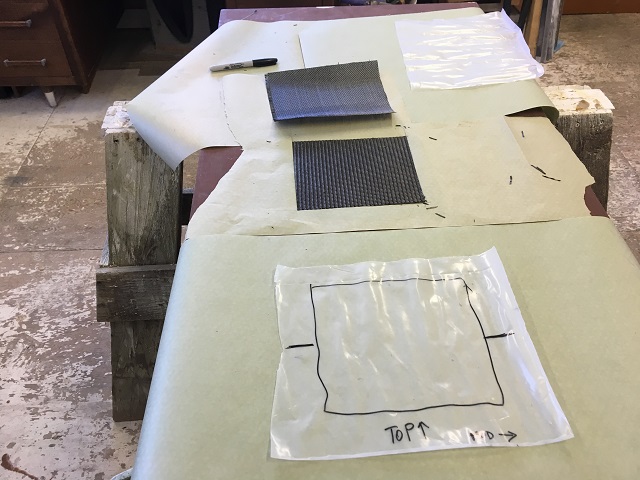
To cover the plug, use the familiar stack up; base plastic, inner layer, outer layer, peel ply, transfer
plastic
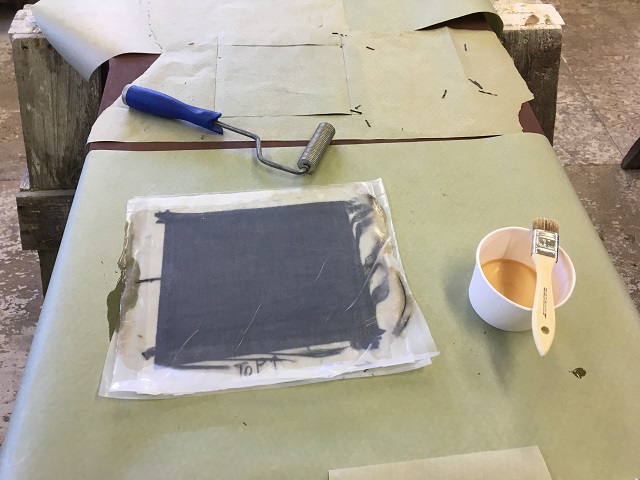
All materials wet out with AeroPoxy and roller compressed into contact to remove
excess resin
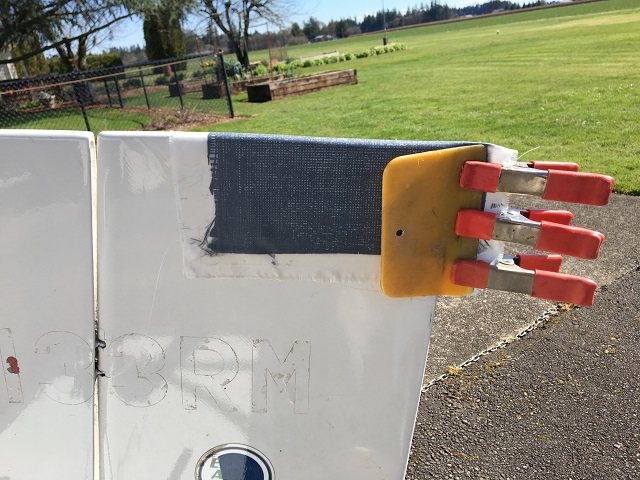
Layup in position and clamped to form the trailing edge
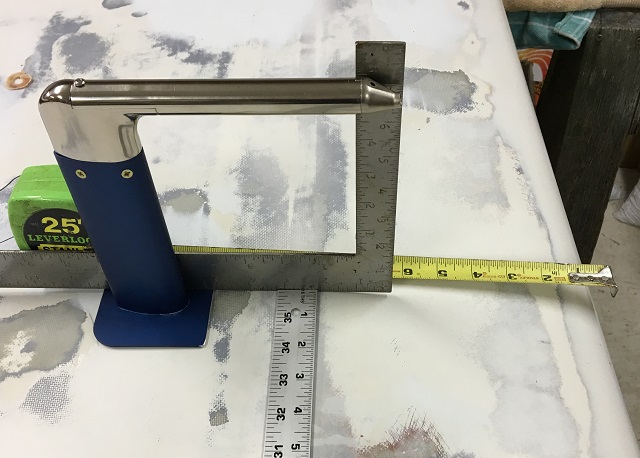
Installing the Dynon Angle of Attack pitot probe
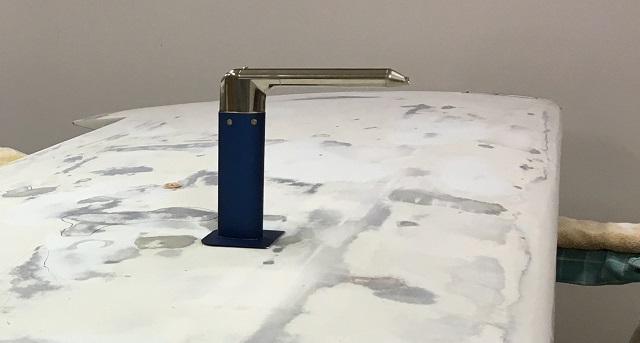
Measurement layout to get tip with proper set back from the leading edge &
aligned with the main spar
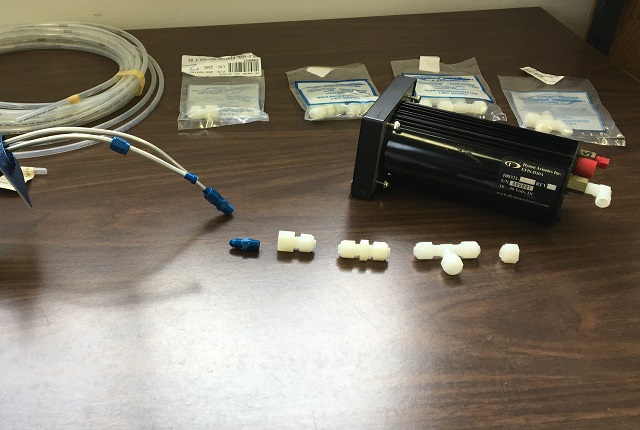
Here's all the components; nut, sleeve, (flared line), nipple, female to tubing,
tubing union, (optional tubing T), tubing to male 90 degree
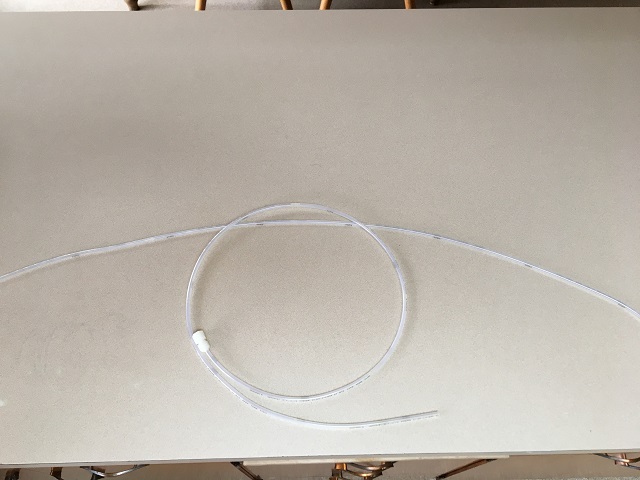
If your NylaFlow tube has taken a circular set in storage, 5 seconds in a steam
bath will allow straightening it.
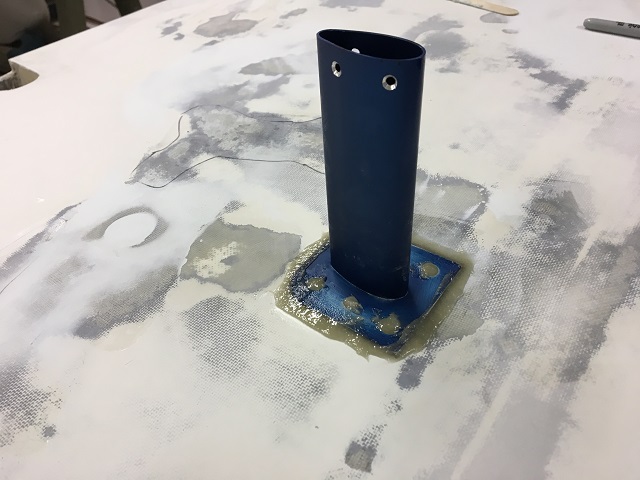
Milled glass & AeroPoxy squeeze out
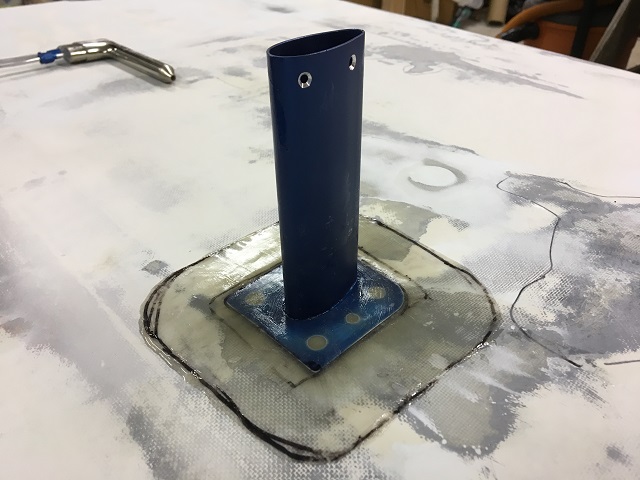
First ply of KR glass cut on the bias
Second layer of KR glass cut on the warp & weave orientation
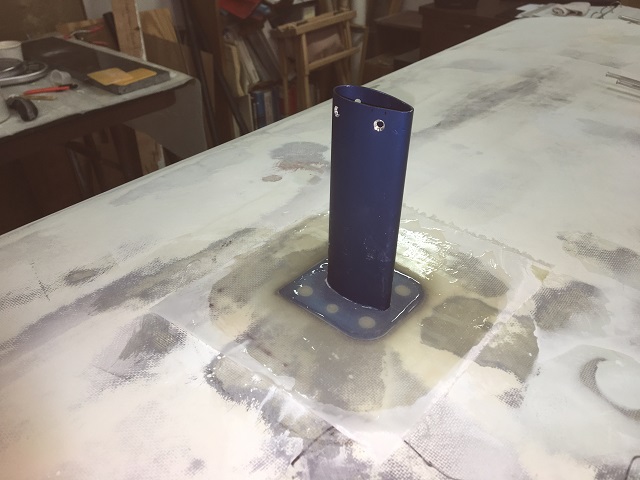
I used peel ply layup to eliminate pinholes. Next to finish smoothing the skins,
paint the wings and other repairs.
Static Port Installation Sequence
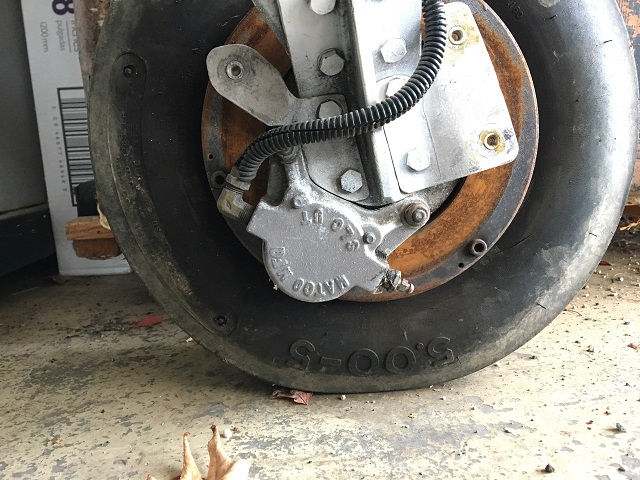
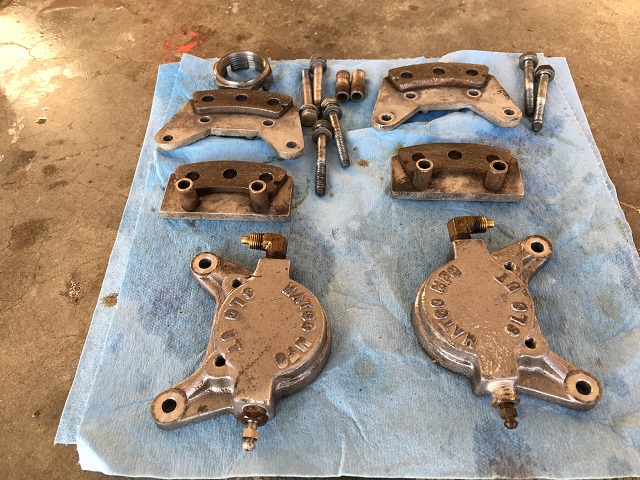
Overhaul the brakes and pack the wheel bearings.
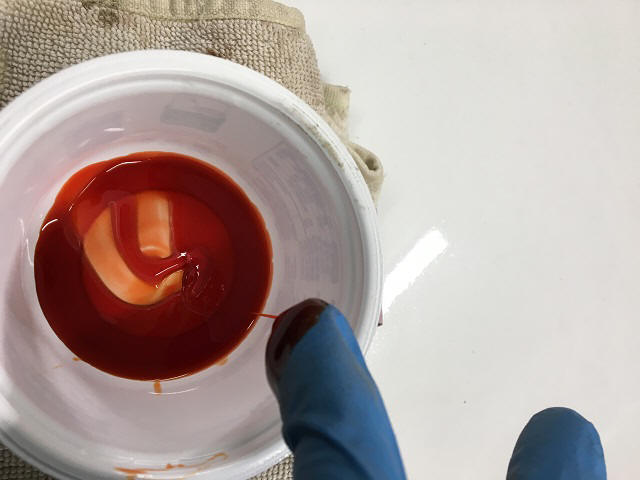
After sitting idle for 10 years, it had rusty disks and the 5606 hydraulic fluid congealed
into a sticky, vicious mess;
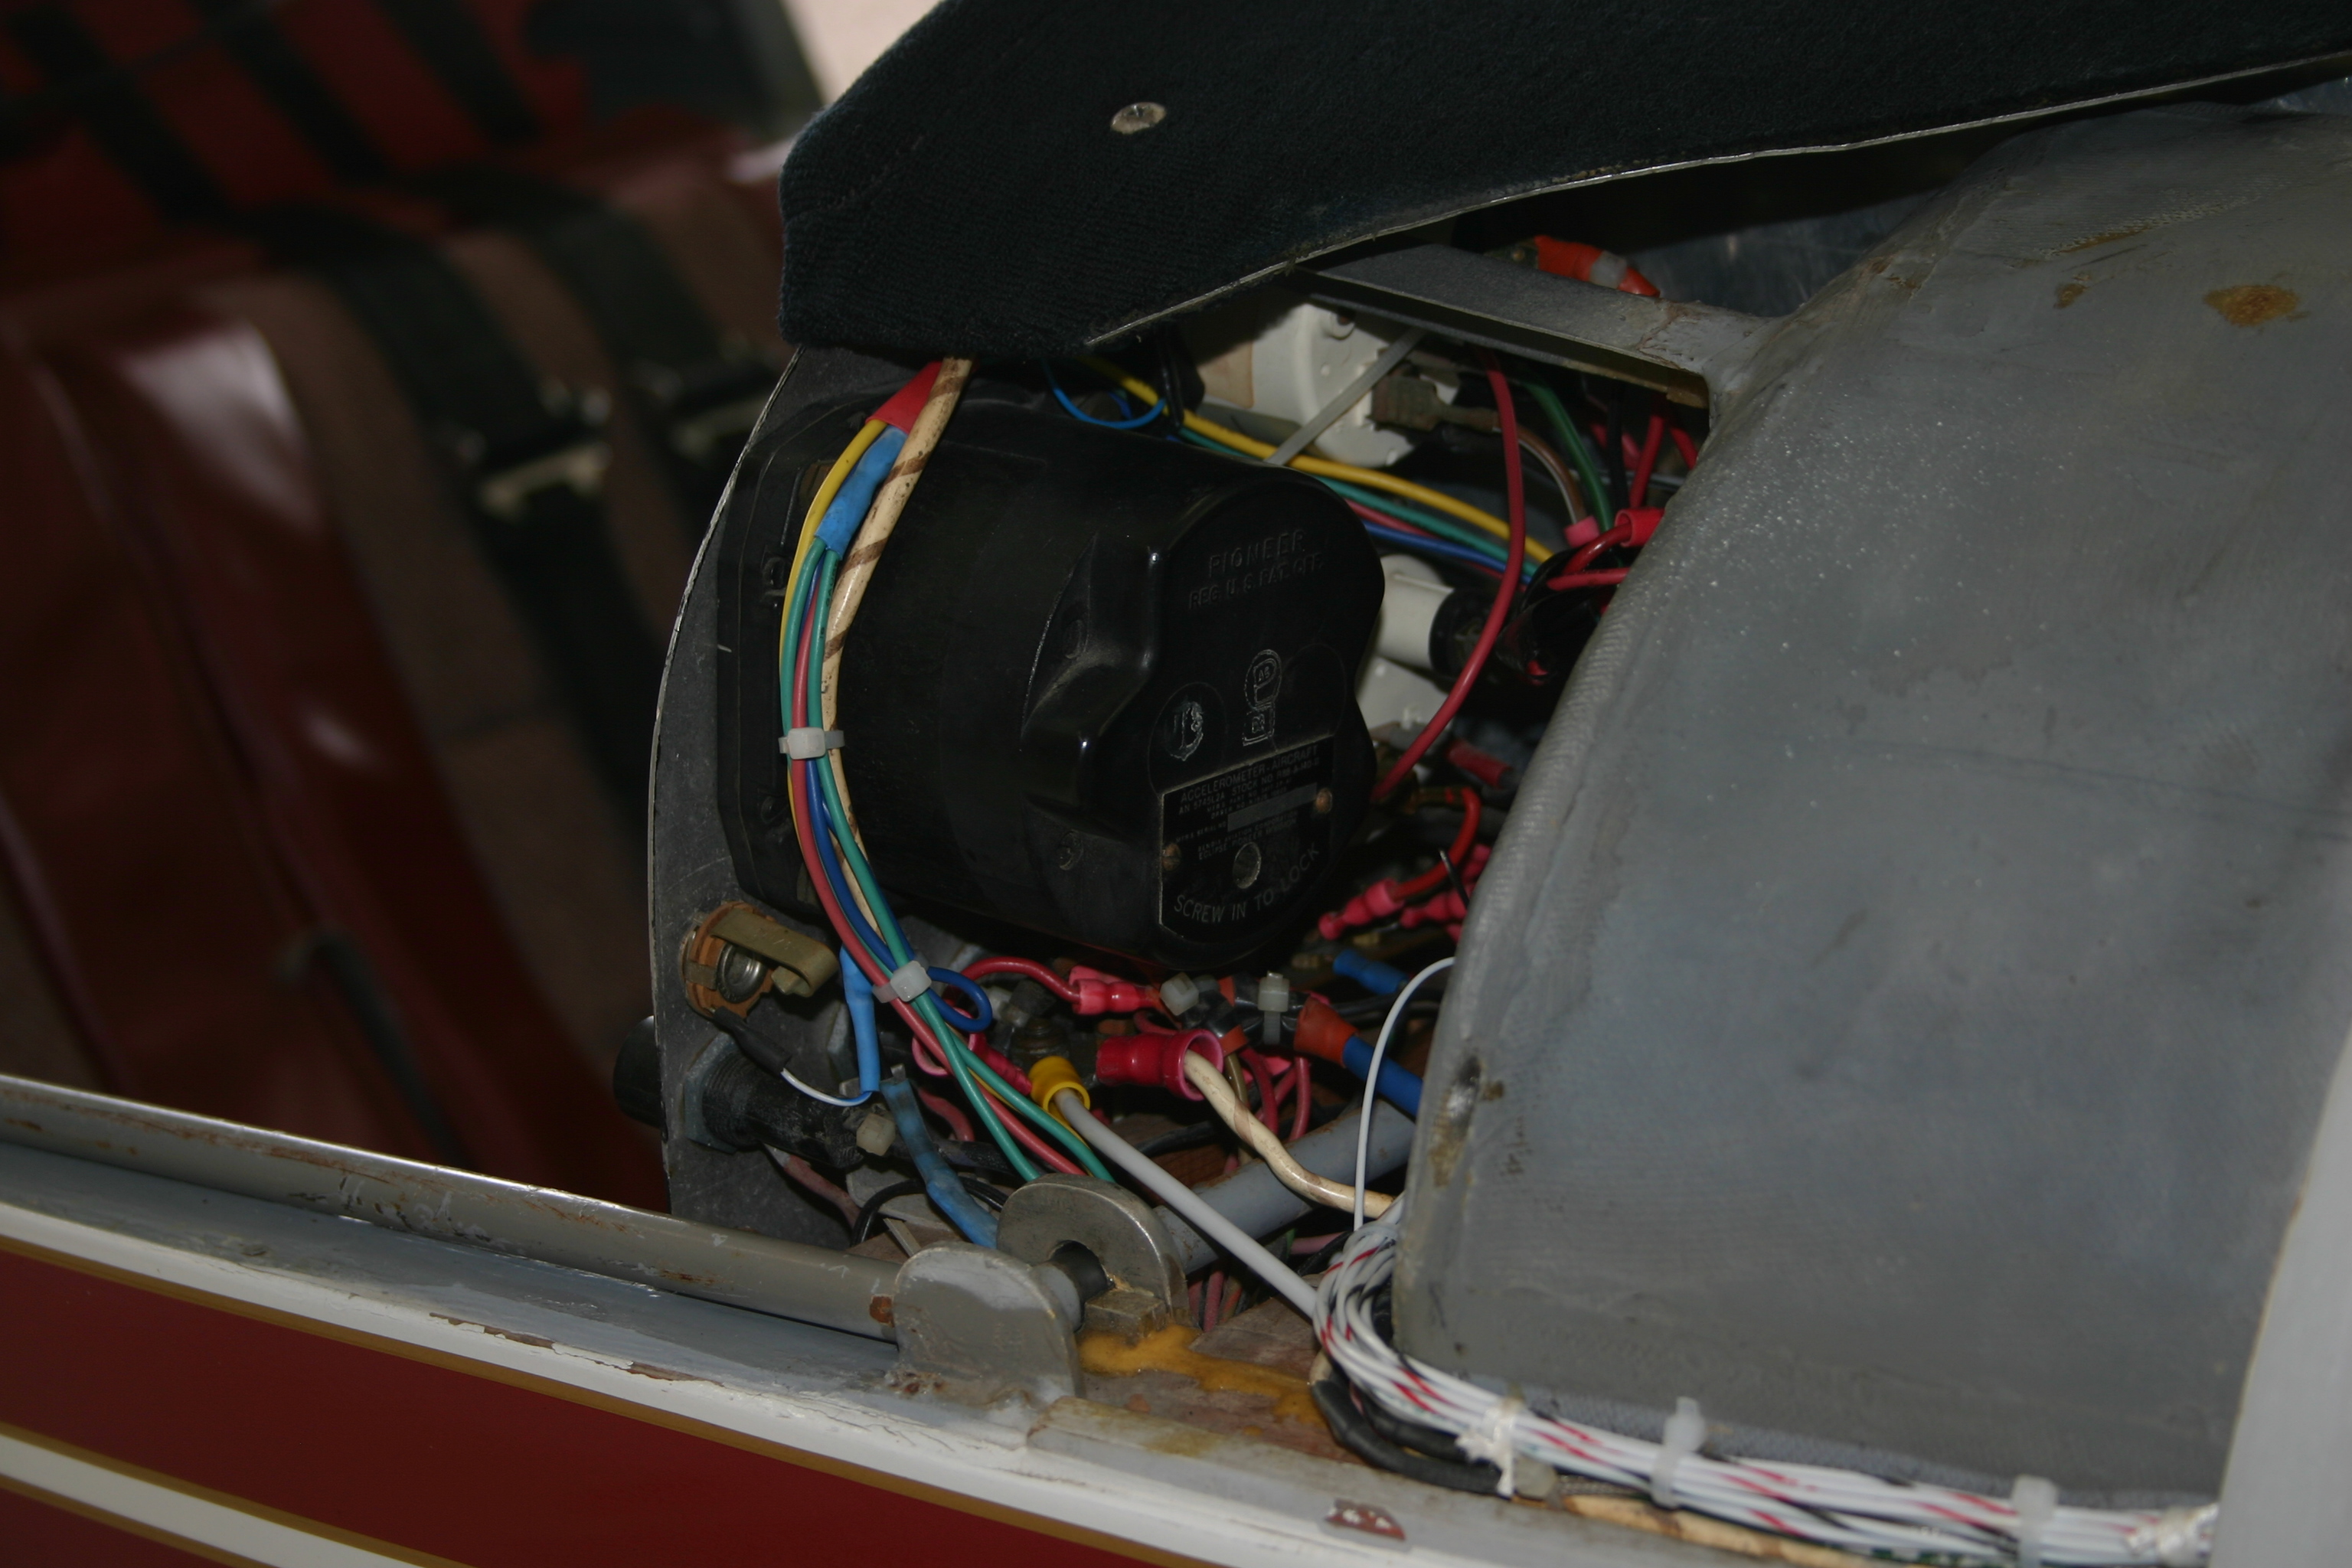
Access under the panel to the brake cylinders was very limited. Diving under
the panel left my legs hanging out of the cockpit like a stranded tuna...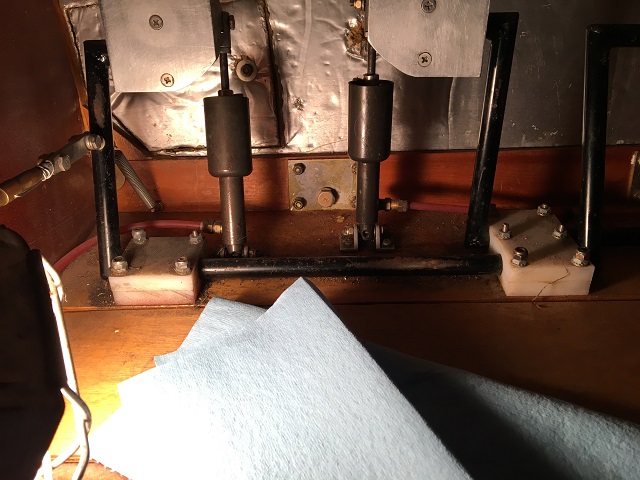
Disassemble all, clean and inspect, replace O-Rings & worn parts and
reassemble.
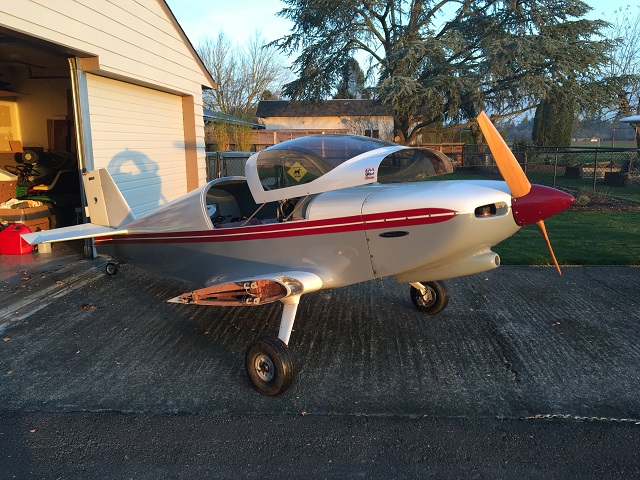
Back on his feet.
I got the engine running & THAT'S a Milestone!
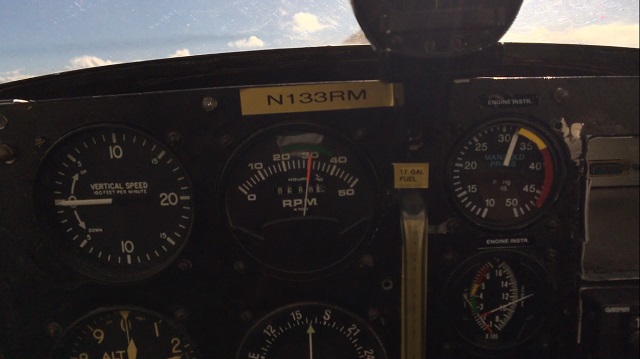
Engine running at Idle (iPhone movie
file)
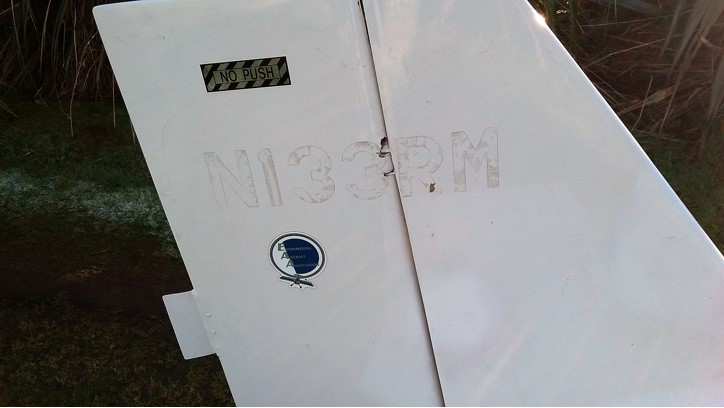
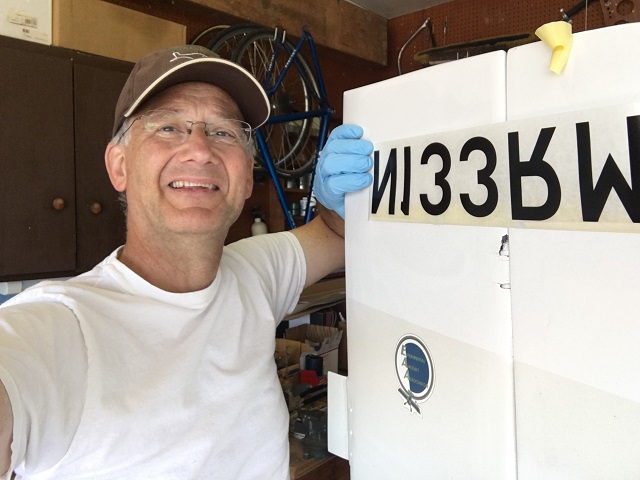
One of the most satisfying steps was applying the N numbers. I'm trying to
faithfully recreate Roy's look and getting the correct font was important. I
ended up having the sign shop reverse engineer the font from a tracing I made
using the outline of the old adhesive on the tail feathers.
![]()
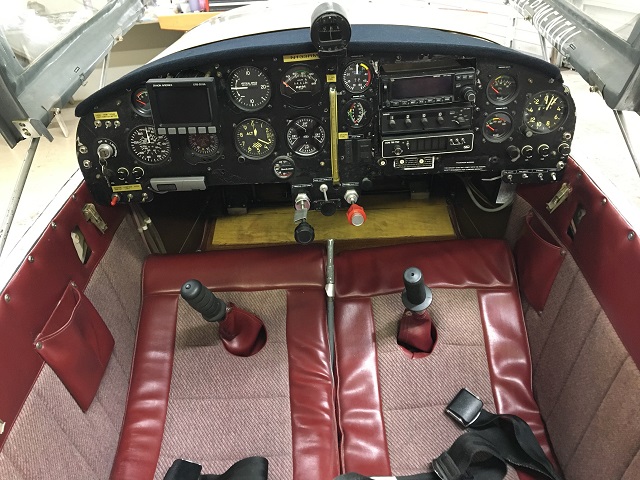
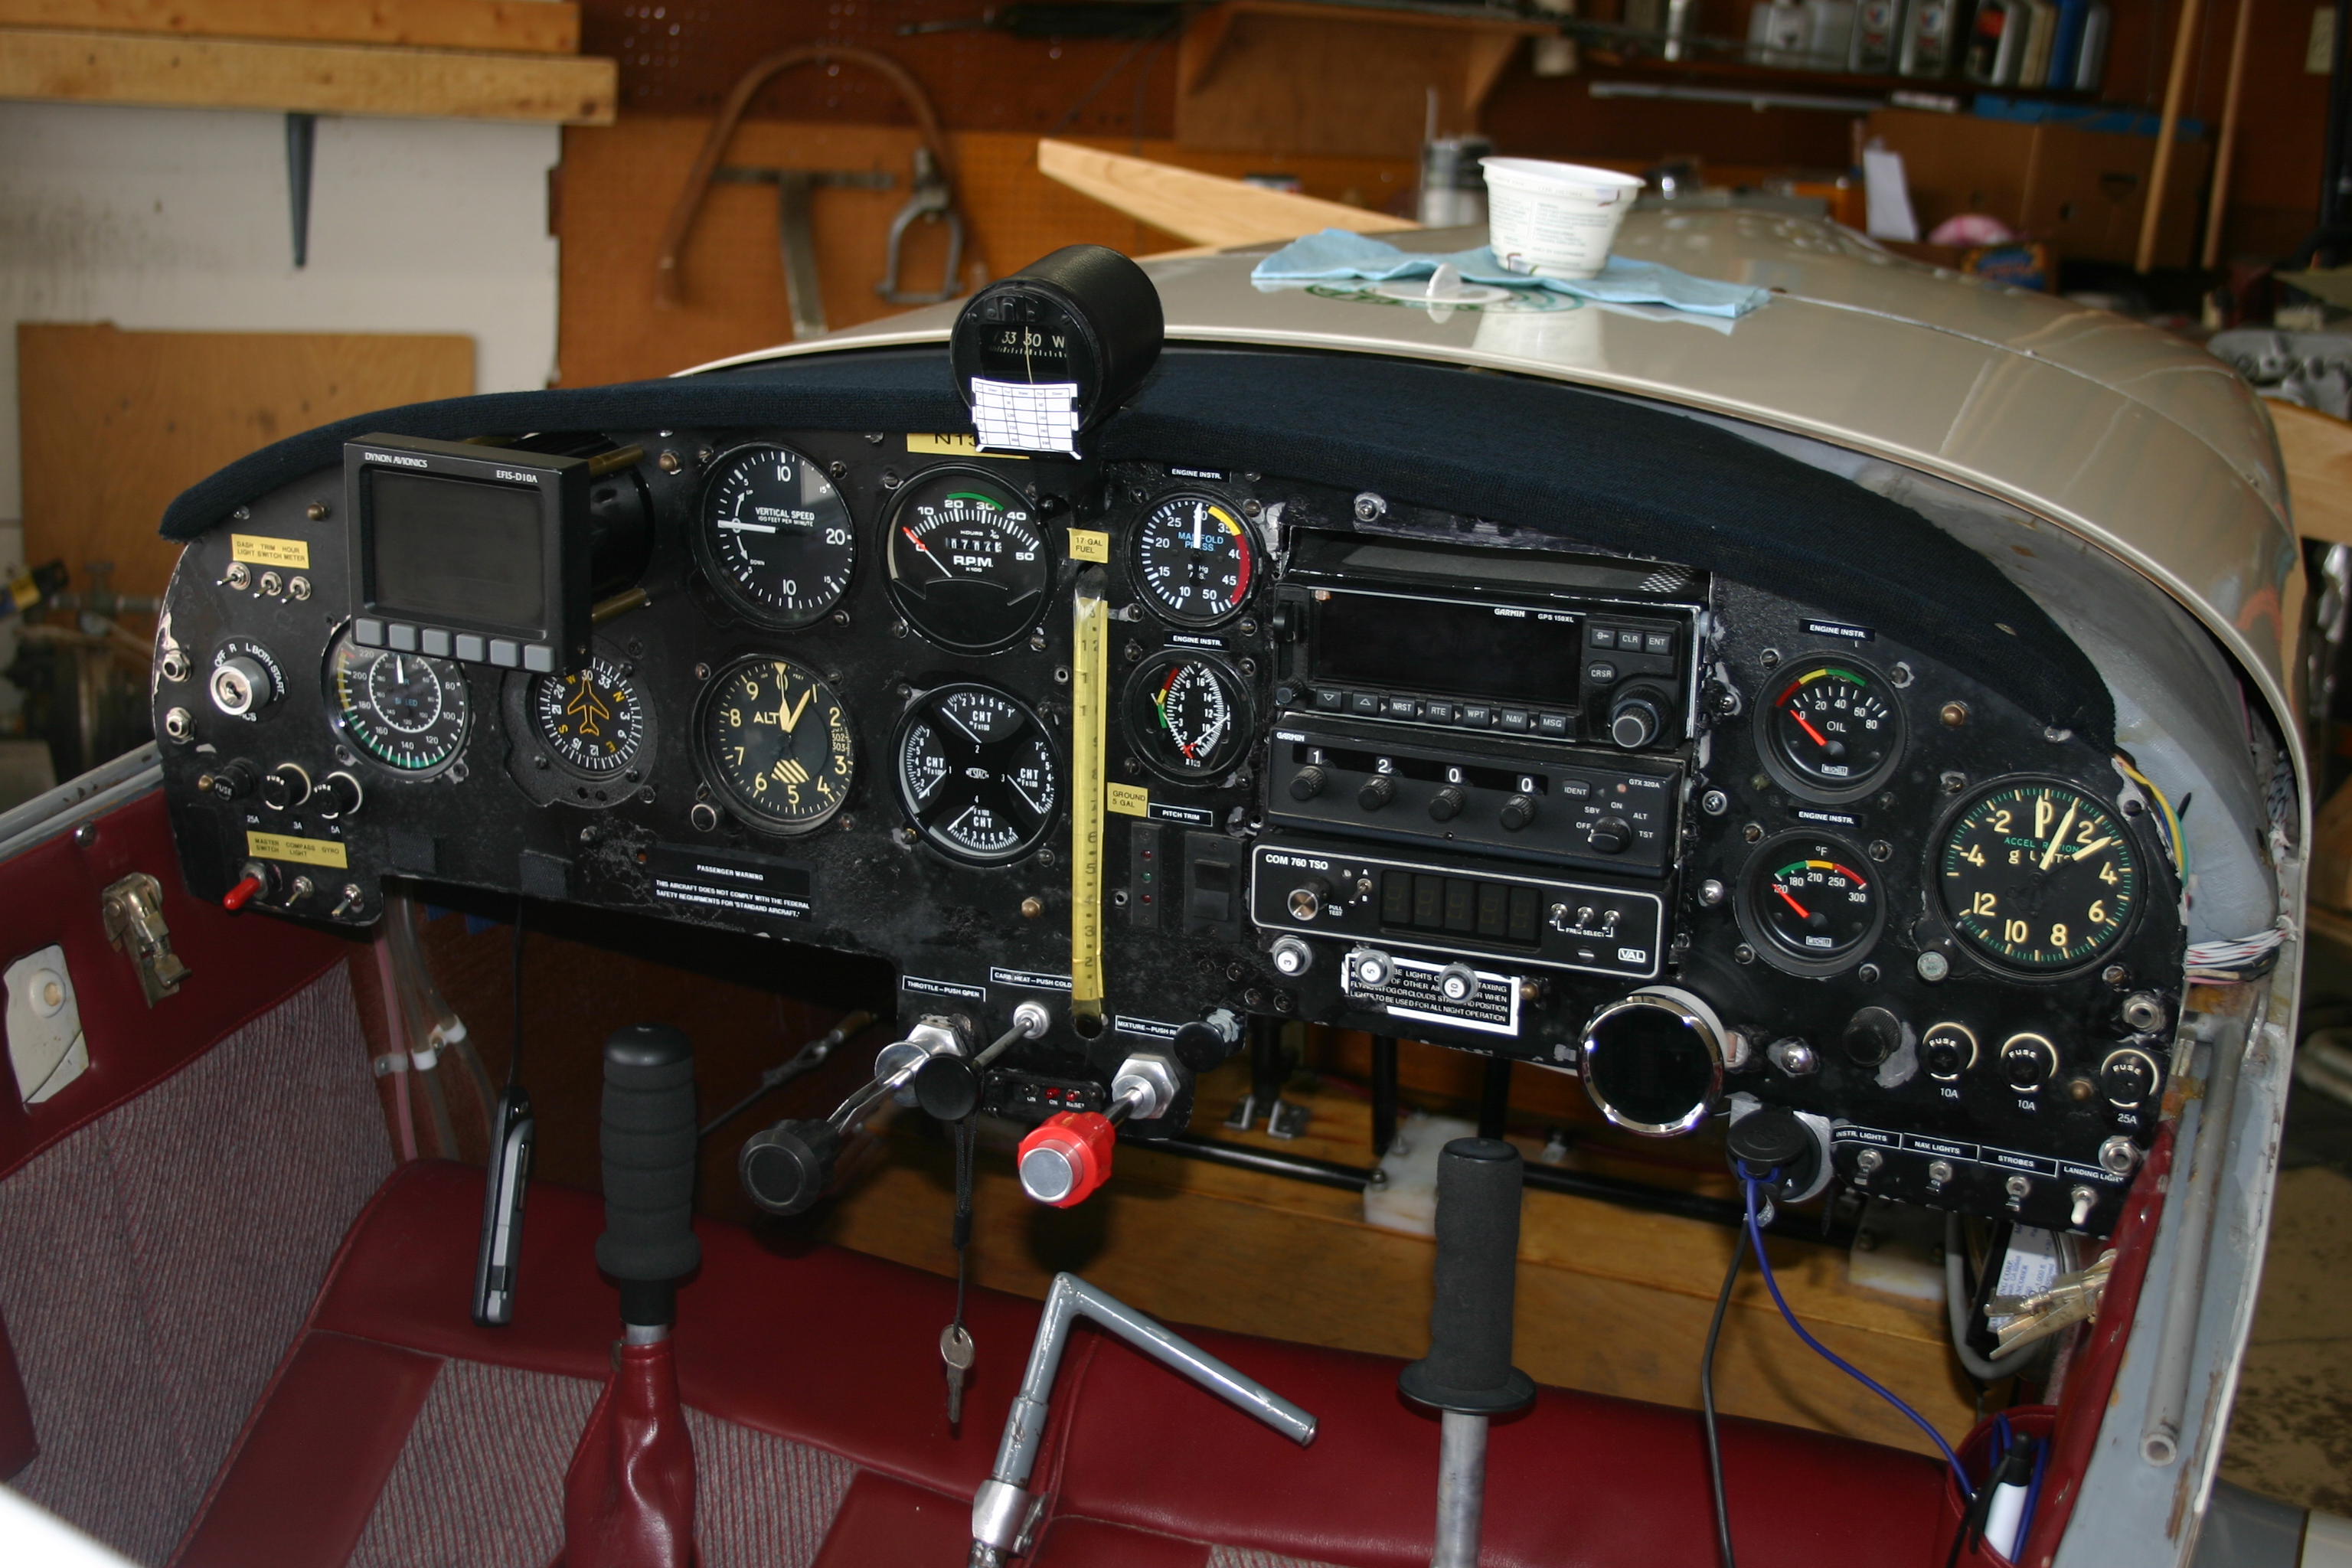
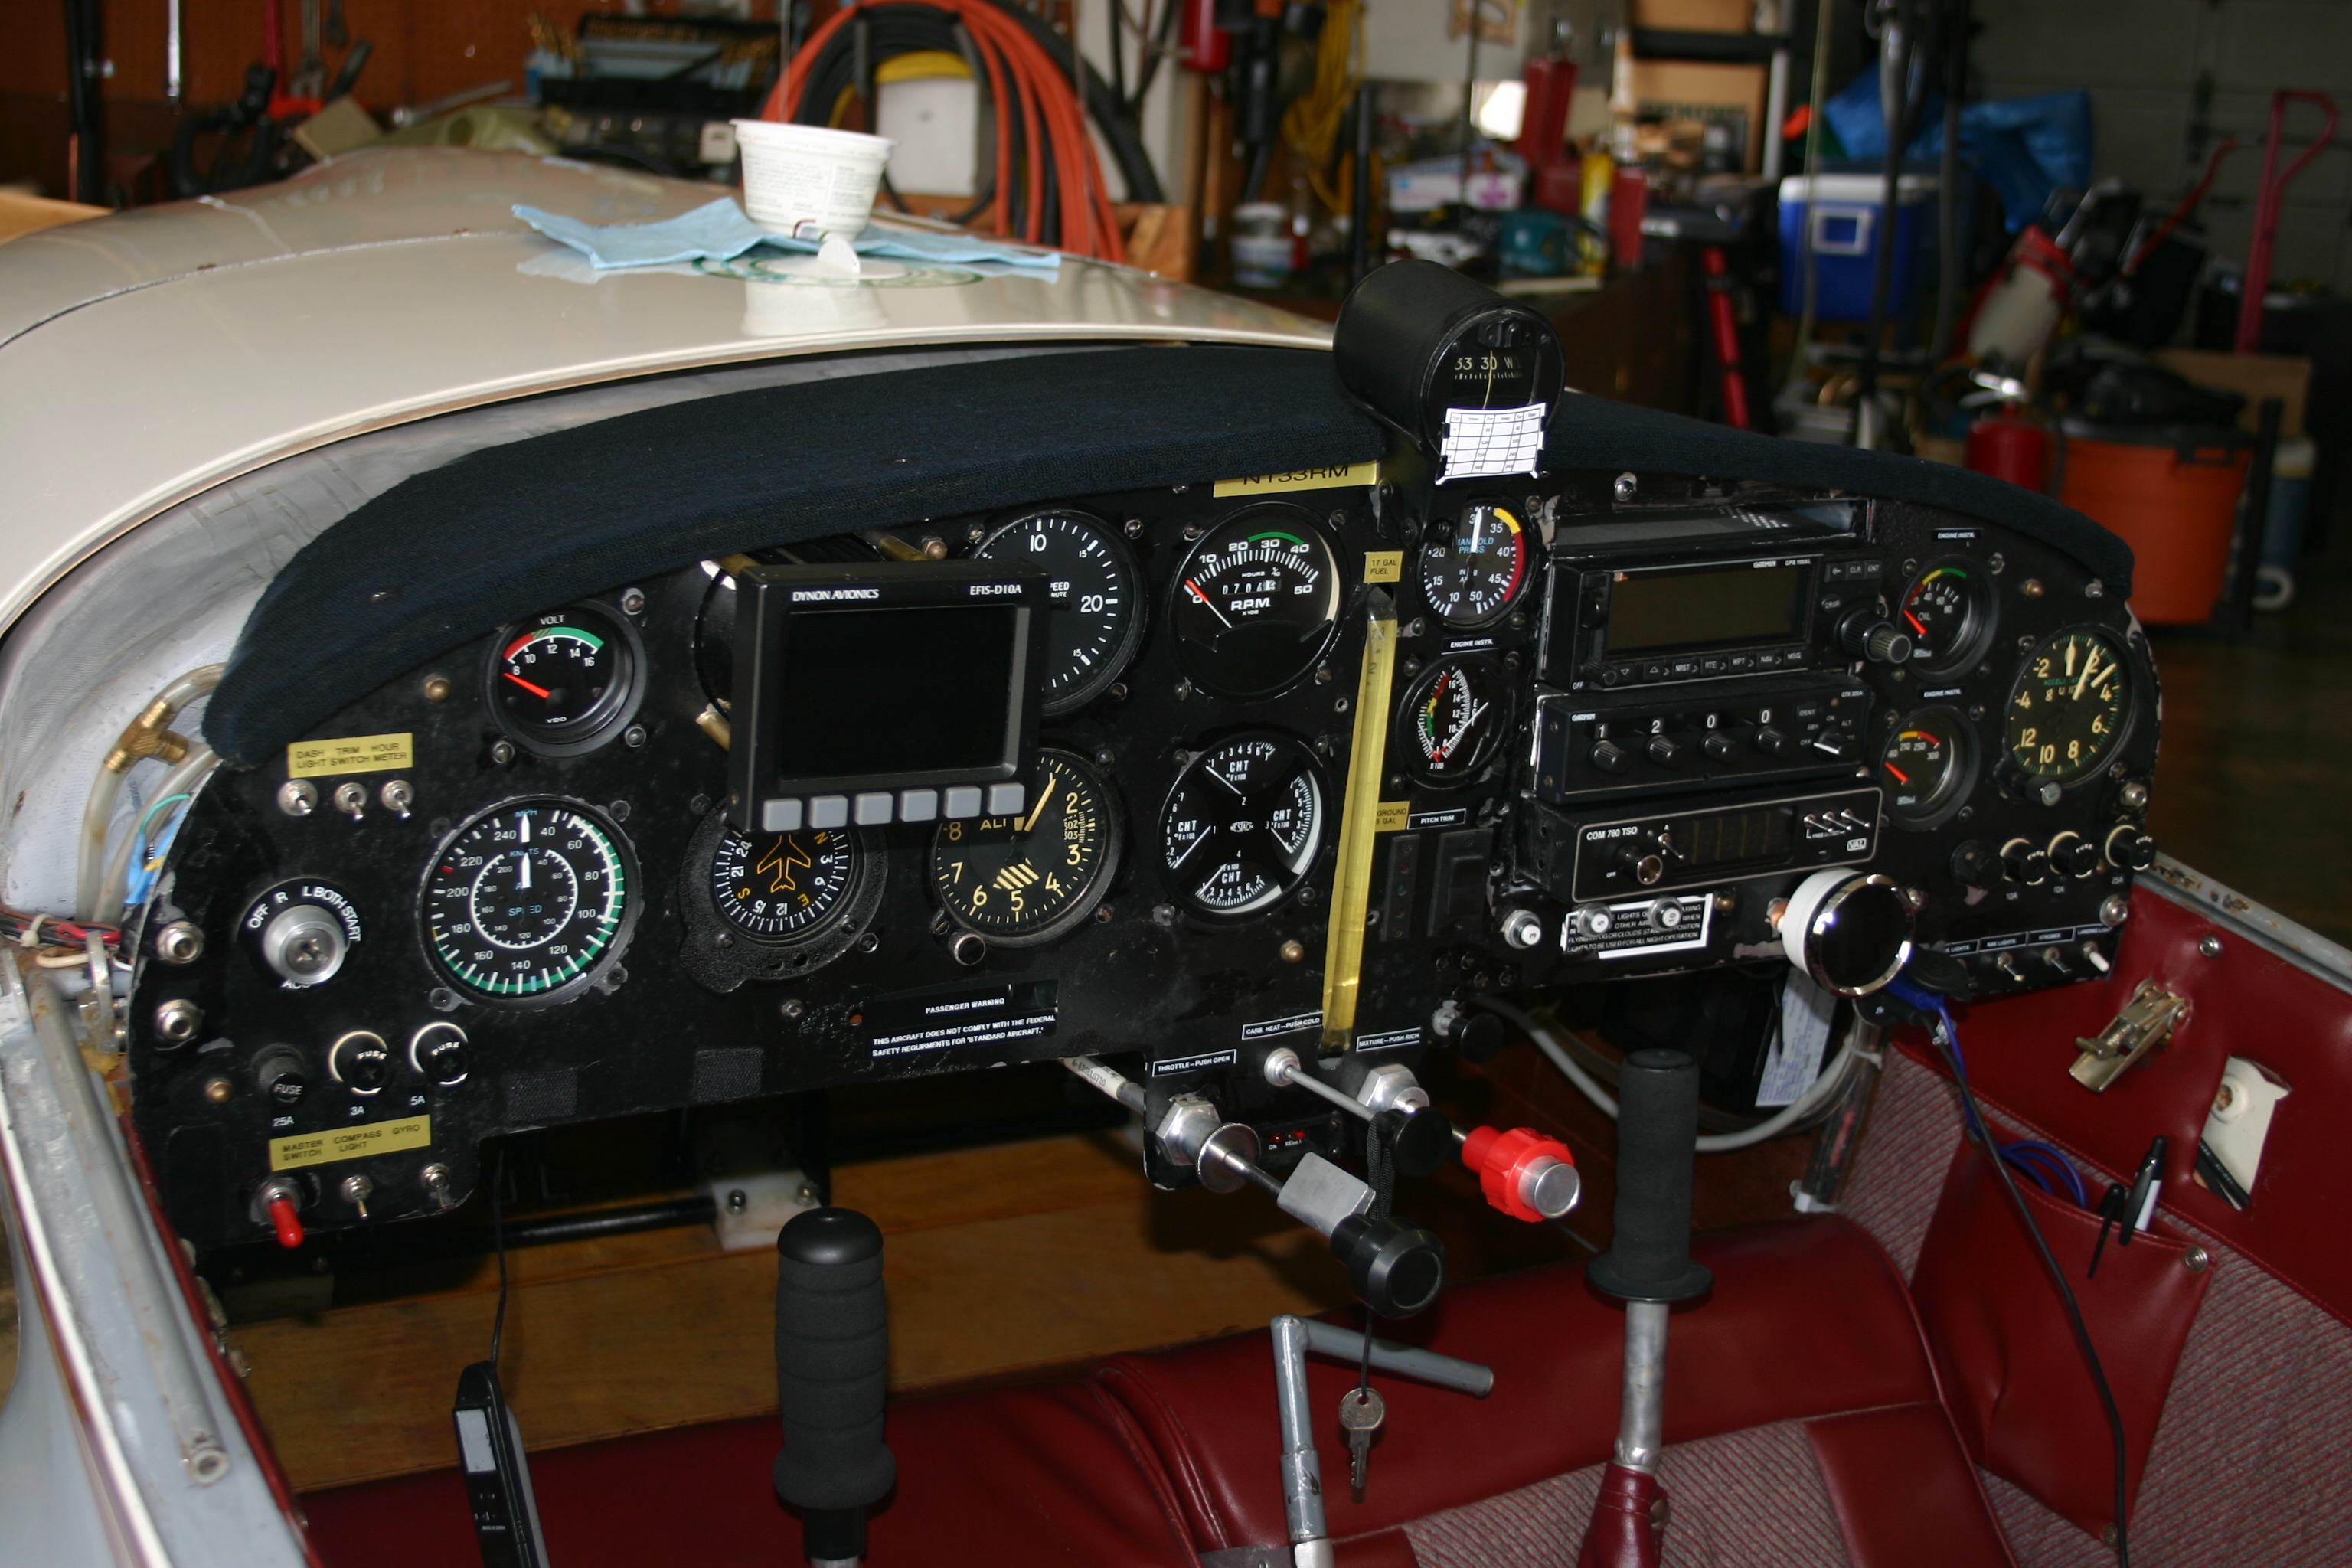
I removed the LORAN and installed a
Garmin GPS 150 XL, for VFR
only.
I
removed a turn & bank gyro and installed a
Dynon D10A EFIS screen to go with
their AOA probe shown above. I hope to eventually install 2D servos
Finally 133RM was ready for the condition inspection mandated by the local FSDO.
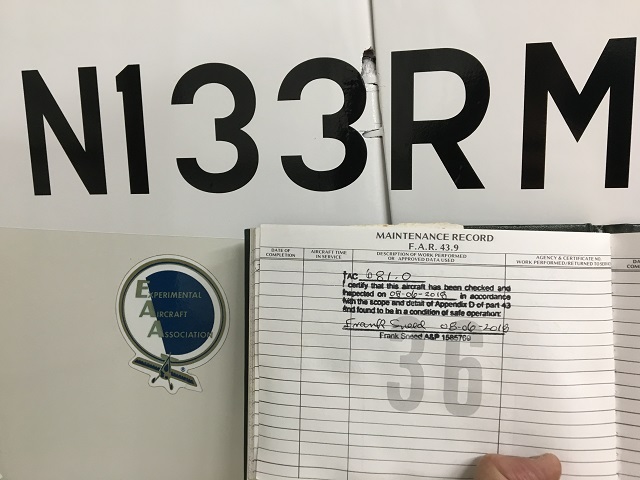
Then a new airworthiness inspection and certificate. I broke ground a few days later.
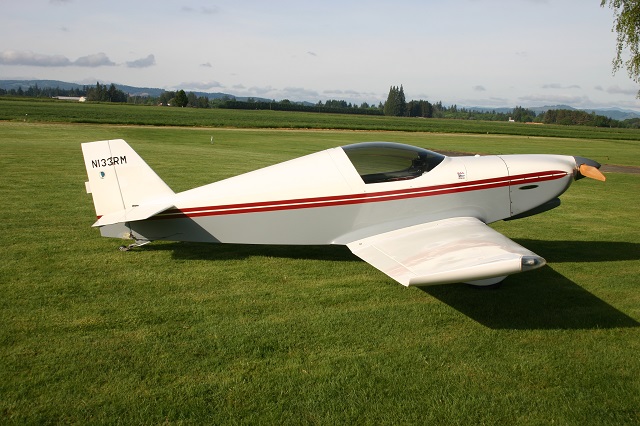
Latest photos taken at Olinger's Strip

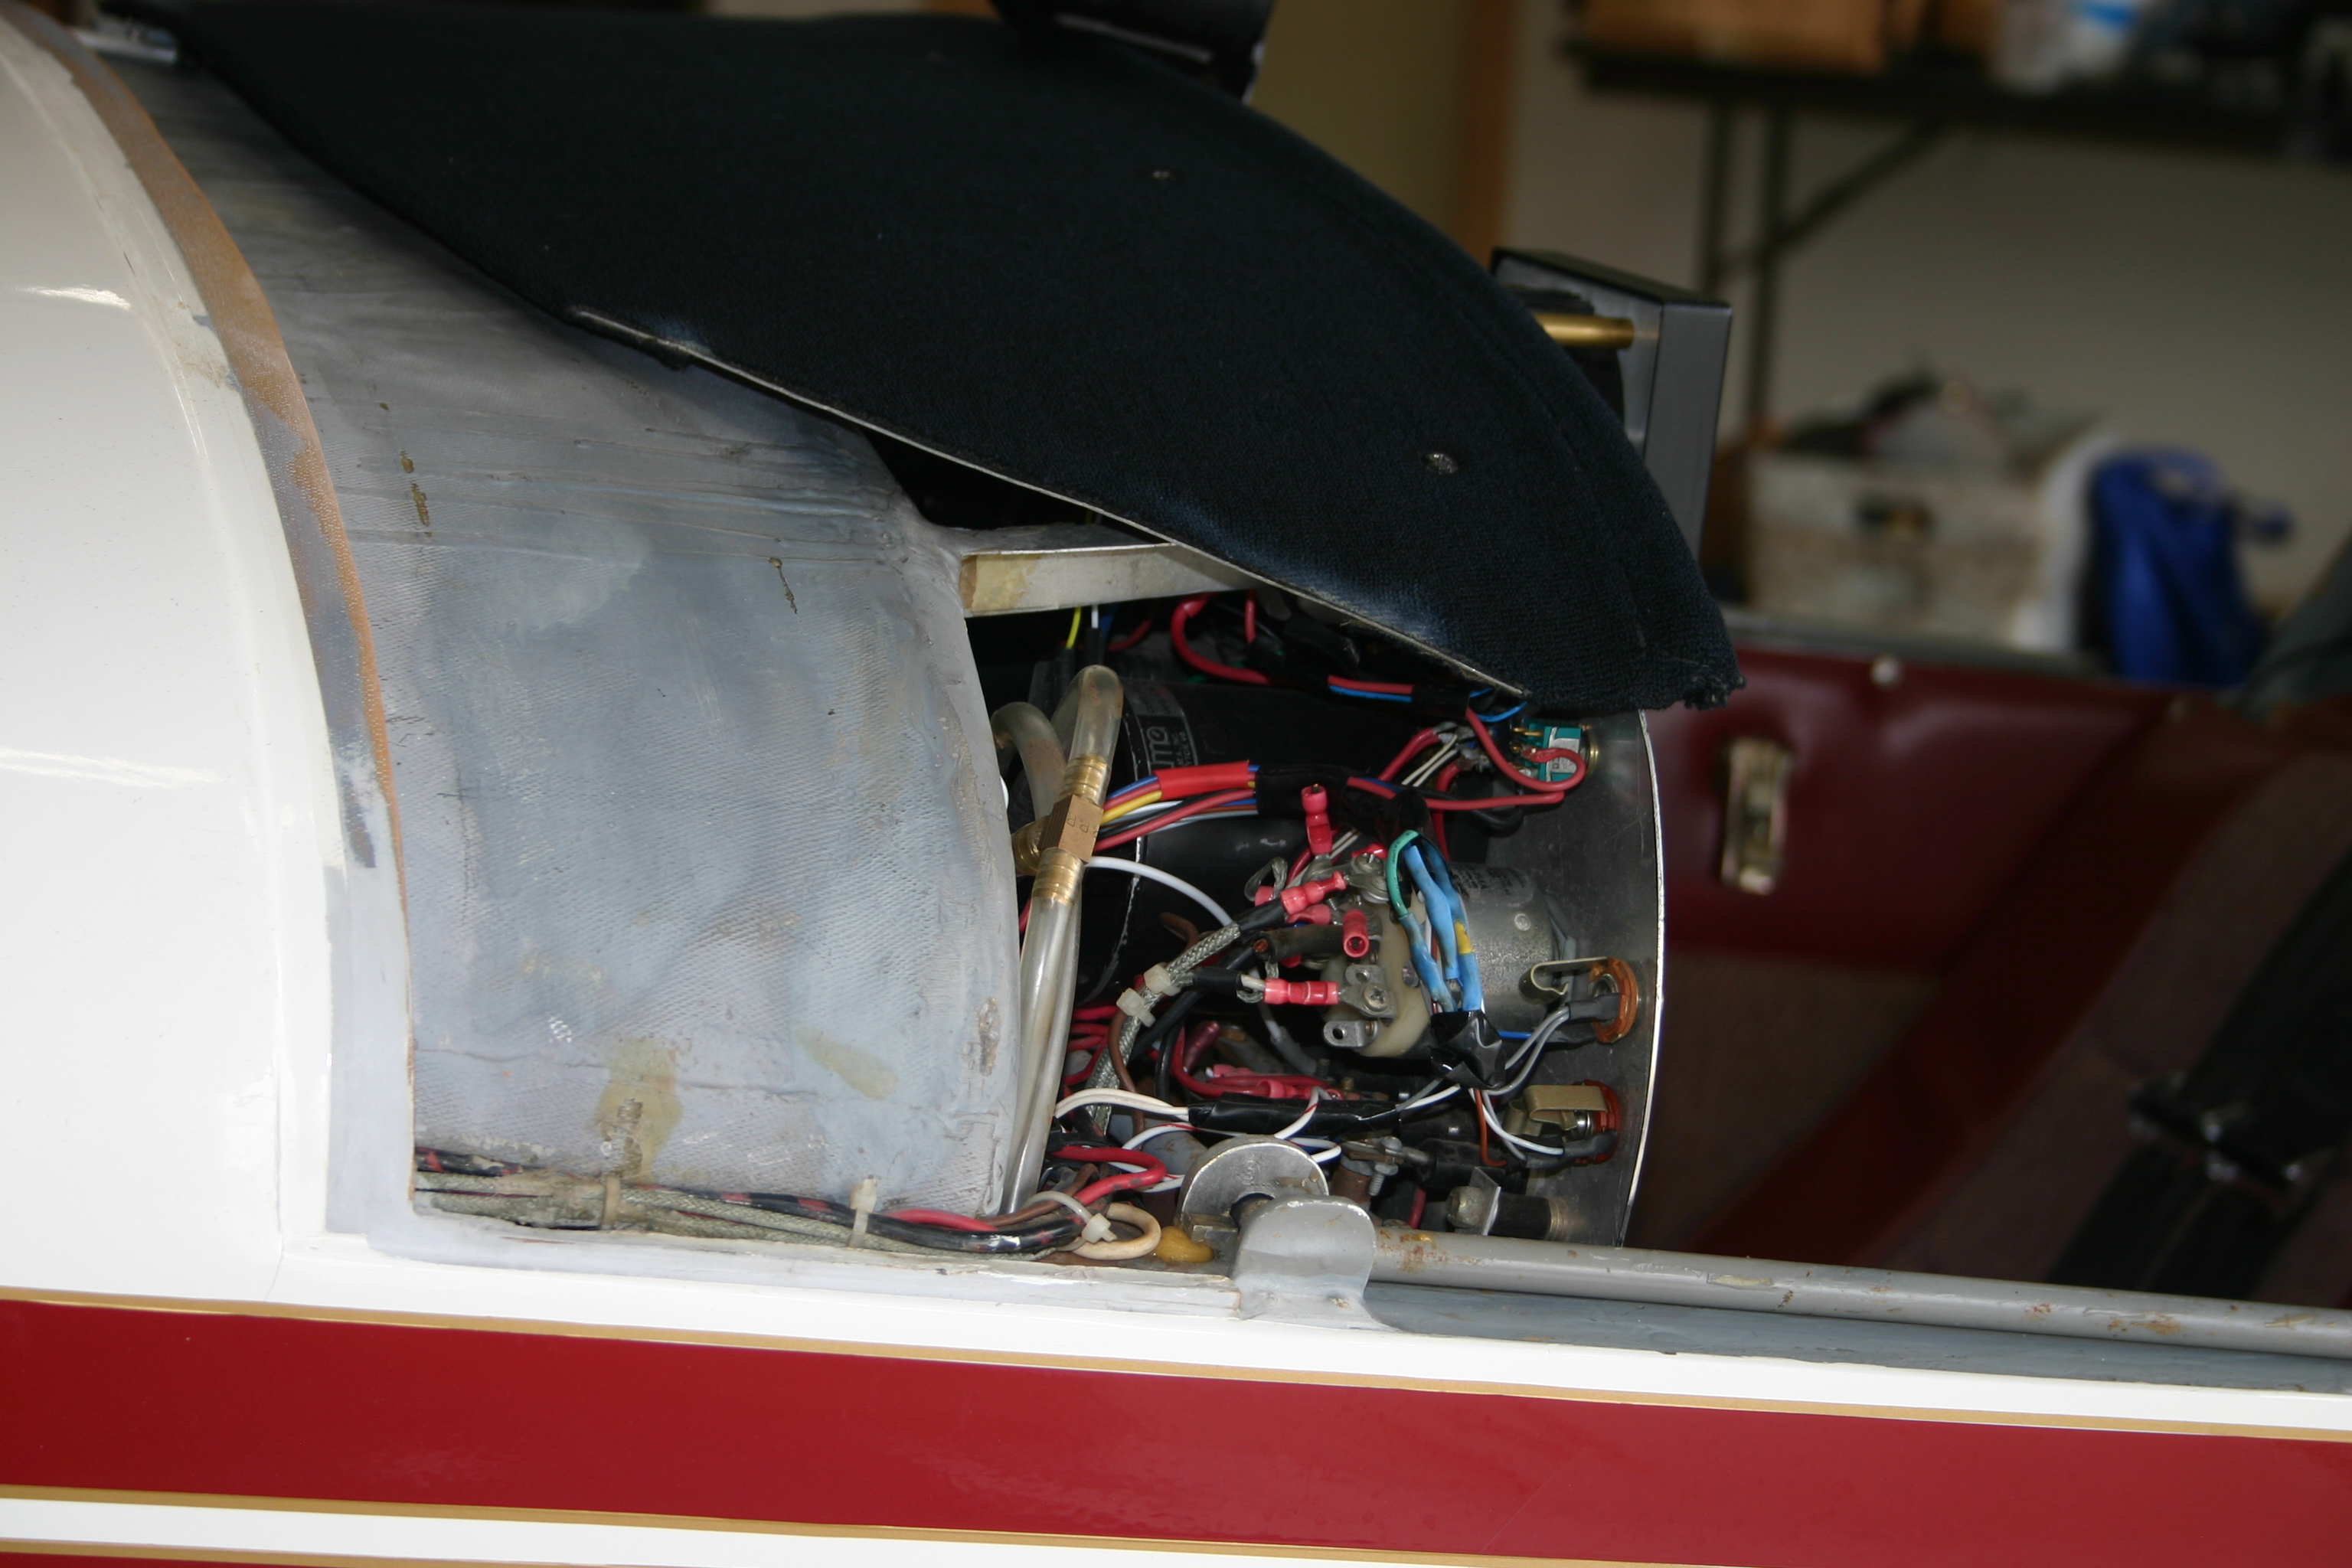
After getting it flying and beginning the learning phase, the next flights showed oil dripping from the cowl. Close inspection showed a crack in the oil cooler. I ordered a new cooler assembly with SS flex lines from Joe & Roberta at Revmaster Aviation. It is deeper/ taller than the original cooler. I had to move the cooler 1" aft on the bracket under the crankcase sump. That required new SS braided hoses to be built. Another example of "Change one thing and..."
Finally I started getting some time on 133RM. I expanded my range and learned my radio communications weren't very good. I sent the unit to Val Avionics in Salem. Jim, the bench guy, advised me to check the antenna while he worked on the radio. Problem found as the antenna was about falling off the ground plane.
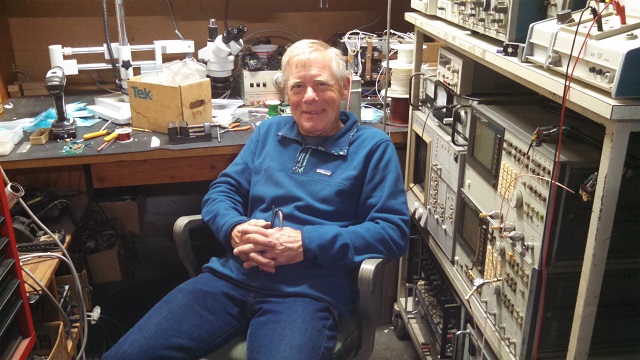
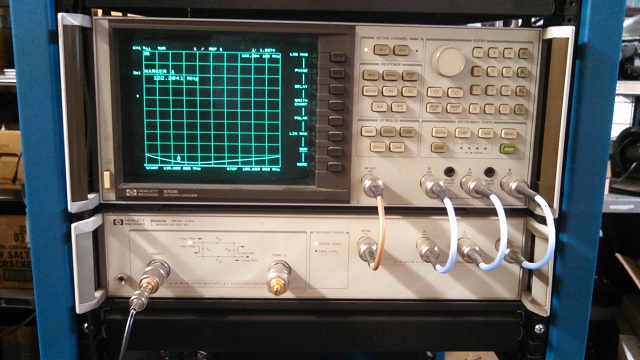
A neighbour, Cal Diller, is a certified electronic genus (24 patents to his
name!) He helped me by testing the existing antenna and ground plane with a SWR.
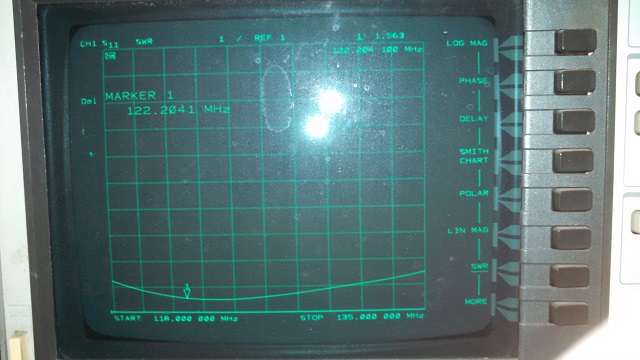
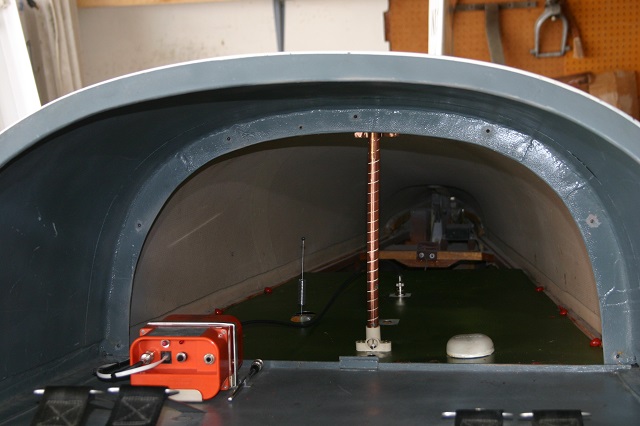
Wow, really bad. Next step was designing a new antenna and testing that to find
almost a flat response 1.0 between 118-135mhz. I installed it and now can hear
the HIO tower and aircraft on the ground. Major improvement!
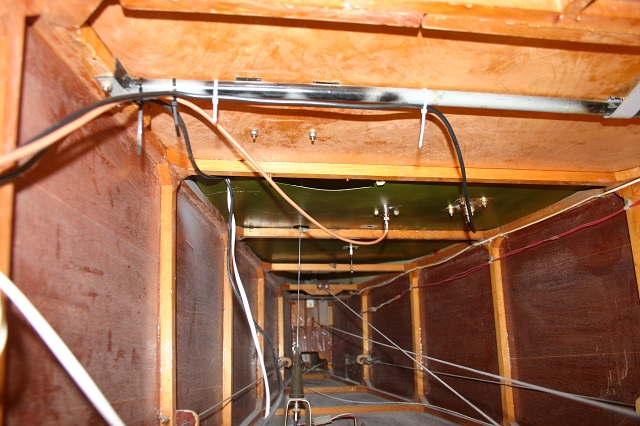
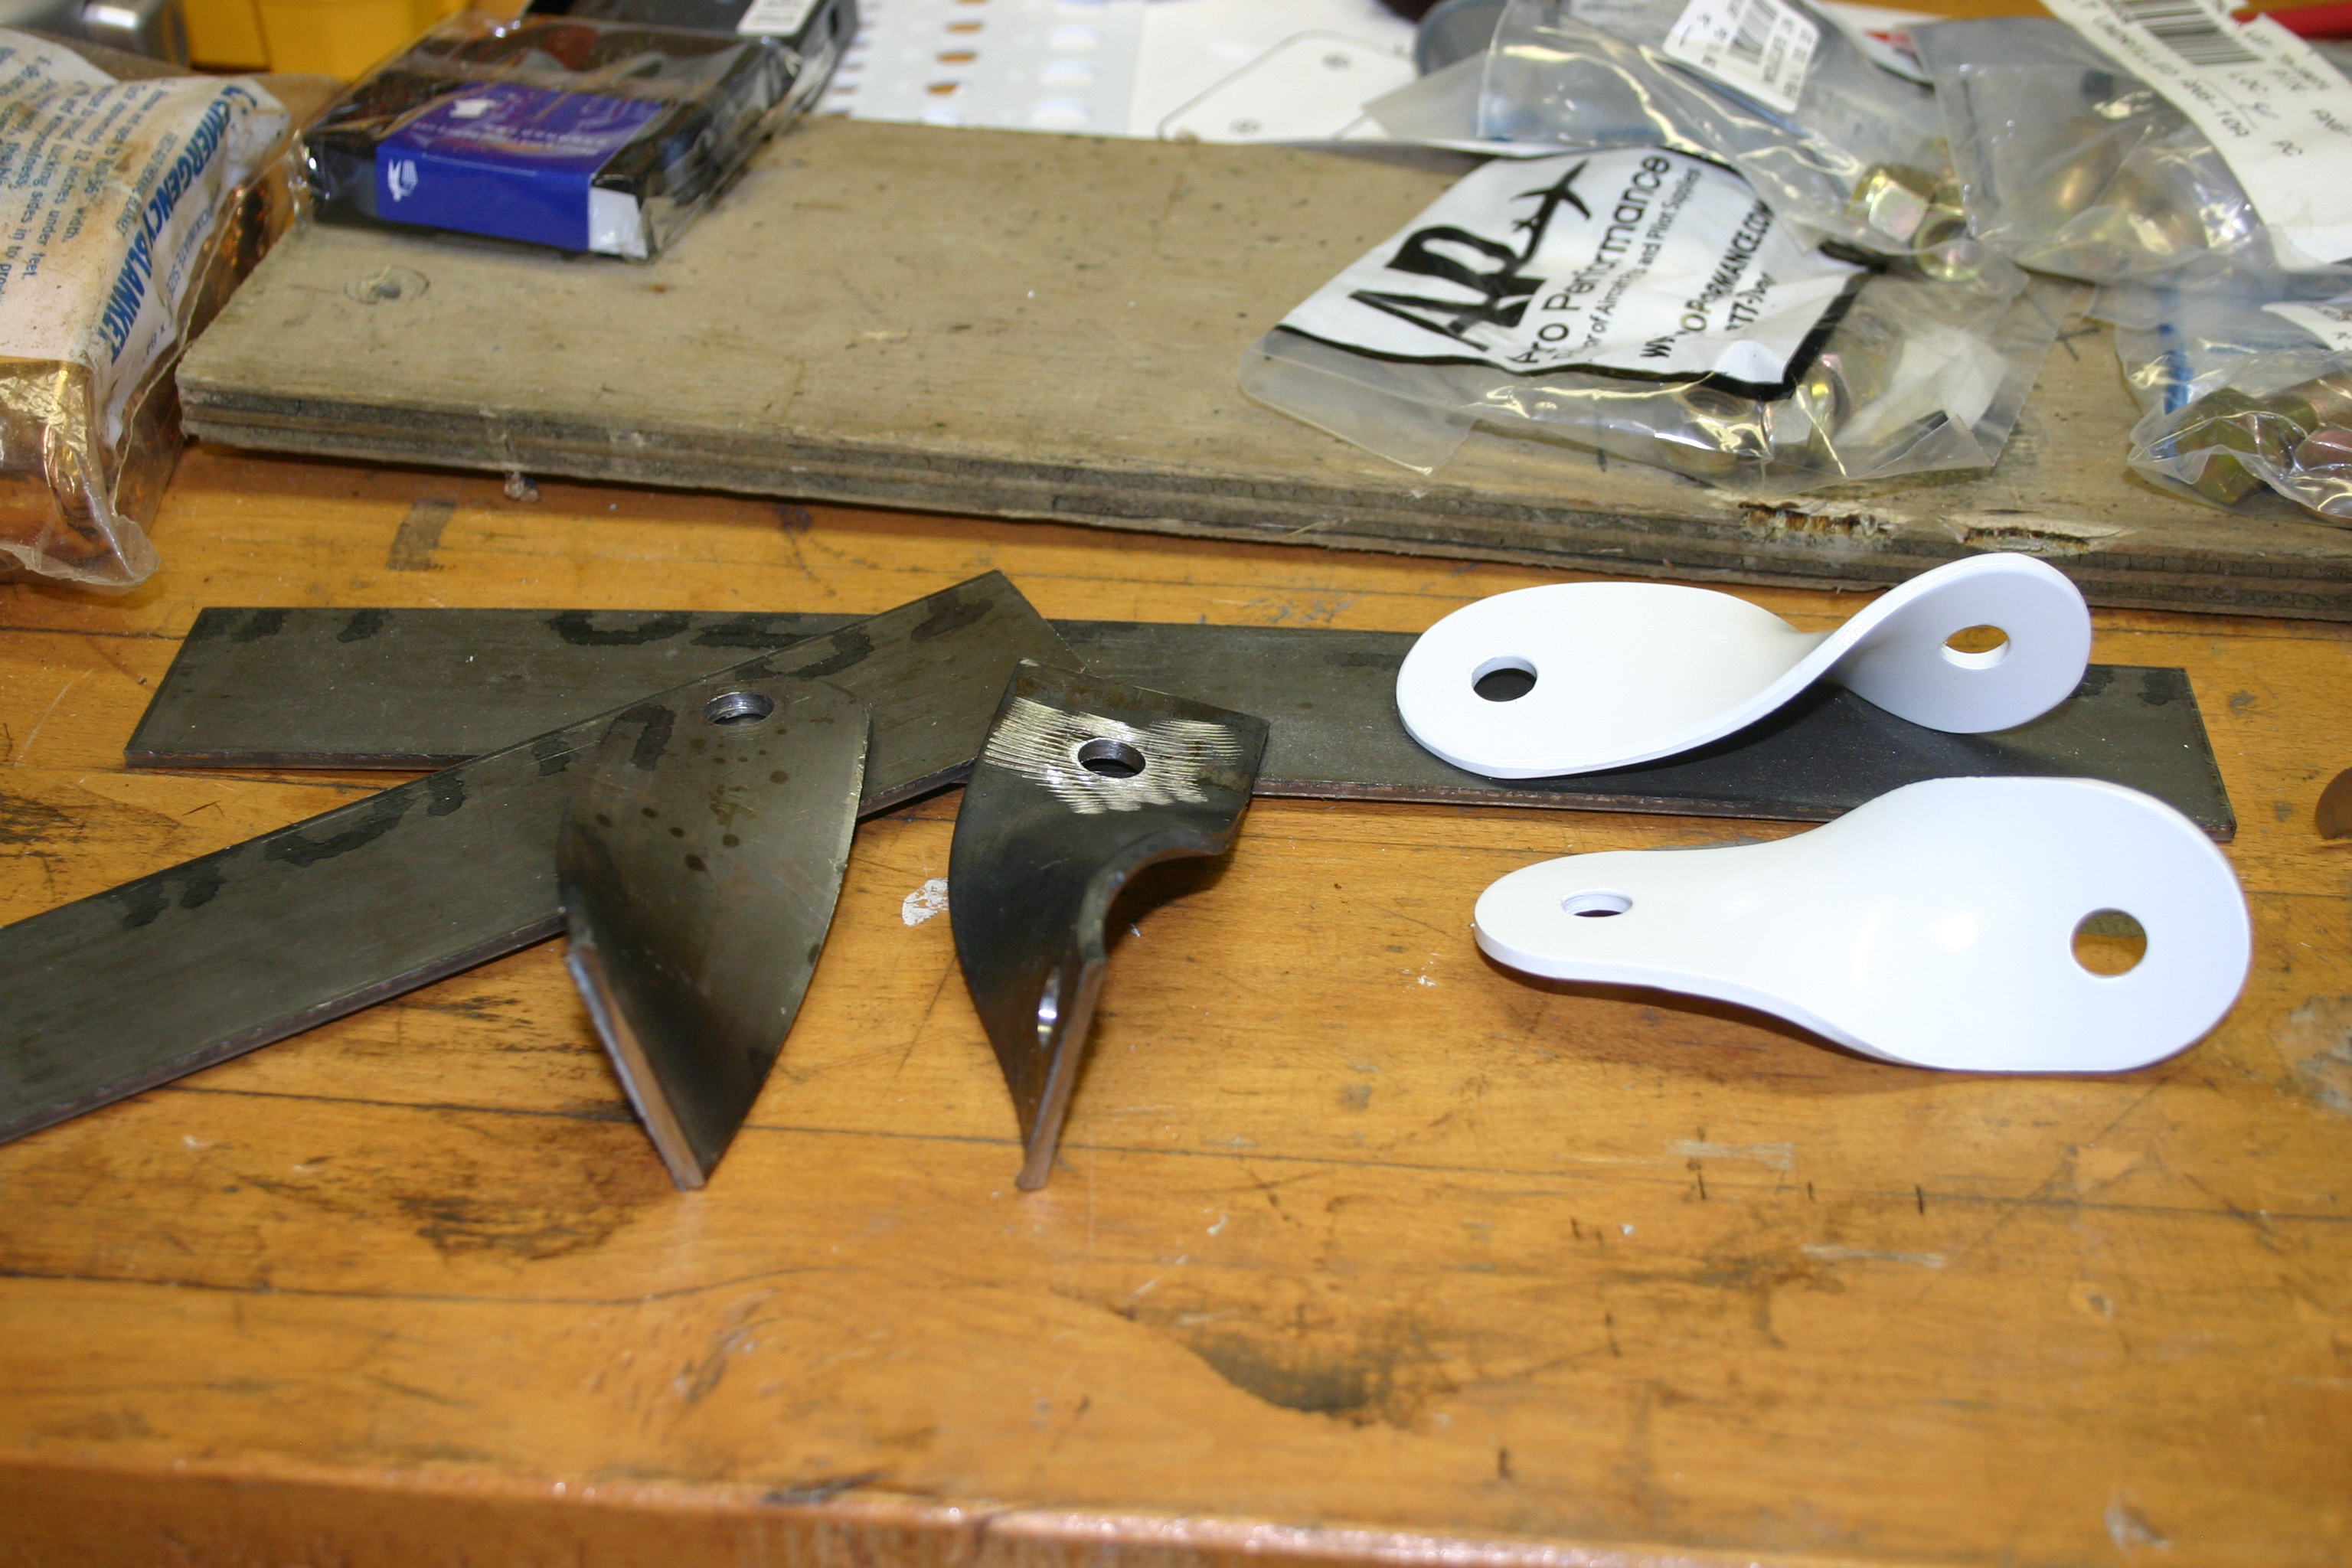
Since then, I've rewired the entire panel forward
Created tie down points mounted to the lower WAF bolts, built a new ignition harness and wheel pant mounting brackets. more photos to follow.
When the airplane tipped up on the nose in the trailering incident, the oil
cooler took a bump. Eventually it cracked and began leaking. I ordered a new
cooler from Revmaster. The replacement was a bit "taller -or- thicker" so I had
to change the mounting location. That required reworking the SS hoses.
Change one thing and many other things follow. See the trend?
That meant I
needed to change the airflow to feed the cooler plenum. I modeled the duct from
a XPS foam block and laid glass over it. Epoxy flox holds it in place. The cowl
baffle material acts as abrasion guard from vibration when the cooler could
touch the cowl. The net effect of changing the cooler and adding the duct is
about zero change in oil temperature. That's a good thing.
